Buttermilk Biscuits just like my grandma used to make. With just a few simple ingredients and in less than 30 minutes you can have fresh, warm biscuits on the table — perfect for a leisurely breakfast or brunch, a simple supper, or served with jam and a cup of afternoon tea.
Sunday afternoons growing up were spent at my Grandma Kimberlain’s house after church. While the adults were cooking real food I was on the porch cooking up ‘sea grape leaves’ and pretending/imagining. You could say that’s where my love for cooking and experimenting first started, dirt soup anyone? Flash forward 40 some years and I live in my grandma’s house (now my home). Even though she probably never measured ingredients a day in her life, I think she’d be proud of these Buttermilk Biscuits.
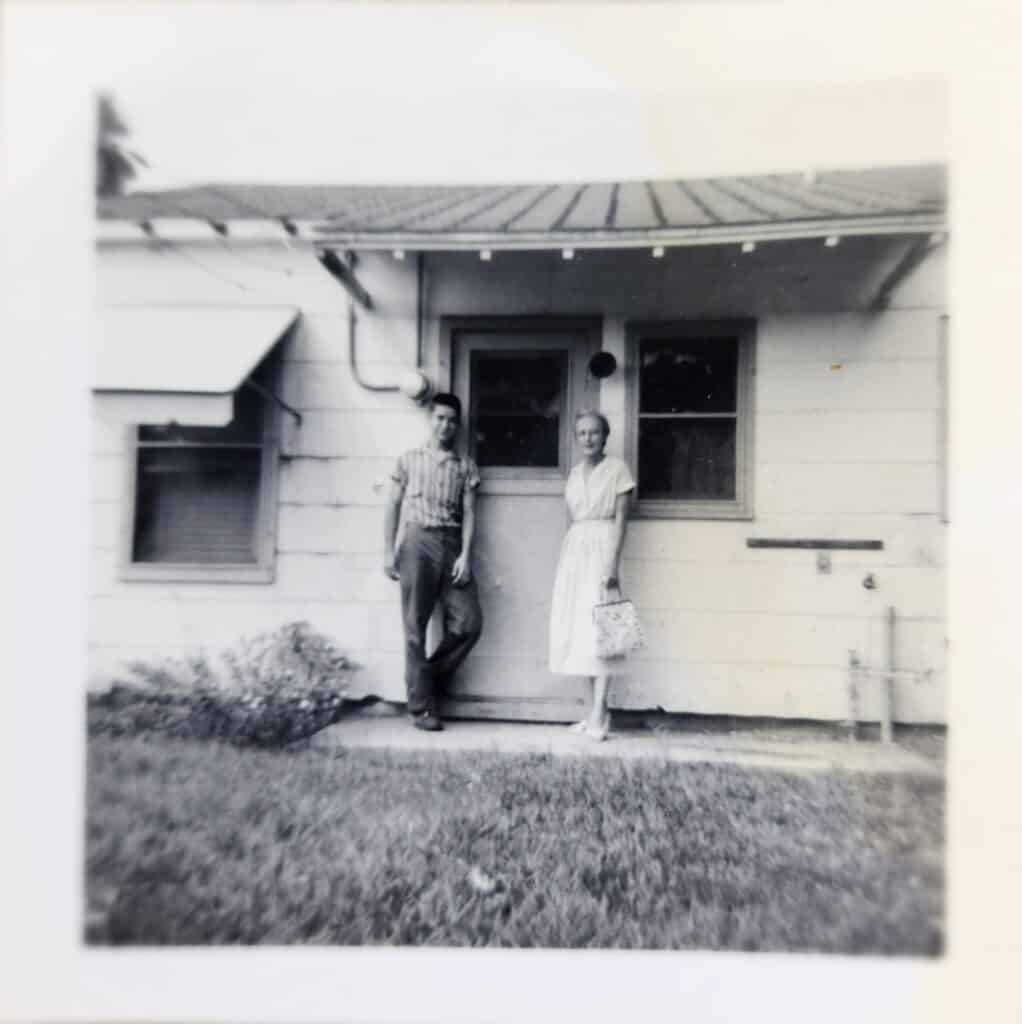
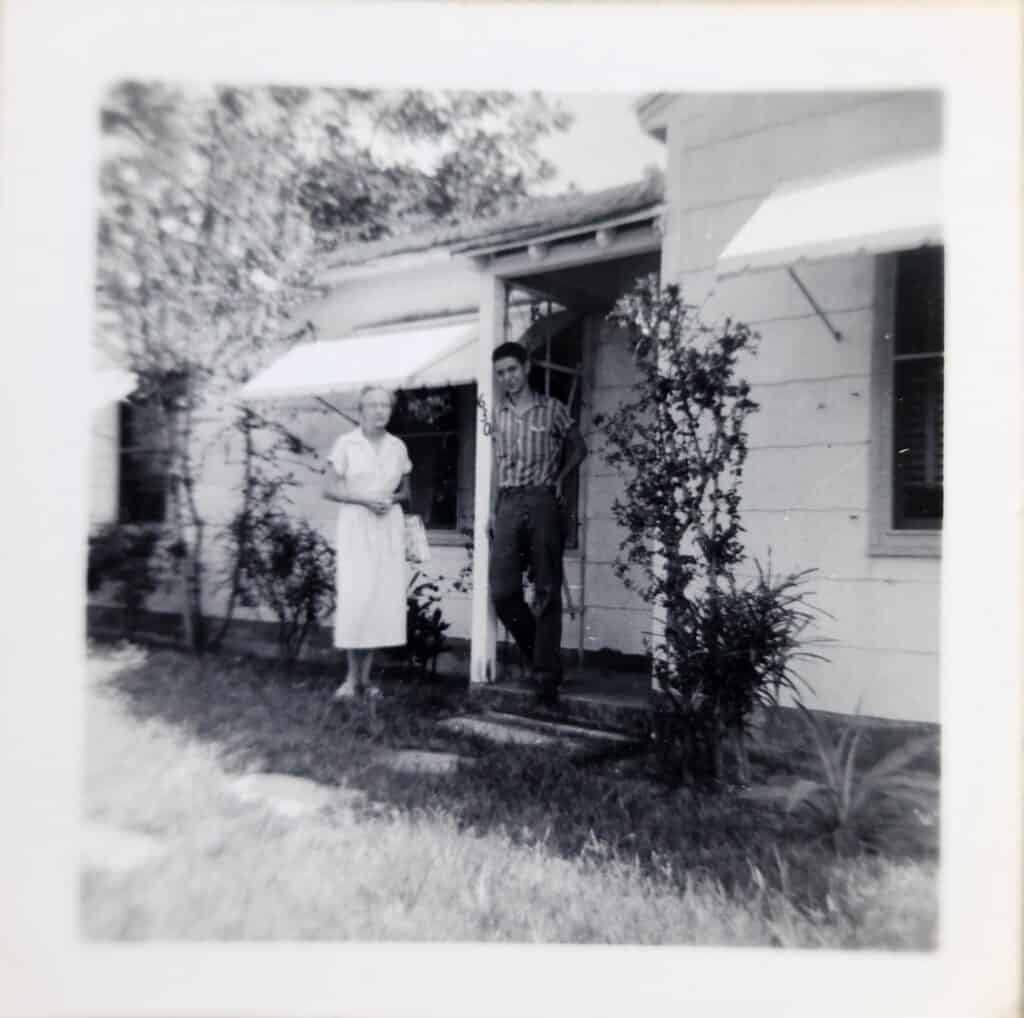
A common theme with patients over the past couple of weeks, incorporating cultural food vs omitting cultural food. Many times a healthcare provider will say, ‘don’t eat white rice’ or whatever food it may be. Then patients come to see me and dive a little deeper. I’d never tell someone not to eat white rice. Just like I’d never tell someone not to have one of these buttermilk biscuits. Sure, they’re made with a ton of butter, but these buttermilk biscuits are memories from my childhood. meant to be enjoyed. Food is more than fuel, it’s celebratory, social, and cultural. Buttermilk biscuits from my house to yours and made with love.
My grandma knew how to make biscuits without measuring ingredients. The butter and the flour just came together whereas I have to measure everything. Even though this may not be our original family recipe, I bring you Buttermilk Biscuits, made with butter, but I did leave the lard out. Enjoy!
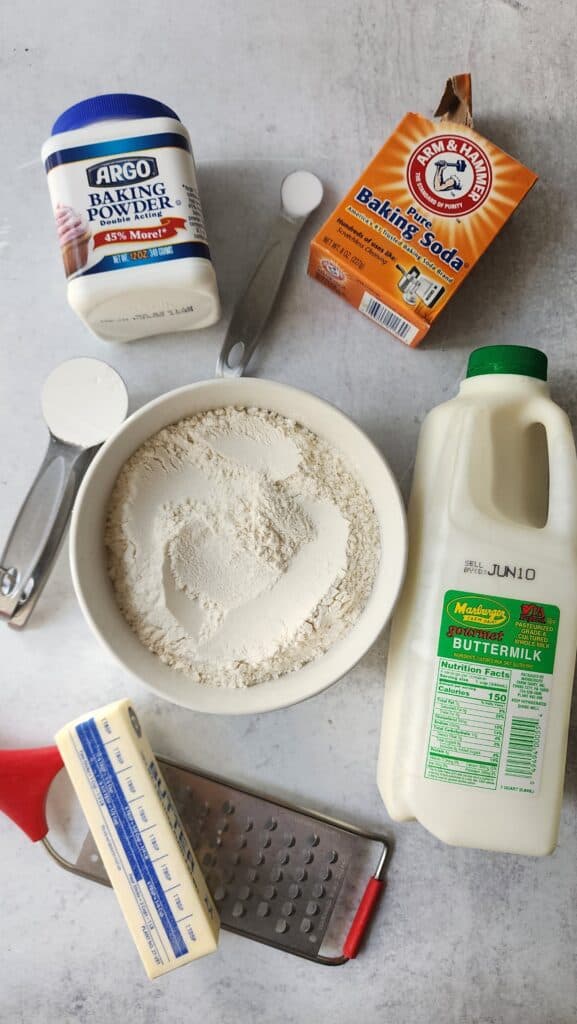
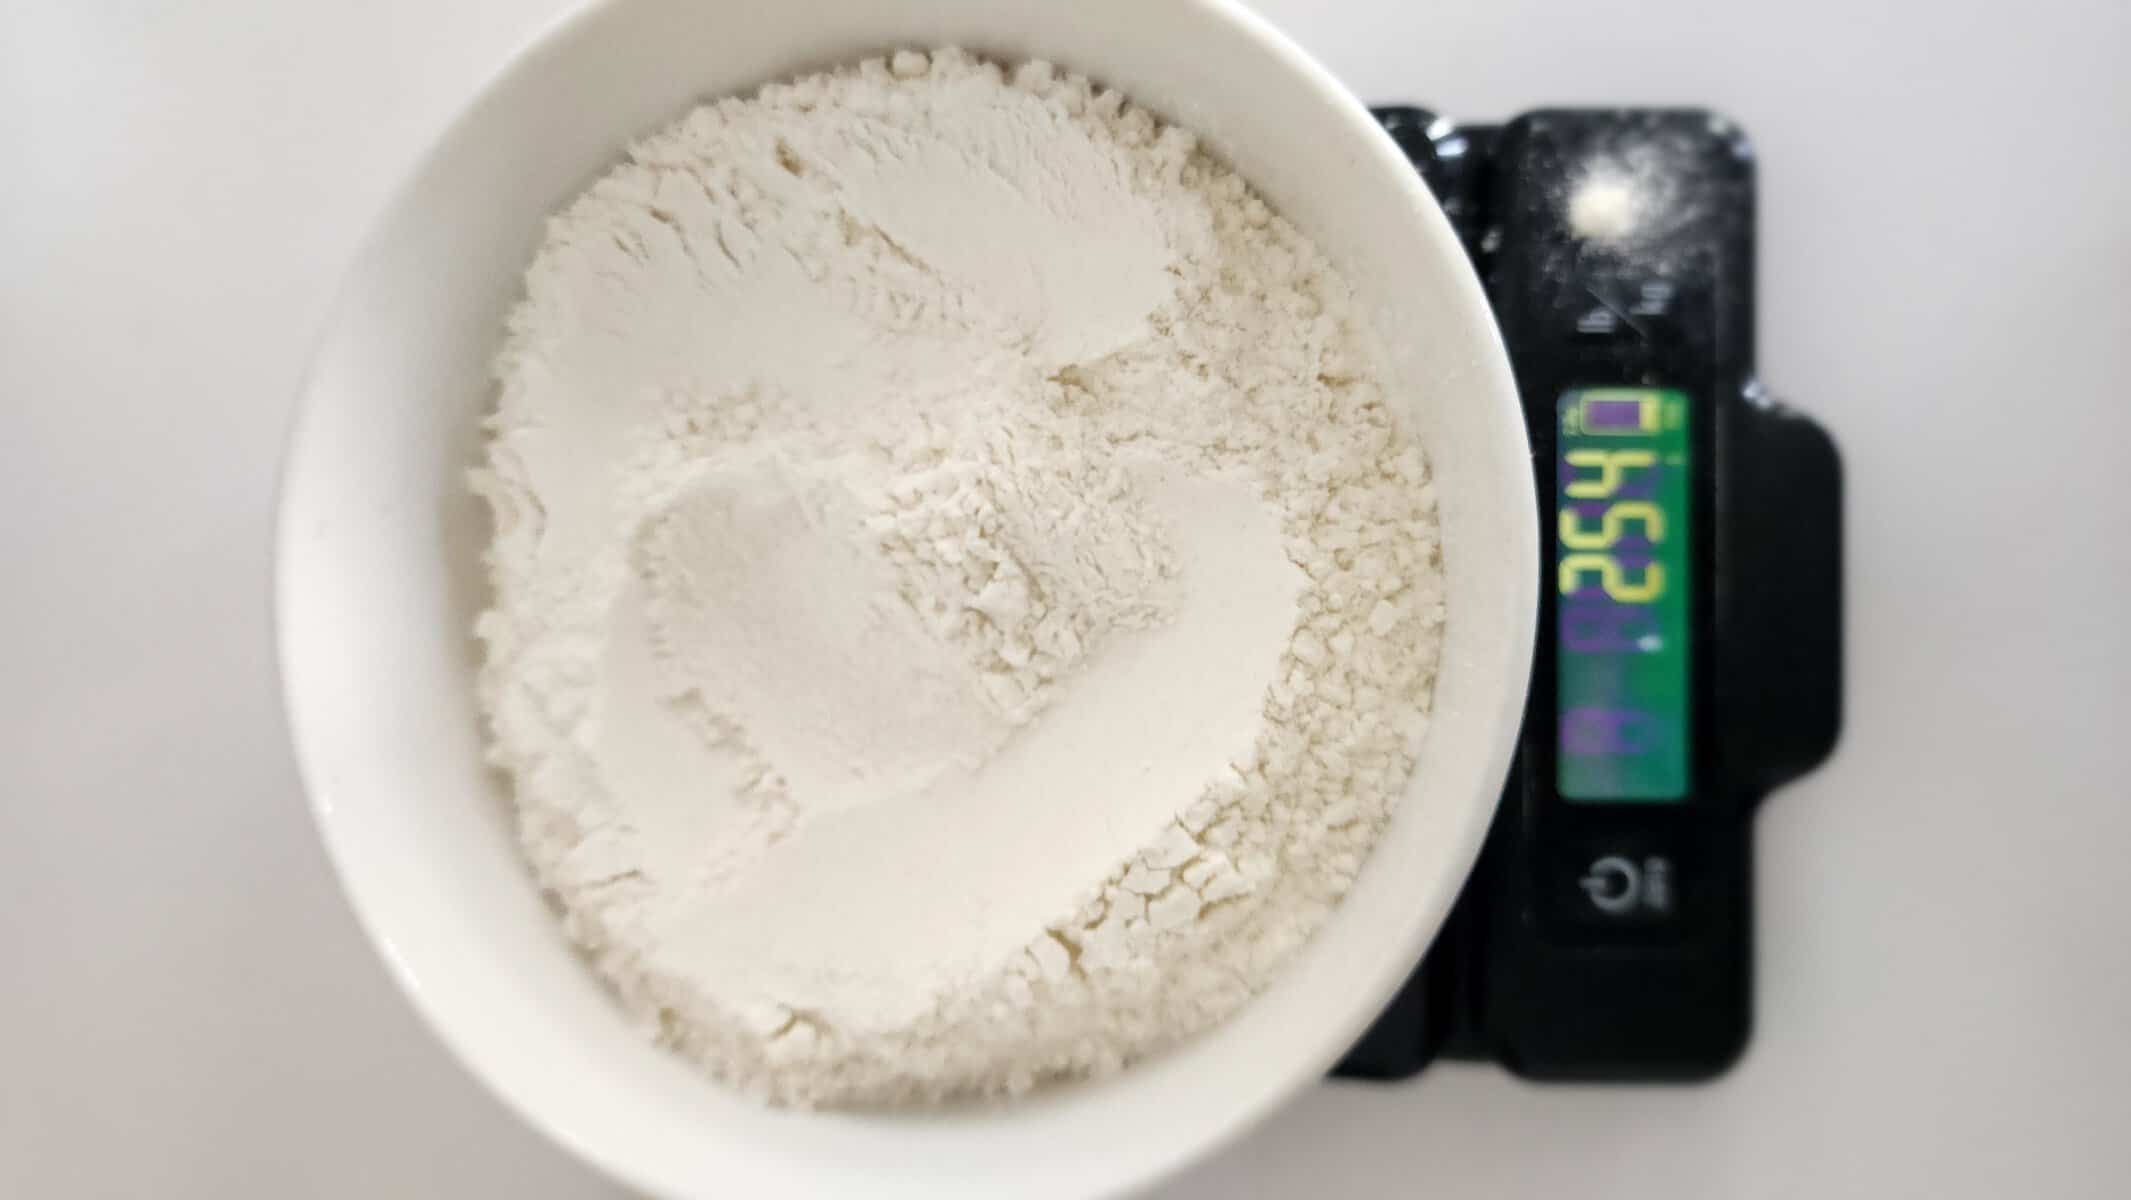
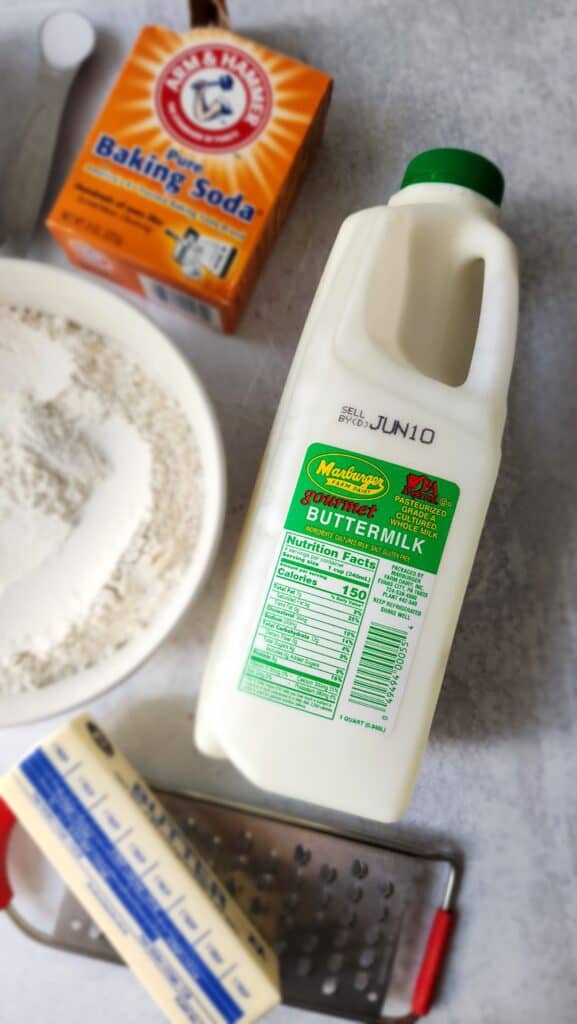
Ingredients: Buttermilk Biscuits
With minimal ingredients in a recipe, aim to use high quality products as every ingredient really counts. Additionally, in this recipe ensure all of your ingredients are as cold as possible (here in Miami I ‘chilled’ the butter and biscuits throughout the process since it’s quite hot!
- All-Purpose Flour: While it is a simple ingredient, remember to aim for a high quality ingredient, i.e., King Arthur or Bob’s Red Mill
- Baking Powder: Quick tip with baking powder is to check the expiration date, to ensure that it helps to create air bubbles, which helps the biscuits to be light and airy in texture.
- Baking Soda: Similar to baking powder, make sure it’s not expired so it works properly. Baking soda will mix with the buttermilk (an acid) and become activated. Once activated, carbon dioxide is produced, which lets the biscuits rise and also helps them to be light and fluffy.
- Buttermilk: The question always asked is if the buttermilk is necessary, and the answer is YES! Some recipes can substitute and use whole milk with lemon juice, however, for best results grab the buttermilk to create the best flavor and texture. And then use the rest to make my Buttermilk Pancakes.
- Unsalted Butter: Or if you use salted butter, simply leave the salt out. I actually forgot to add salt for these photos and they honestly tasted great without.
- Kosher Salt: As you read above, adjust and omit the salt if you’re using salted butter. If you’re watching your sodium intake, as also mentioned, I left the salt out (by accident) and they tasted great (as I’m used to less salt)
- Large Egg: This will be used for the egg wash and help ‘brown’ the biscuits. You could simply use more buttermilk and/or heavy cream.
How To Make Buttermilk Biscuits
- Start by preheating your oven to 450°F (you can wait to preheat the oven closer to when you’ve finished mixing all ingredients if needed) and lining a baking sheet with parchment paper. Set the baking sheet aside.
- Mix together the all-purpose flour, baking powder, baking soda, and salt in a large bowl.
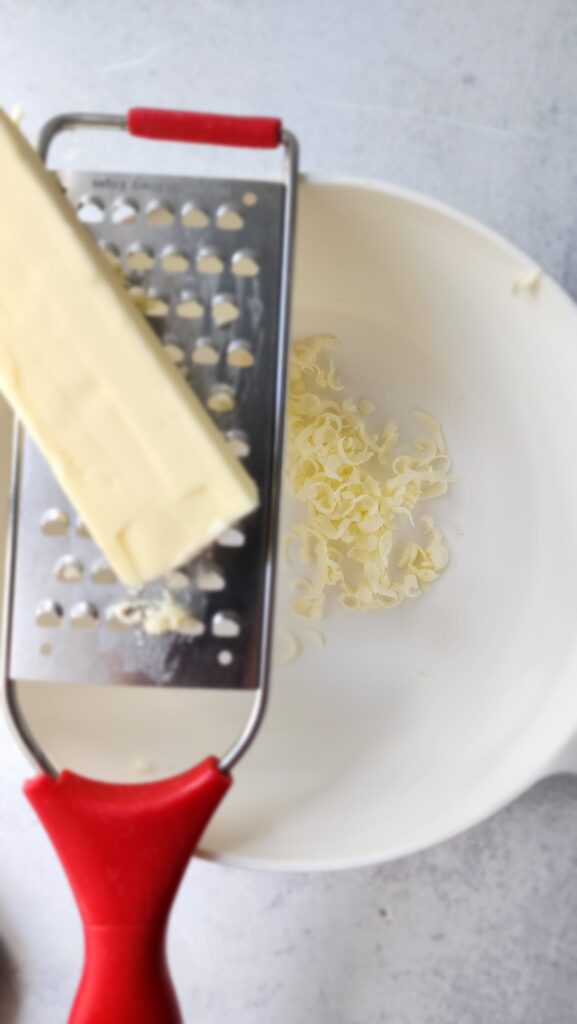
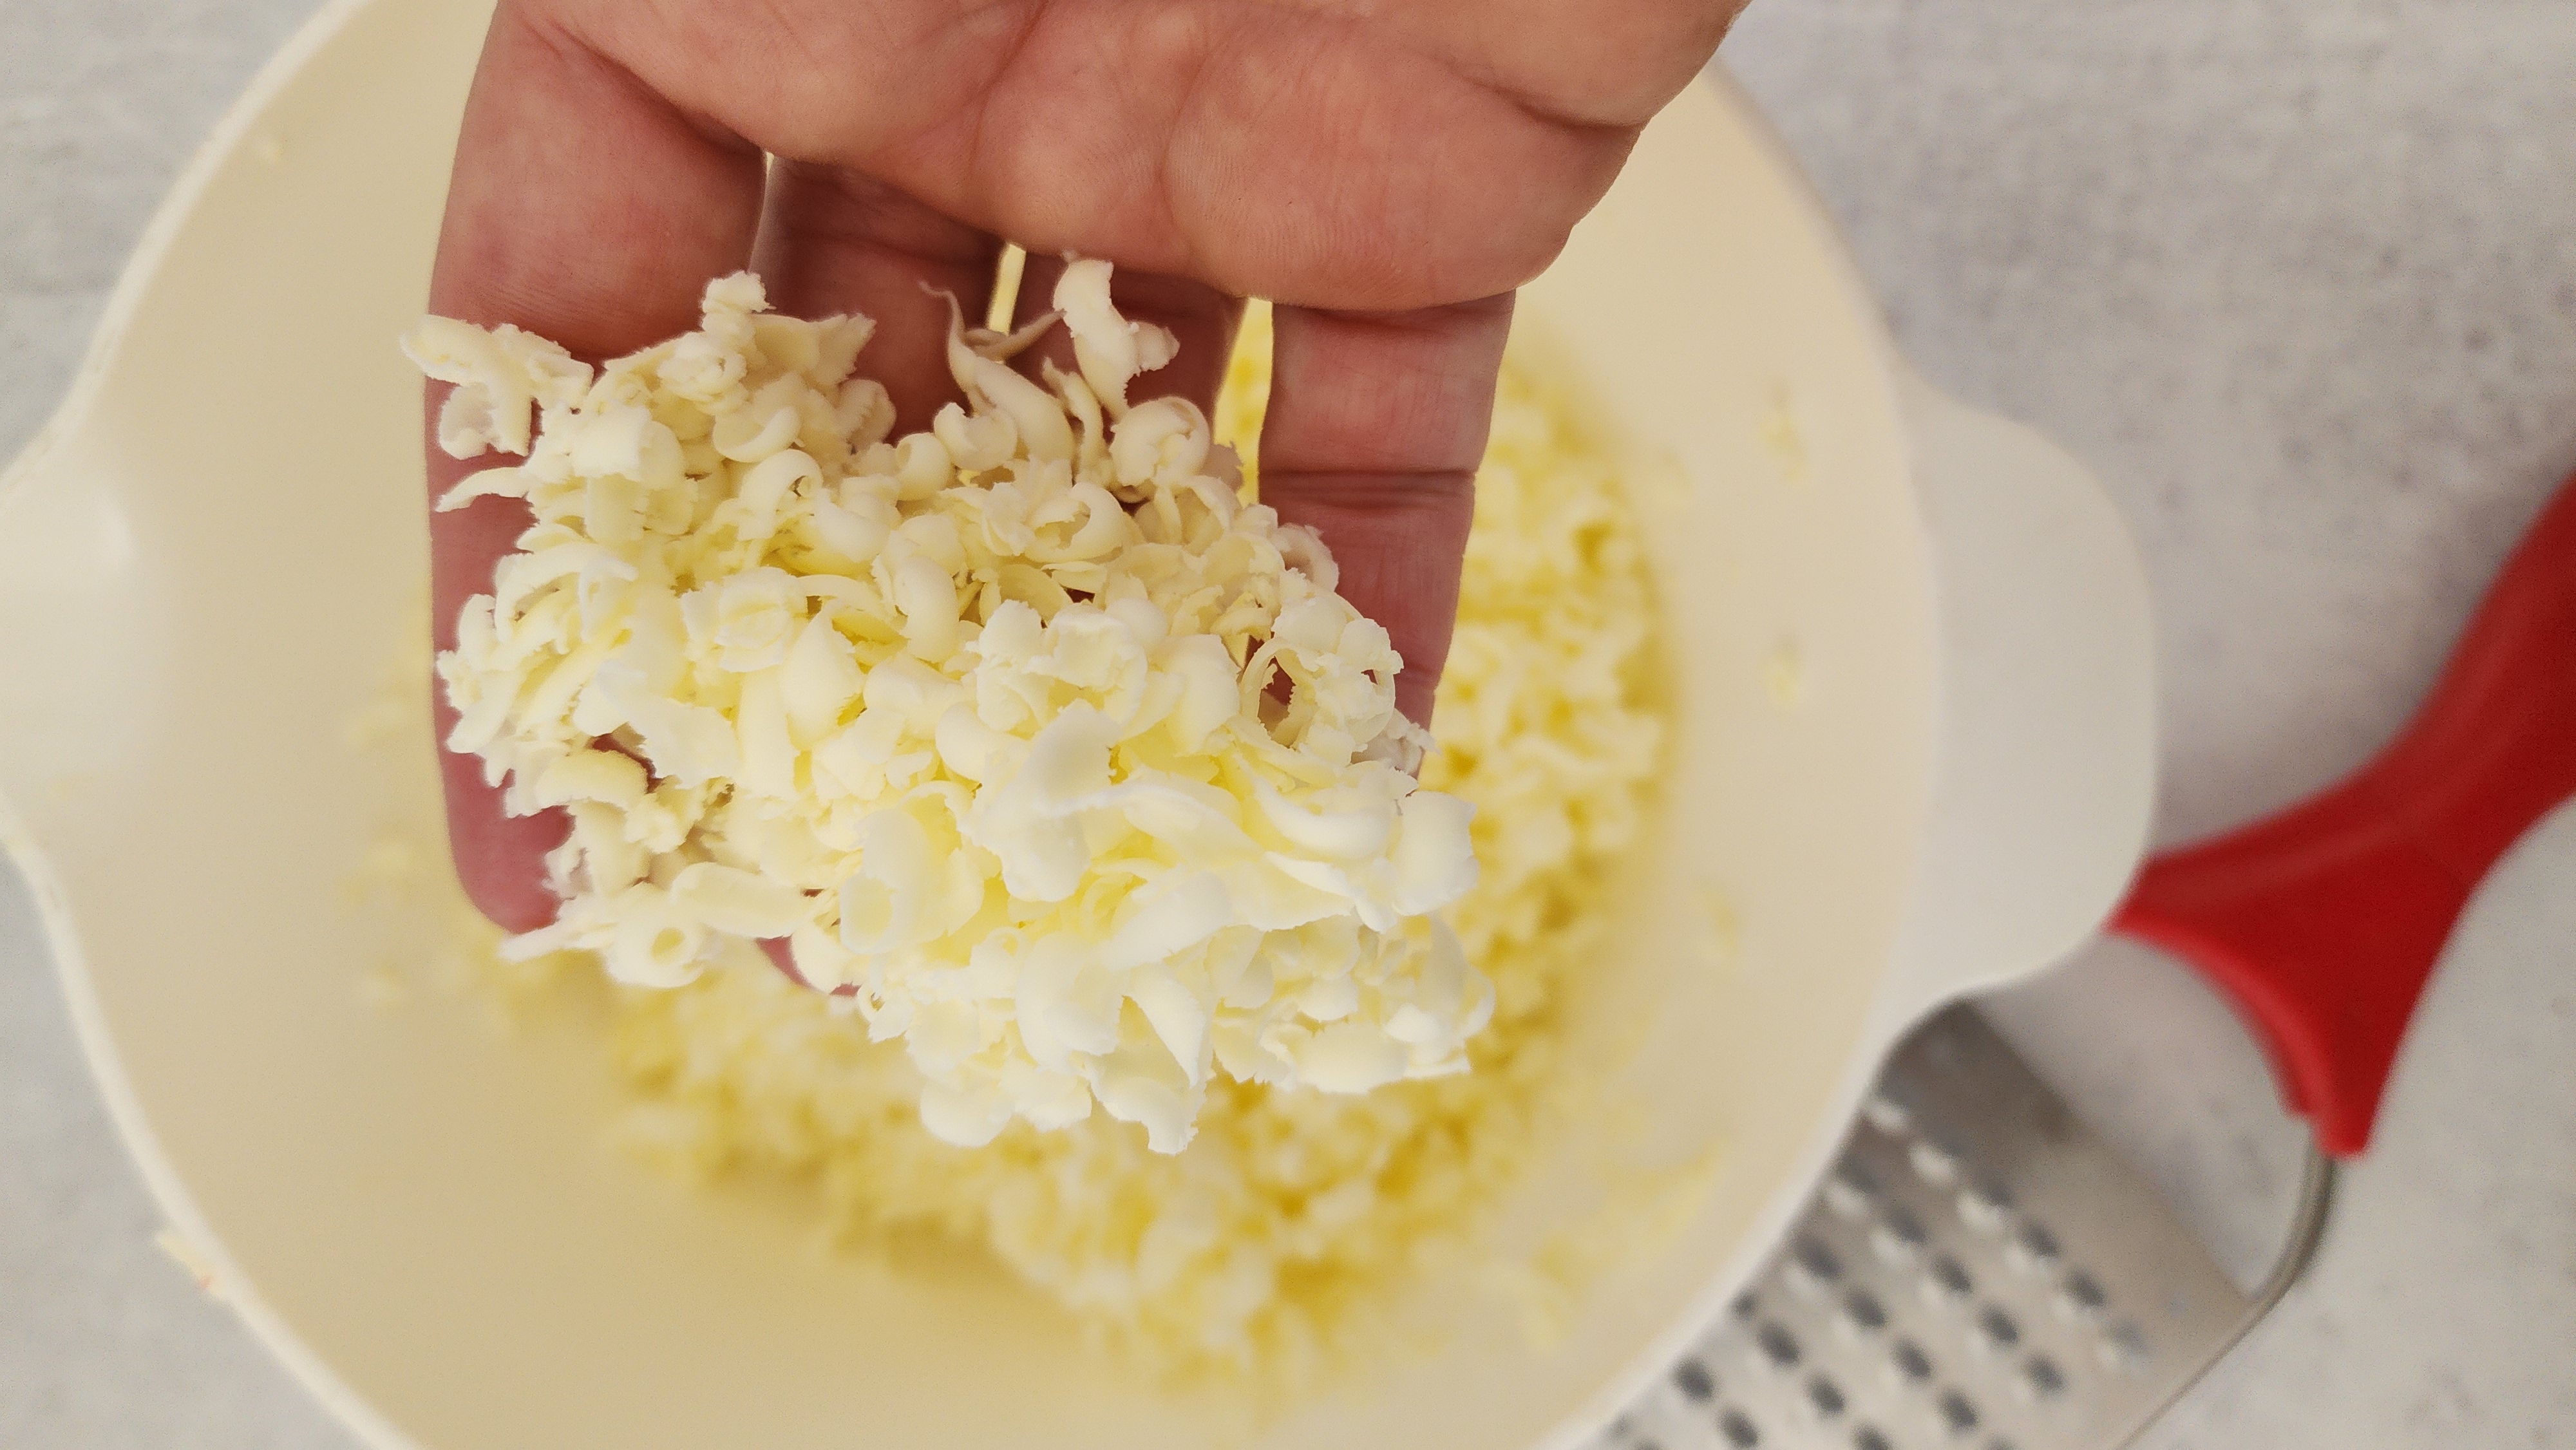
- Grate the butter with a hand grater, and/or pastry cutter, or a food processor. You want to see small pea-sized crumbs of butter in your dry ingredients, a few larger pieces are okay.
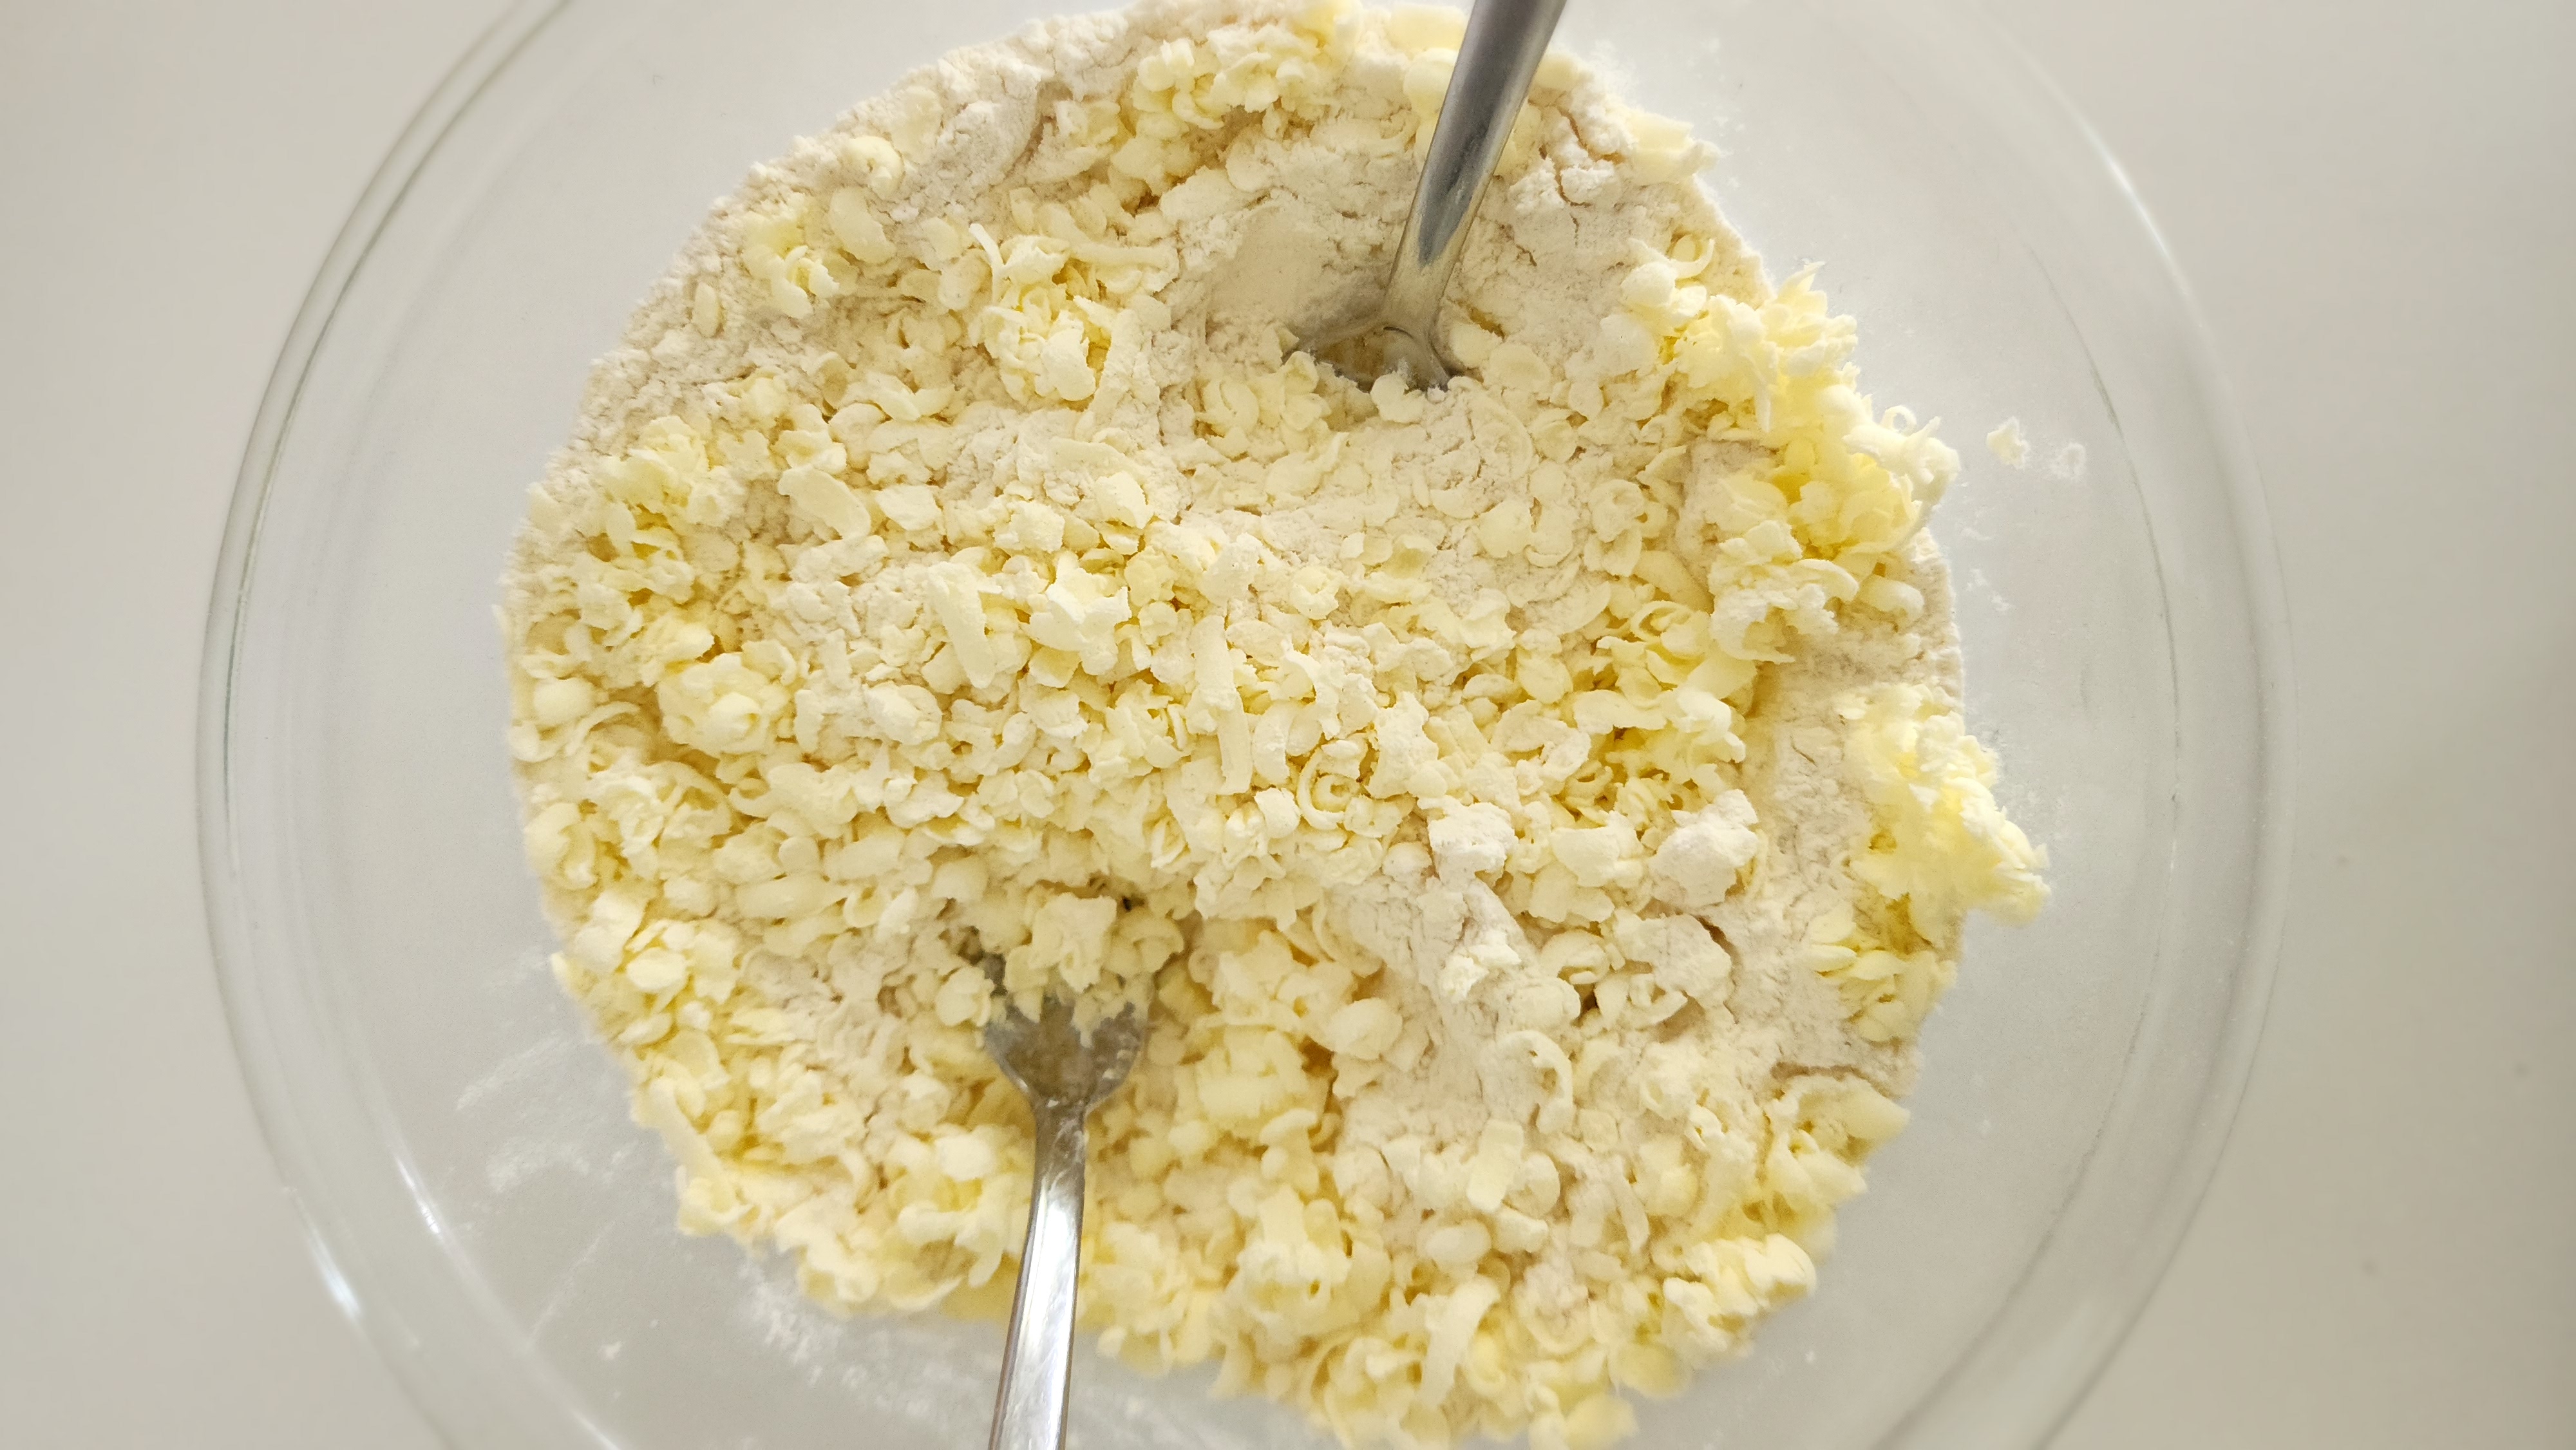
- Mix the grated butter and cut into the dry ingredients with a pastry cutter (several pulses by the food processor) and/or with two forks. Cut/pulse until coarse crumbs form. If at any time your ingredients have become too warm, place in the fridge and/or freezer to ensure your ingredients are cold at all times.
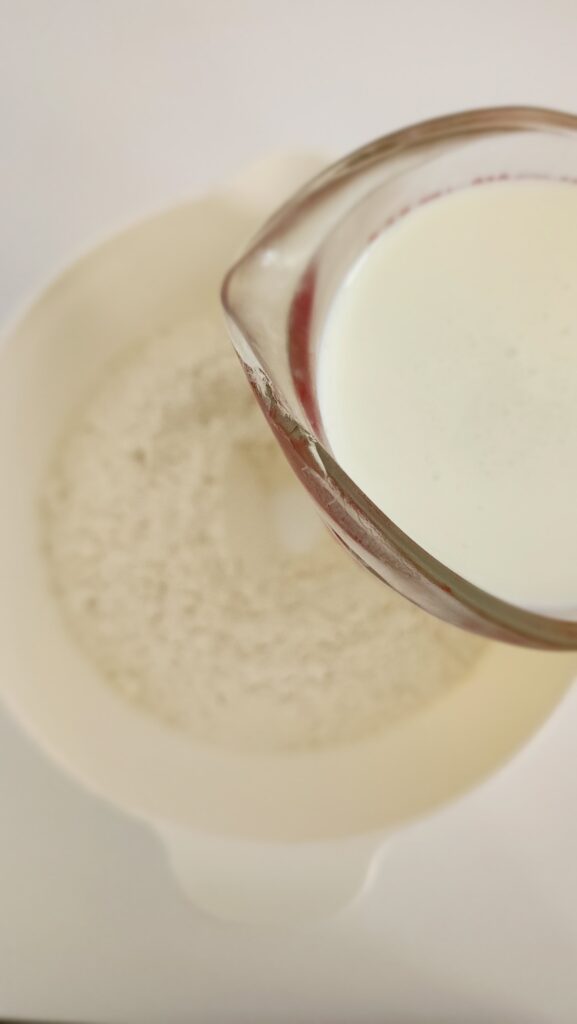
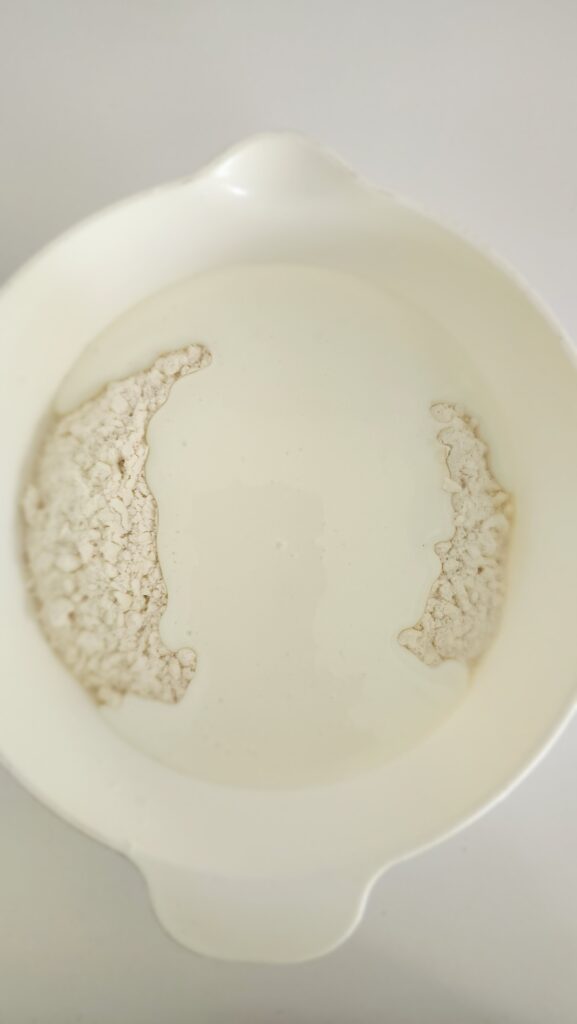
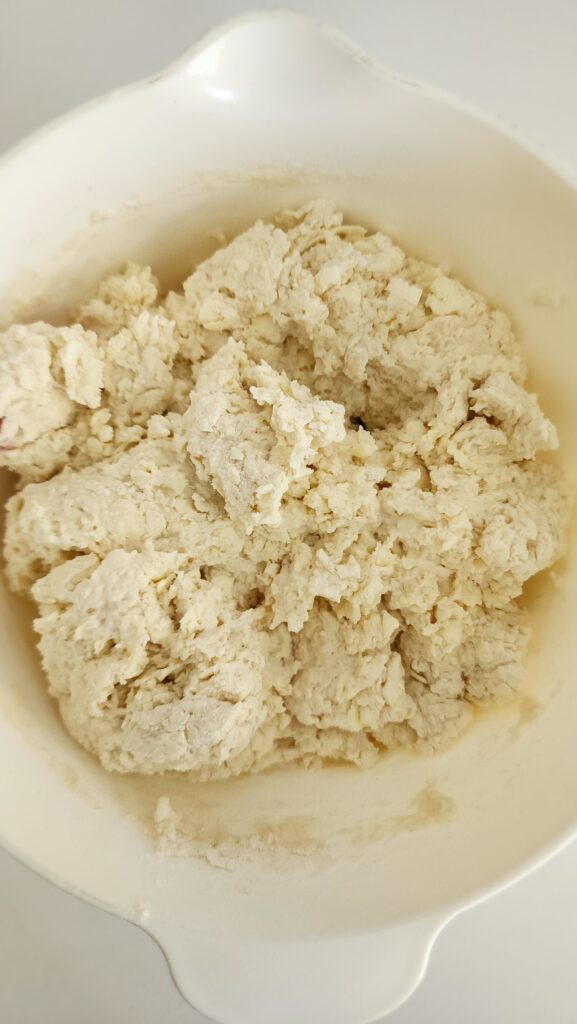
- Make a well in the center of the mixture. Pour 1 cup (240 mL) buttermilk into the center. Fold everything together with a large spoon or spatula until it begins to come together. Do NOT overwork the dough. The dough will be shaggy and crumbly with some wet spots. I placed mine in the freezer to chill.
- Whisk together your egg and a tablespoon of water and set aside to chill in the fridge.
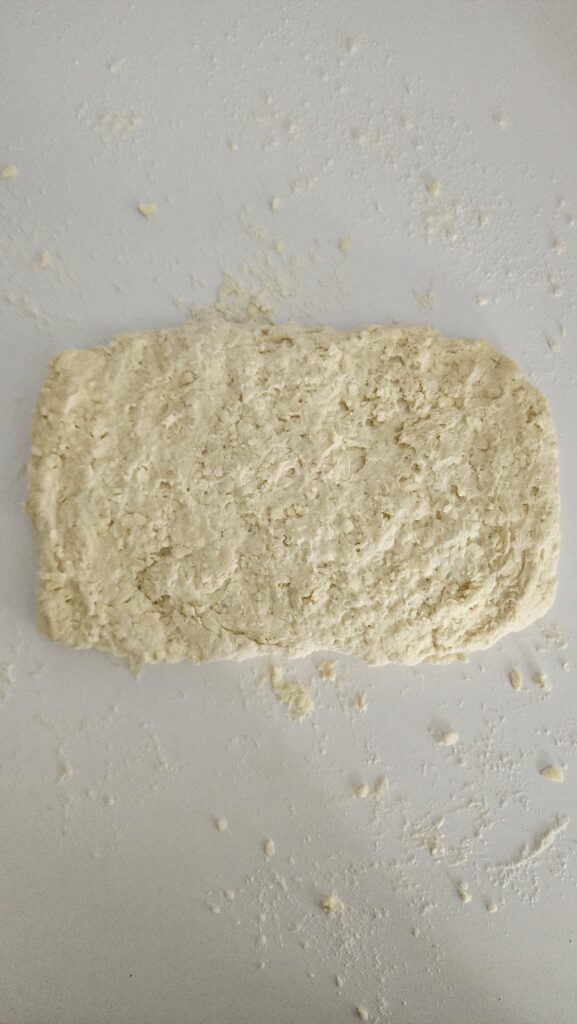
- Pour the dough and any dough crumbles onto a floured work surface and gently bring together with generously floured hands. The dough is sticky, however, have extra flour nearby and sprinkle as needed – just try not to add too much extra flour either. Using floured hands (not a rolling pin), gently pat the dough out into a 1/2-inch thick rectangle using your hands.
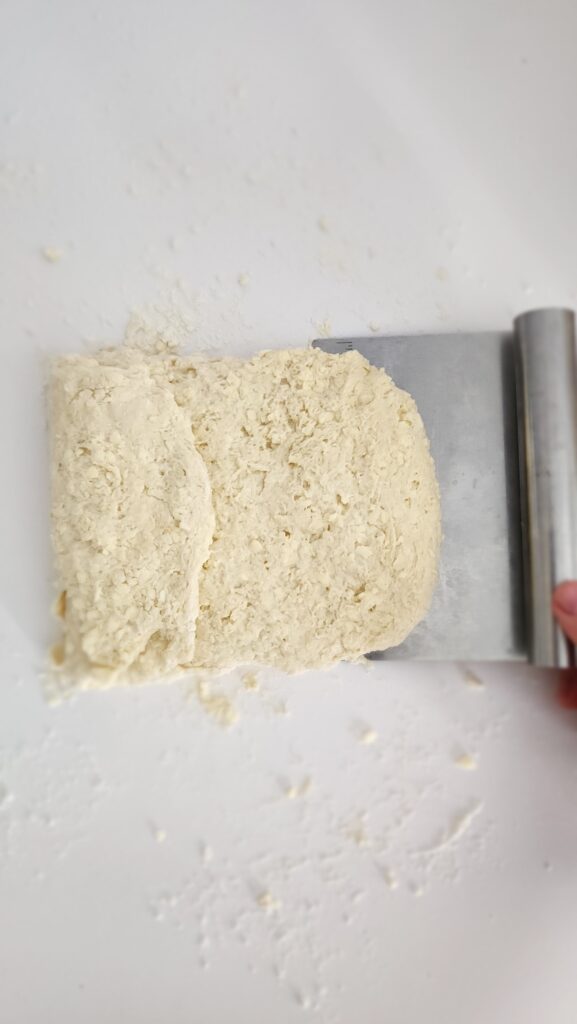
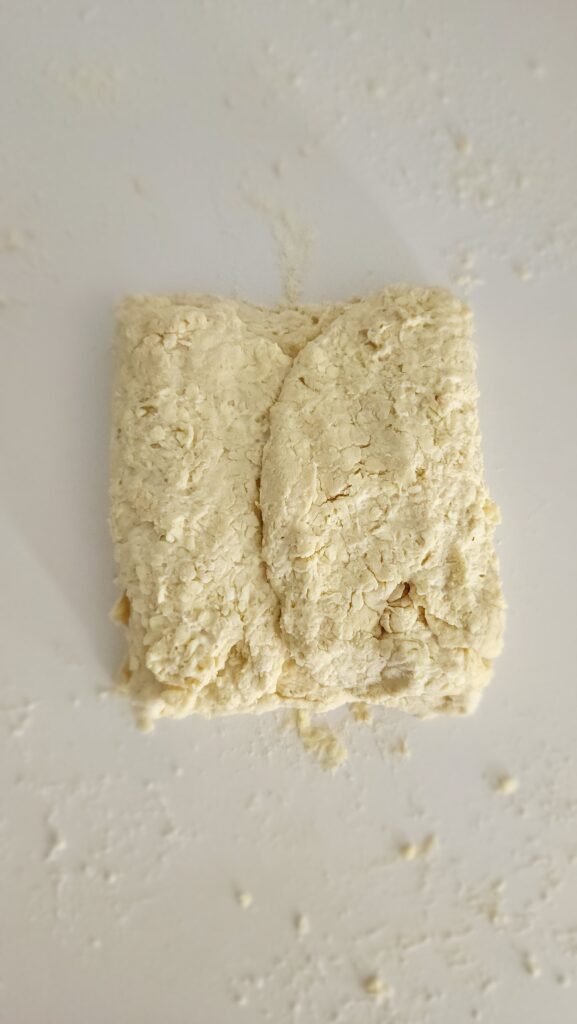
- Fold the dough into thirds like a letter. It doesn’t have to be perfect. Rather you want to be quick and gentle with the dough and only use as much flour as necessary to prevent it from sticking. If you add too much flour that will lead to dense and tough biscuits. Using a bench scraper helps to make easy work of moving the dough without it sticking.
- Repeat this process two more times, rotating the dough 90 degrees before each fold. By the time you’re done, you will have created layers of butter similar to how a croissant does, and this is how the biscuit bakes up tall so flaky!
- Cut into 2 1/2 or 3-inch circles with a biscuit cutter. Tip: Do NOT twist the biscuit cutter when pressing down into the dough as this prevents the biscuit from being able to fully rise.
- Transfer the biscuits to your baking sheet and stick the sheet in the freezer for 5 to 10 minutes (as your oven preheats).
- Remove from the freezer and brush with the egg wash. Bake in the oven for 15 minutes or until the tops are golden brown. Serve warm as you prefer – with more butter and/or jam and/or gravy!
Tips & Tricks for the Best Buttermilk Biscuits
While I don’t have my exact recipe from my Grandma Kimberlain I definitely have made plenty of mistakes so that you don’t have to and may just turn into a biscuit with all the biscuits I’ve made recently. Here are a few tried-and-true tricks to give you the best buttermilk biscuits yet!
- Cold Fat: The butter has to be cold. In Miami, this is a challenge. I started with frozen butter and continued to place in the freezer every so often to ensure that it was cold the entire time. Cold butter allows for flaky layers, as the biscuits bake the little pieces of butter melt, release steam and create pockets of air ensuring your biscuits are airy and flaky on the inside, but remain crisp on the outside.
- Buttermilk: Use buttermilk end of story. With some recipes you can substitute whole milk and lemon juice to mimic buttermilk, however, with biscuits unfortunately it is just not the same. Buttermilk is what creates the most tender biscuit and gives the best flavor AND texture.
- Don’t Over Mix: hard to do, but ideally you’re not overworking the biscuit dough. When you work and handle the dough too much it can result in tough, hard, and flat biscuits. Mix the ingredients together *just* until combined. The dough will be crumbly and that’s completely normal.
- Flatten and Fold: you are laminating the dough. This is what give croissants that light and flaky texture – and this is the same with biscuits in what ensures that the biscuits will bake up tall and have distinct layers of flaky goodness. While these steps are optional, the biscuits will still come out tasting great, they may not be as tall.
- No Twisting the biscuit cutter – while it’s tempting, instead press the cutter down into the dough firmly and then lift up. Twisting it seals off the biscuit edges, preventing the biscuit from rising.
Other Breakfast Recipes
Print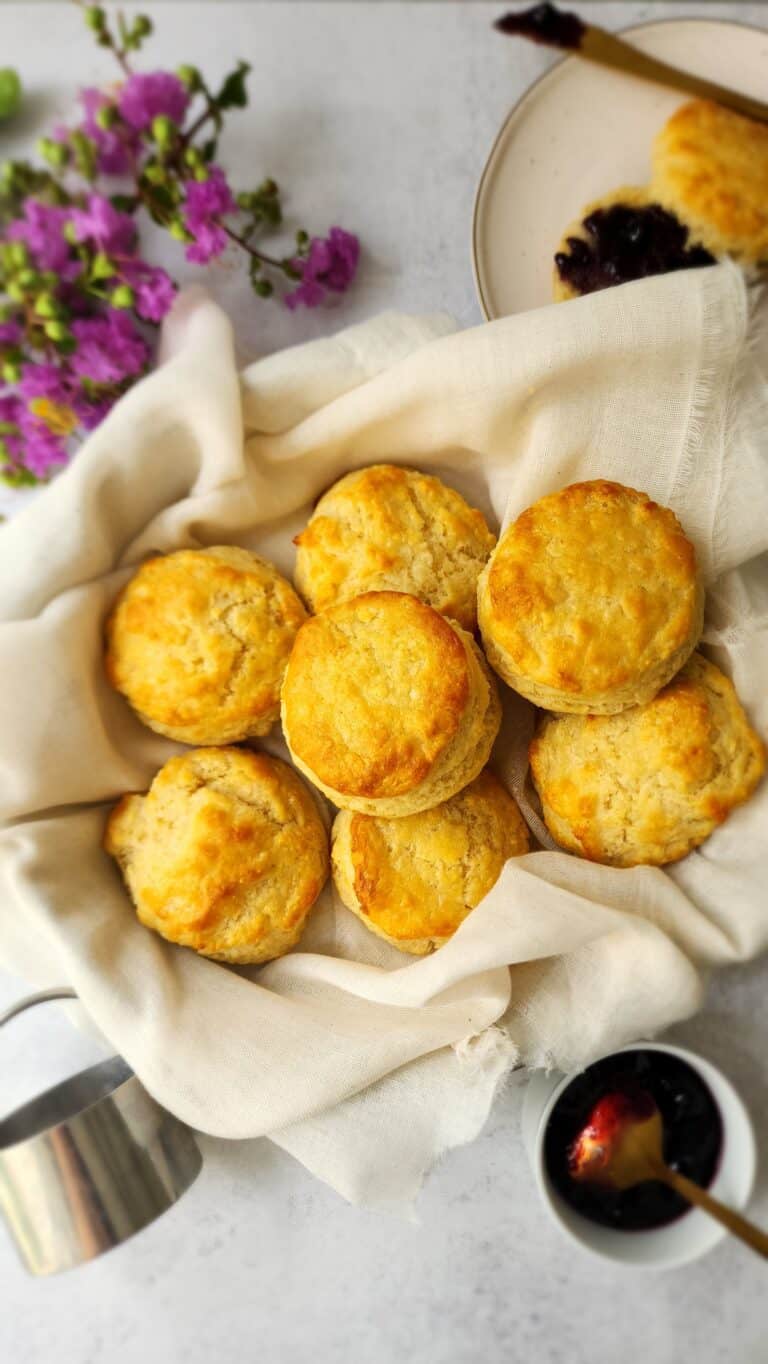
Buttermilk Biscuits
5 Stars 4 Stars 3 Stars 2 Stars 1 Star
5 from 1 review
Buttermilk Biscuits just like my grandma used to make. With just a few simple ingredients and in less than 30 minutes you can have fresh, warm biscuits on the table — perfect for a leisurely breakfast or brunch, a simple supper, or served with jam and a cup of afternoon tea.
- Total Time: 25 minutes
- Yield: 8 1x
Ingredients
- 2 cups (254 g) all-purpose flour
- 1 cup unsalted butter
- 1 tablespoon baking powder
- 1/2 teaspoon baking soda
- 1/4 cup (8 tablespoons) unsalted butter
- 1 cup (240 mL) buttermilk
- 1/2 teaspoon kosher salt
- 1 egg, 1 tablespoon water
Instructions
- Start by preheating your oven to 450°F and lining a baking sheet with parchment paper. Set the baking sheet aside.
- Mix together the all-purpose flour, baking powder, baking soda, and salt in a large bowl.
- Grate the butter with a hand grater, and/or pastry cutter, or a food processor. You want to see small pea-sized crumbs of butter in your dry ingredients, a few larger pieces are okay.
- Mix the grated butter and cut into the dry ingredients with a pastry cutter (several pulses by the food processor) and/or with two forks. Cut/pulse until coarse crumbs form. If at any time your ingredients have become too warm, place in the fridge and/or freezer to ensure your ingredients are cold at all times.
- Make a well in the center of the mixture. Pour 1 cup (240 mL) buttermilk into the center. Fold everything together with a large spoon or spatula until it begins to come together. Do NOT overwork the dough. The dough will be shaggy and crumbly with some wet spots. I placed mine in the freezer to chill.
- Whisk together your egg and a tablespoon of water and set aside to chill in the fridge.
- Pour the dough and any dough crumbles onto a floured work surface and gently bring together with generously floured hands. The dough is sticky, however, have extra flour nearby and sprinkle as needed – just try not to add too much extra flour either. Using floured hands (not a rolling pin), gently pat the dough out into a 1/2-inch thick rectangle using your hands.
- Fold the dough into thirds like a letter. It doesn’t have to be perfect. Rather you want to be quick and gentle with the dough and only use as much flour as necessary to prevent it from sticking. If you add too much flour that will lead to dense and tough biscuits. Using a bench scraper helps to make easy work of moving the dough without it sticking.
- Repeat this process two more times, rotating the dough 90 degrees before each fold. By the time you’re done, you will have created layers of butter similar to how a croissant does, and this is how the biscuit bakes up tall so flaky!
- Cut into 2 1/2 or 3-inch circles with a biscuit cutter. Tip: Do NOT twist the biscuit cutter when pressing down into the dough as this prevents the biscuit from being able to fully rise.
- Transfer the biscuits to your baking sheet and stick the sheet in the freezer for 5 to 10 minutes (as your oven preheats).
- Remove from the freezer and brush with the egg wash. Bake in the oven for 15 minutes or until the tops are golden brown. Serve warm as you prefer – with more butter and/or jam and/or gravy!
- Author: Amy’s Nutrition Kitchen
- Prep Time: 10
- Cook Time: 15
- Category: breakfast


3 thoughts on “Buttermilk Biscuits”
WOW! These look phenomenal. Excited to give these a try!
Love me some buttermilk biscuits! :o) I eat mine with honey.
Seriously THE best! Glad I finally wrote the ‘recipe’ down (to keep on sharing!) Thanks for stopping by!