
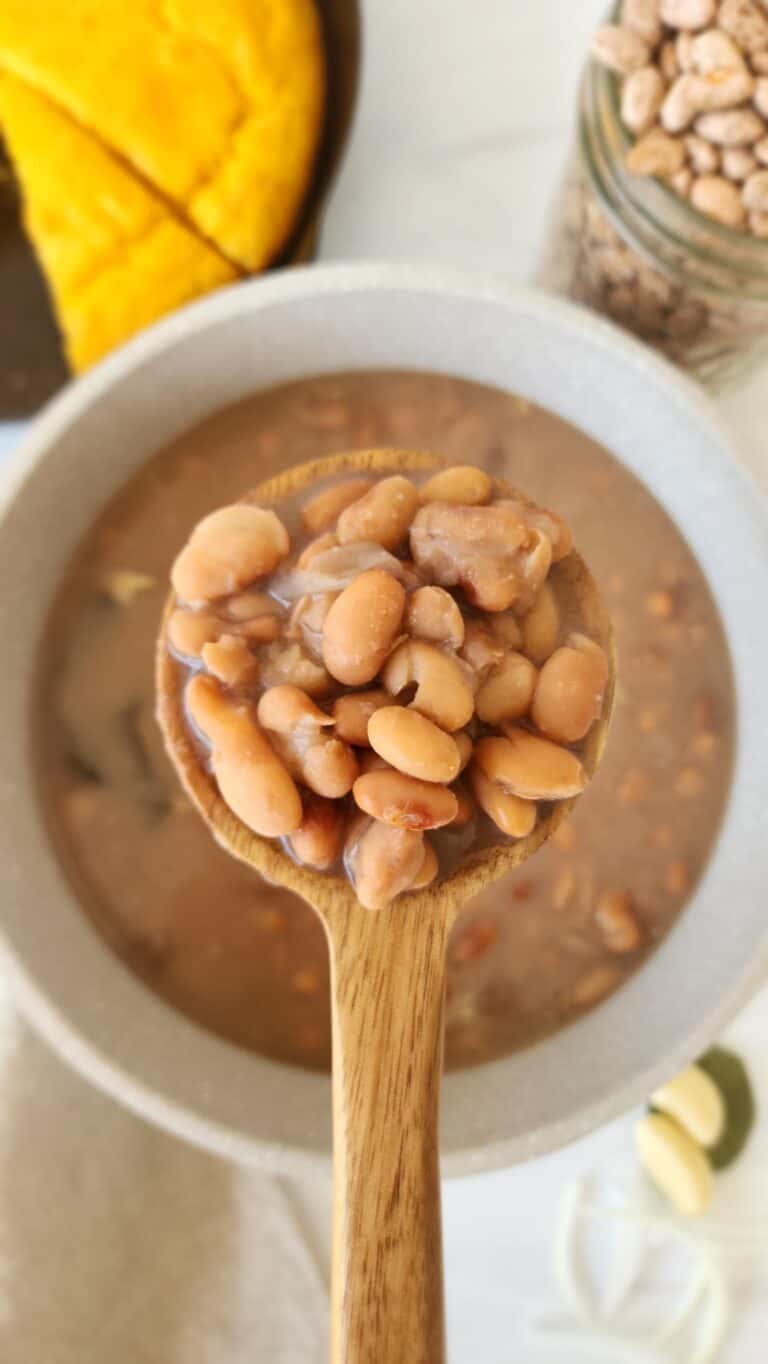
Learn how to cook pinto beans from scratch sans a ham hock! These homemade pinto beans are the best—creamy, tender, and flavorful! You’ll never go back to canned beans. Add cornbread, and call it dinner!
My dad, aka project manager, always tells the story of how pinto beans and cornbread were a staple meal when he was growing up. Depending on the day, he’ll tell you the best part was using the cornbread to wipe up the bean juice or having the leftover cornbread with buttermilk. I can guarantee you that the pinto beans he grew up on used a ham hock for seasoning and flavoring. While I will say that fat provides flavor, I wanted to set off to see if I could make homemade pinto beans sans a ham hock or bacon (*gasp*) and still have flavor!
I’ve said it before, and I’ll say it again: Beans are SO healthy for us! We must eat more beans daily to increase our fiber intake and plant protein. Beans have been shown to help prevent many chronic diseases, including diabetes, heart disease, and more! While many people eat chickpeas and black beans more often, I wanted to share the love with pinto beans as well. Interestingly, when I was at the grocery store, pinto beans were the cheapest bean there was! It actually surprised me. And even though making beans from scratch might not be your jam, I think we can all appreciate saving money all while eating foods that nourish us. Pinto beans helped my dad grow up; they hold a special place in my heart.
Ingredients: Homemade Pinto Beans
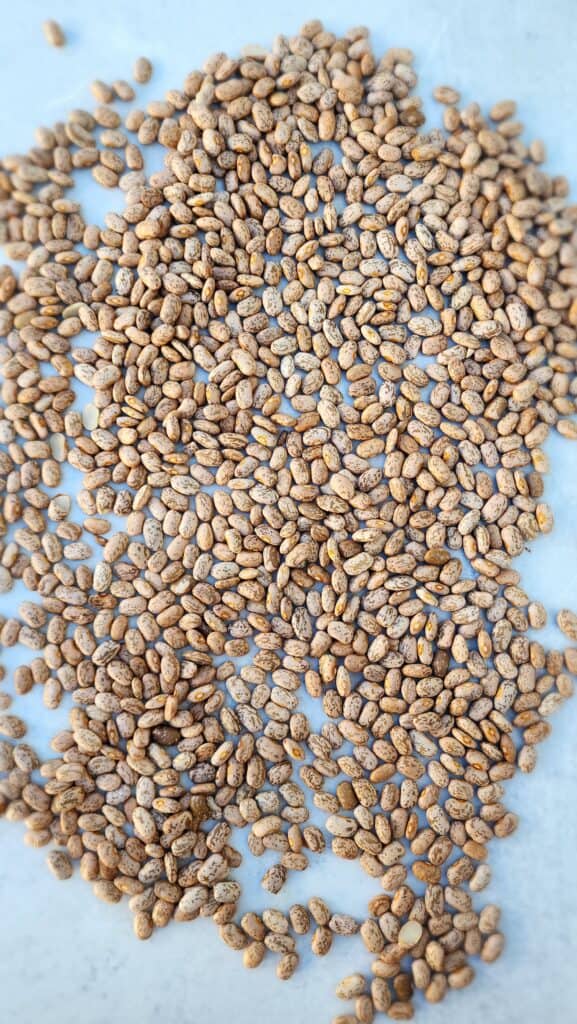
- Dried Pinto Beans: To put things into perspective for amounts: 1 pound of dried beans = 3 cups of dried beans = 6-7 cups of cooked beans. 1 2/3 – 2 cups of cooked beans = 1 can of canned beans (14-16 ounces). This one pound of dried beans will give you the equivalent of 3 cans of beans. That’s a money saver over time! ($1.69 vs $3.87 at my grocery store) And while I know time is money, this is something easy to prepare and work into your routine. Pick over the beans and remove any small stones and/or debris that could be mixed in.
- Salt: Using a teaspoon of salt for each pound of dried beans adds flavor without too much sodium—194 mg per 1/2 cup. You might find you need more; however, start with less and add more if needed.
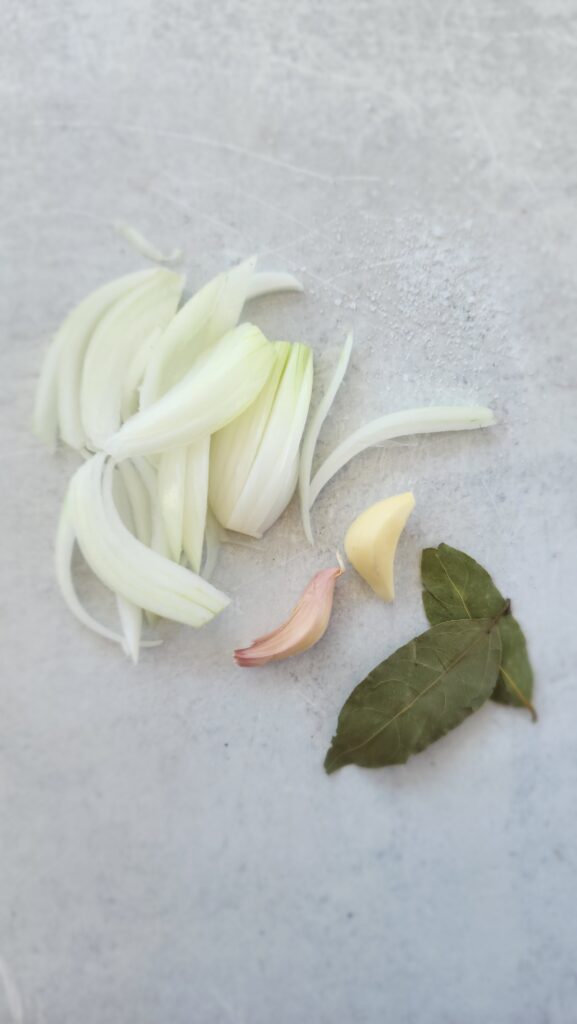
- Herbs: I added in a few bay leaves. While I do not believe my grandma added bay leaves, I did add them because I find bay leaves add a subtle, aromatic depth to dried beans when cooking. They almost bring out the earthiness of beans.
- Onion: I added just a half in my first batch of beans, and then, in my second batch, I added the whole onion. It will depend on the size of the onion; however, I loved adding more to that second batch. Onions are going to provide more flavor to the water (vs. broth), and they’ll release their natural sugars. The beans will not taste sweet, don’t worry. Just trying to provide flavor since we’re not using the ham hock and/or bacon.
- Garlic: The joke is to add the amount of garlic with your heart. I used just two larger cloves, but you could use more if you’d like. Again, this helps to flavor the water (vs. broth) for our beans.
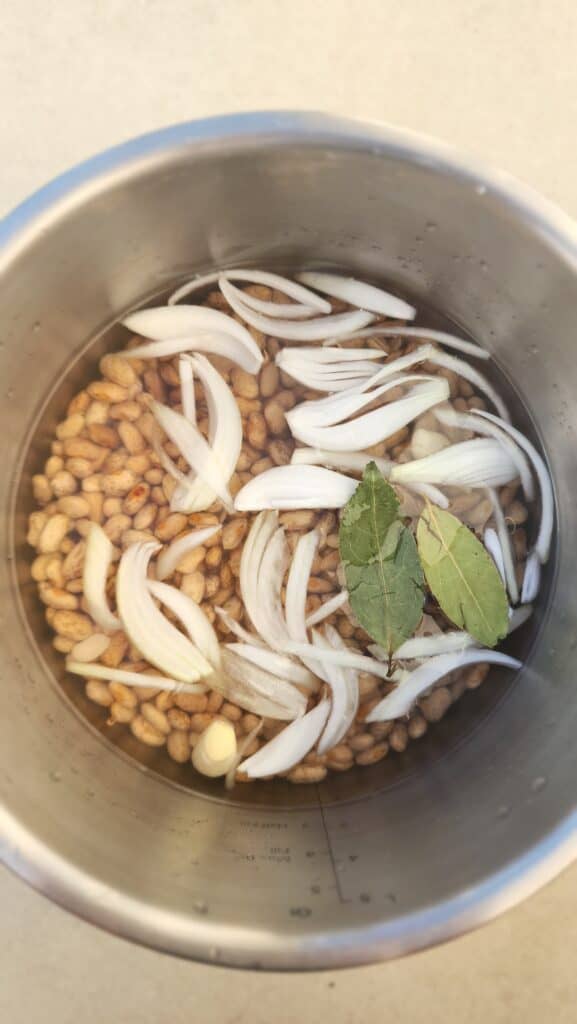
- Water: I simply used water instead of broth to cook the beans. To add extra depth, you could use vegetable and/or chicken stock. Choose one that has low sodium and/or no added sodium. I was going for the more economical route, channeling my grandma’s version. Remember, you can always cook the beans and add more salt if needed.
How To Make Homemade Pinto Beans
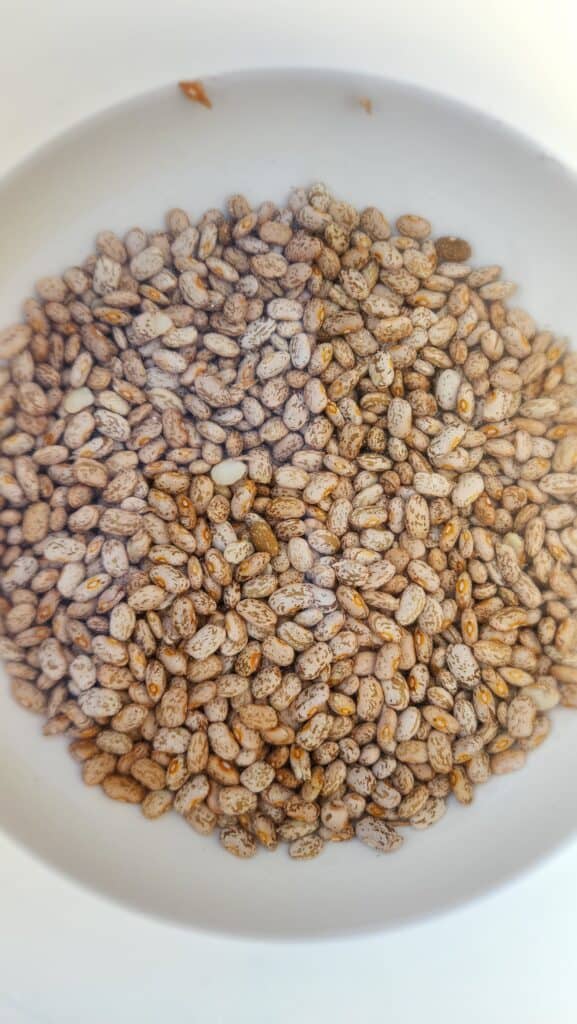
To soak or not to soak, that is the question! Soaking will not only cut down on the cooking time but also help reduce the effects of bloating/gas. While you can make the beans without soaking, you might wonder who has the time for that. – It is a step I recommend, not only for the benefits mentioned above but also because they ended up turning out better. Believe me, I’ve tried both ways. Soak them overnight, for between 6-8 hours, which is the perfect amount of time. Any more and the beans will likely split and separate during cooking. (I also gave the quick soak method in the full directions below.)
- Unsoaked: I’m giving directions for unsoaked, but aim to soak your beans (if you can remember!). Cook on the manual setting at HIGH pressure for 45 minutes with 15 minutes of natural release. Use 6 cups of liquid (water and/or broth).
- Soaked: Pinto beans soaked overnight can be pressure-cooked on the manual setting at HIGH pressure for 15 minutes, allowing 15 minutes of natural release. Use 6 cups of water. The instant pot takes ~10 minutes to heat up, and that time is not included in the total cooking time.
The other extra step I took to make the beans extra creamy was pureeing some of them. This is what really helped make the beans extra creamy! If you’re adding the beans to another dish, I would NOT recommend pureeing them. It all depends on what you’ll be using the beans for!
Perfectly cooked pinto beans are ready to be used in any dish that calls for a can of pinto beans. You can stir pinto beans into soups, add them to tacos, like my Roasted Veggie and Pinto Bean Tacos, or sprinkle them in salads—really, the possibilities are endless. Next up, I’ll be using these pinto beans to make ‘refried’ beans sans the frying. Stay tuned!
Storage and Freezing Tips
- Storage: Leftover pinto beans can be refrigerated in an airtight container for up to three days.
- Freeze: Place 1 1/2 cups of cooked beans in a quart-size freezer zip-top bag, and then fill with cooking liquid (don’t puree them if you’re freezing them). Close the bag, lay it flat, and freeze until solid. This is the equivalent of one (15-ounce) can and can stay frozen for up to six months.
Final side note on these pinto beans: Many will say you have to use a ham hock, bacon, and/or lard. I hear you. Southern cooking uses these sources of fat to provide flavor to dishes. As a dietitian and a daughter of someone raised on pinto beans made with lard (most likely), I’m here to offer the recipe in my version—still with flavor yet heart-healthy.
Other Bean Recipes
- Chickpea ‘Tuna’ Salad
- Roasted Chickpeas
- Pressure Cooker Black Beans
- Butternut Squash & Black Bean Tacos
Homemade Pinto Beans
Learn how to cook pinto beans from scratch sans a ham hock! These homemade pinto beans are the best—creamy, tender, and flavorful! You’ll never go back to canned beans. Add cornbread, and call it dinner!
- Total Time: 20 minutes
- Yield: 12 1x
Ingredients
- 1 lb dried pinto beans, rinsed, soaked, and sifted
- 6 cups water
- 1 teaspoon salt
- 2 bay leaves
- 2 garlic cloves, sliced
- 1 small onion, sliced
Instructions
- Add pinto beans to a bowl and cover with water by about 3 inches. You want to make sure they’ll be fully covered. Soak overnight, or for at least 6-8 hours at room temperature (no more or they’ll split when cooking.)
- Drain and rinse the pinto beans well. Add the beans to the Instant Pot and cover with 6 cups of water, just enough to cover them fully.
- Add the garlic cloves, sliced onion, and salt to the beans.
- Pressure cook on high for ~15 minutes.
- Release the pressure: Allow the pot to naturally release all the pressure for 15 minutes. Be careful of the steam. Drain off any excess cooking liquid – you can keep the cooking liquid for freezing if you puree a portion of the beans, but drain it if you want the cooked beans to be used in other dishes.
- Enjoy! These beans are ready! Store in the refrigerator for 3-4 days, or in the freezer for up to 6 months (if they’re properly stored).
Notes
*The other step I took to make the beans extra creamy was pureeing some of them. This is what helped make the beans extra creamy! If you add the beans to another dish, I would NOT recommend pureeing them. It all depends on what you’ll be using the beans for! 2 cups of beans with some of the bean liquid and add either to a blender, food processor, or immersion blender to puree. Add back to the rest of the beans.
*To quick-soak dried beans, place them in a large pot and cover them with at least two inches of water. Bring to a boil over high heat, adjust the heat, and cook at a low boil, uncovered, for two minutes. Remove from the heat and let the beans continue to soak, uncovered, for one hour. Drain, and then cover with fresh water in the pressure cooker.
- Prep Time: 5
- Cook Time: 15
- Category: Dinner

1 thought on “Homemade Pinto Beans”
They look SO delicious! Can’t wait to give them a try!