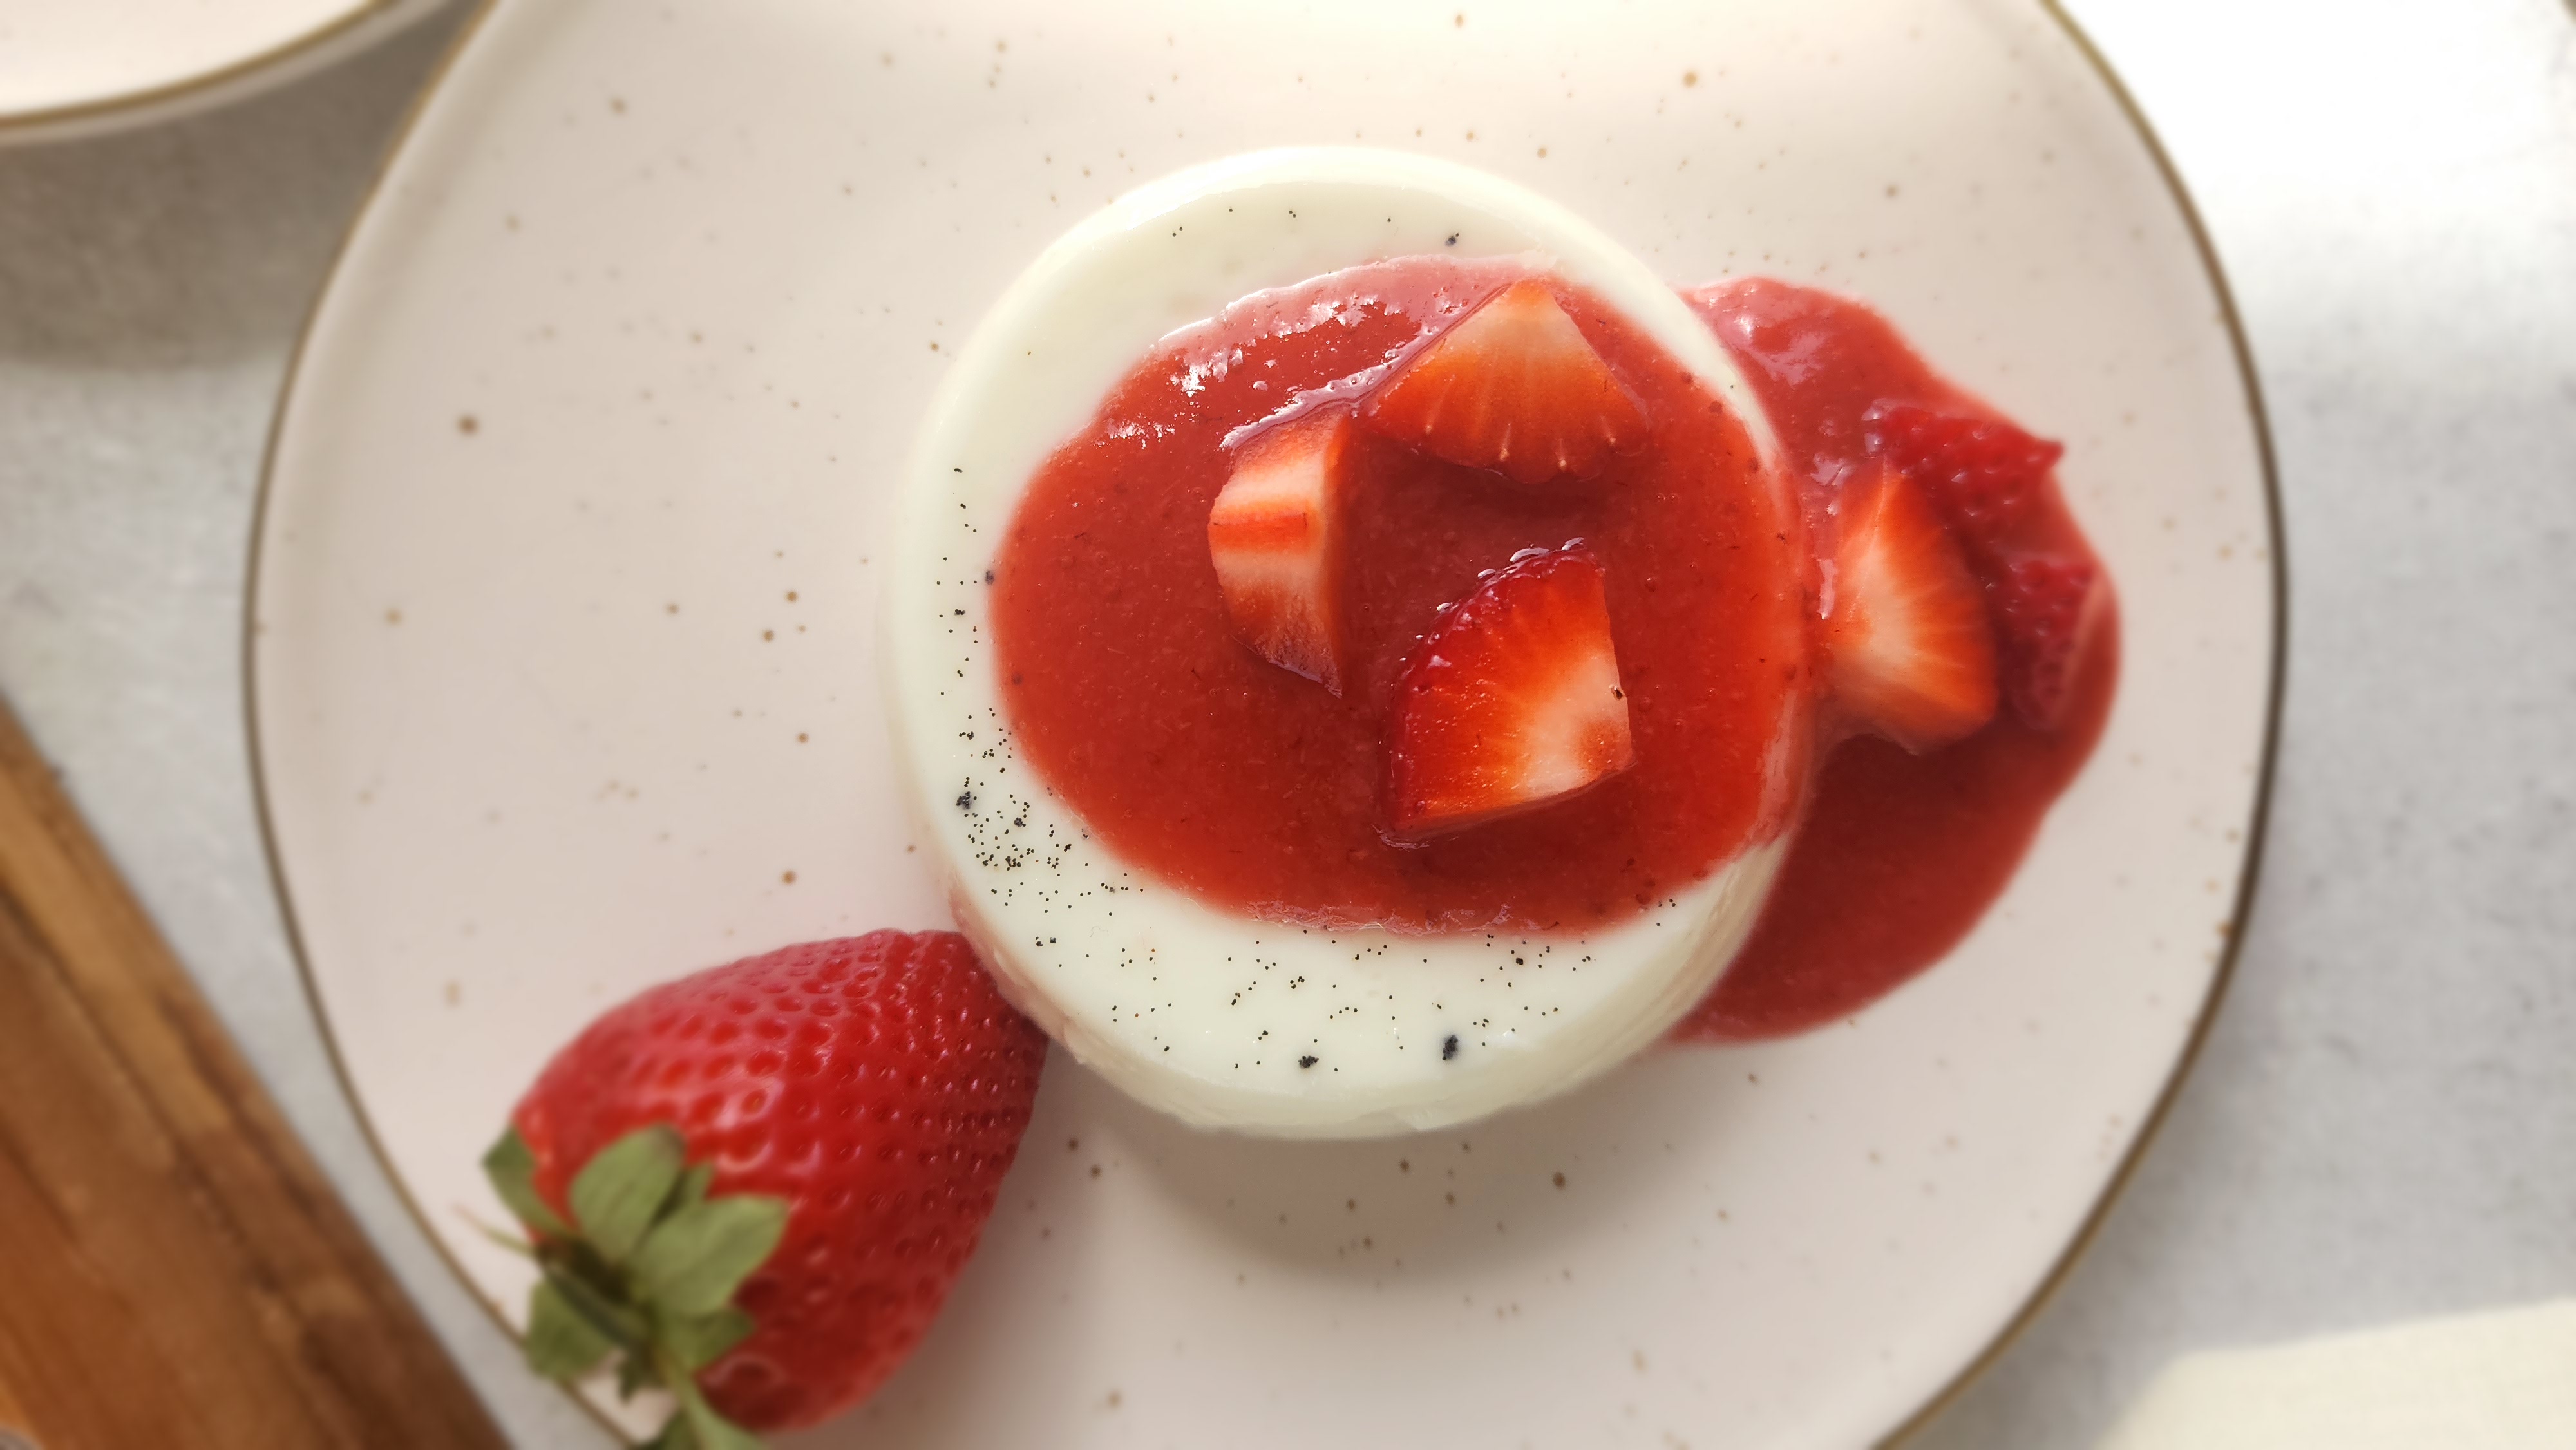
This vanilla panna cotta is a classic recipe for authentic Italian panna cotta. If you need a simple and impressive dessert, this recipe will be your go-to! Serve in individual portions, top with a simple strawberry sauce, eat, and enjoy!
Panna cotta might be one of my favorite desserts. Often thought to be difficult to make but actually isn’t. And what’s even better? It’s quite impressive for get-togethers, holidays, and celebrations. The hardest part is making sure the gelatin blooms and is thoroughly mixed (I ate plenty to make sure to get the foolproof way!), but all you need is five ingredients, a handheld frother, a little bit of time so it sets, and you’ll have yourself a smooth Vanilla Panna Cotta!
Panna cotta means ‘cooked cream’. And if you’ve been around the blog for a while, you know that as a dietitian, I’m here to promote health, but food is more than just fuel! Food is cultural, social, celebratory- all of those things combined! So, if you’re wondering why, as a dietitian, I’m promoting cooked cream, please understand I’m not suggesting panna cotta for breakfast, lunch, and dinner. Rather, look to find a way to incorporate foods that do bring pleasure and incorporate inclusion versus exclusion. It is a hot topic, and it is very common to find people going with an all-or-nothing approach, which, most of the time, does not work. Back to this easy, almost foolproof dessert that you’ll want to have in your repertoire, it’s that impressive!
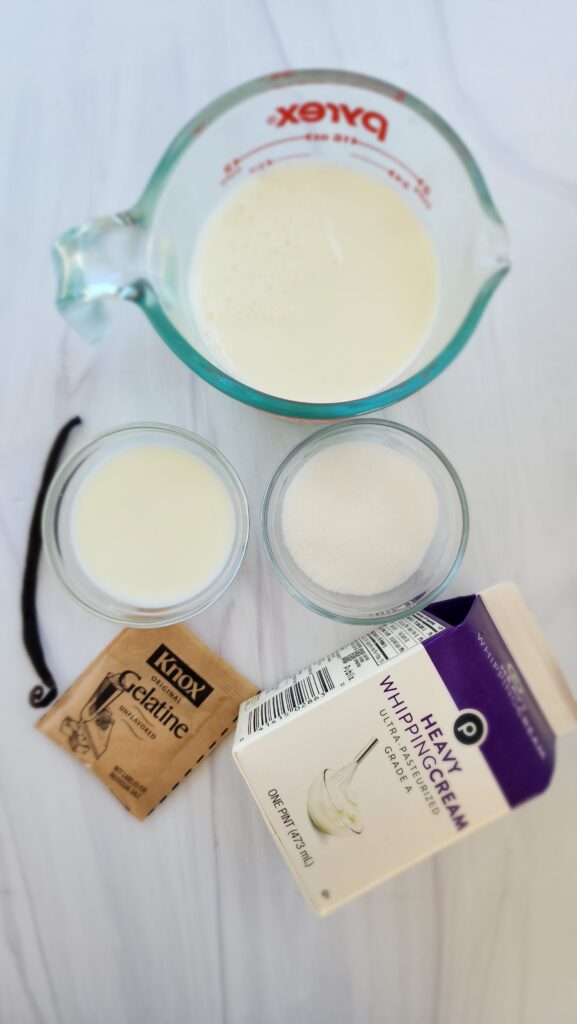
Ingredients: Vanilla Panna Cotta
- Heavy cream—Some recipes use either all whole milk or all heavy cream. I found that the even amounts made it taste smooth and creamy enough. Keep in mind that we are cooking cream, so using a lower-fat version is not recommended. This is dessert.
- Whole Milk—See above, but you could use just whole milk, and it would still turn out divine.
- Sugar—I cut back on the amount of added sugar but still found it just sweet enough. I paired this with the strawberry sauce, but you could also use more sugar in the panna cotta and less in the sauce. You get to decide, but know that I wrote the recipe here, and it tastes sufficiently sweet to me! (Again, you can always make it taste sweeter with whatever topping you end up using if it’s not sweet enough for you.)
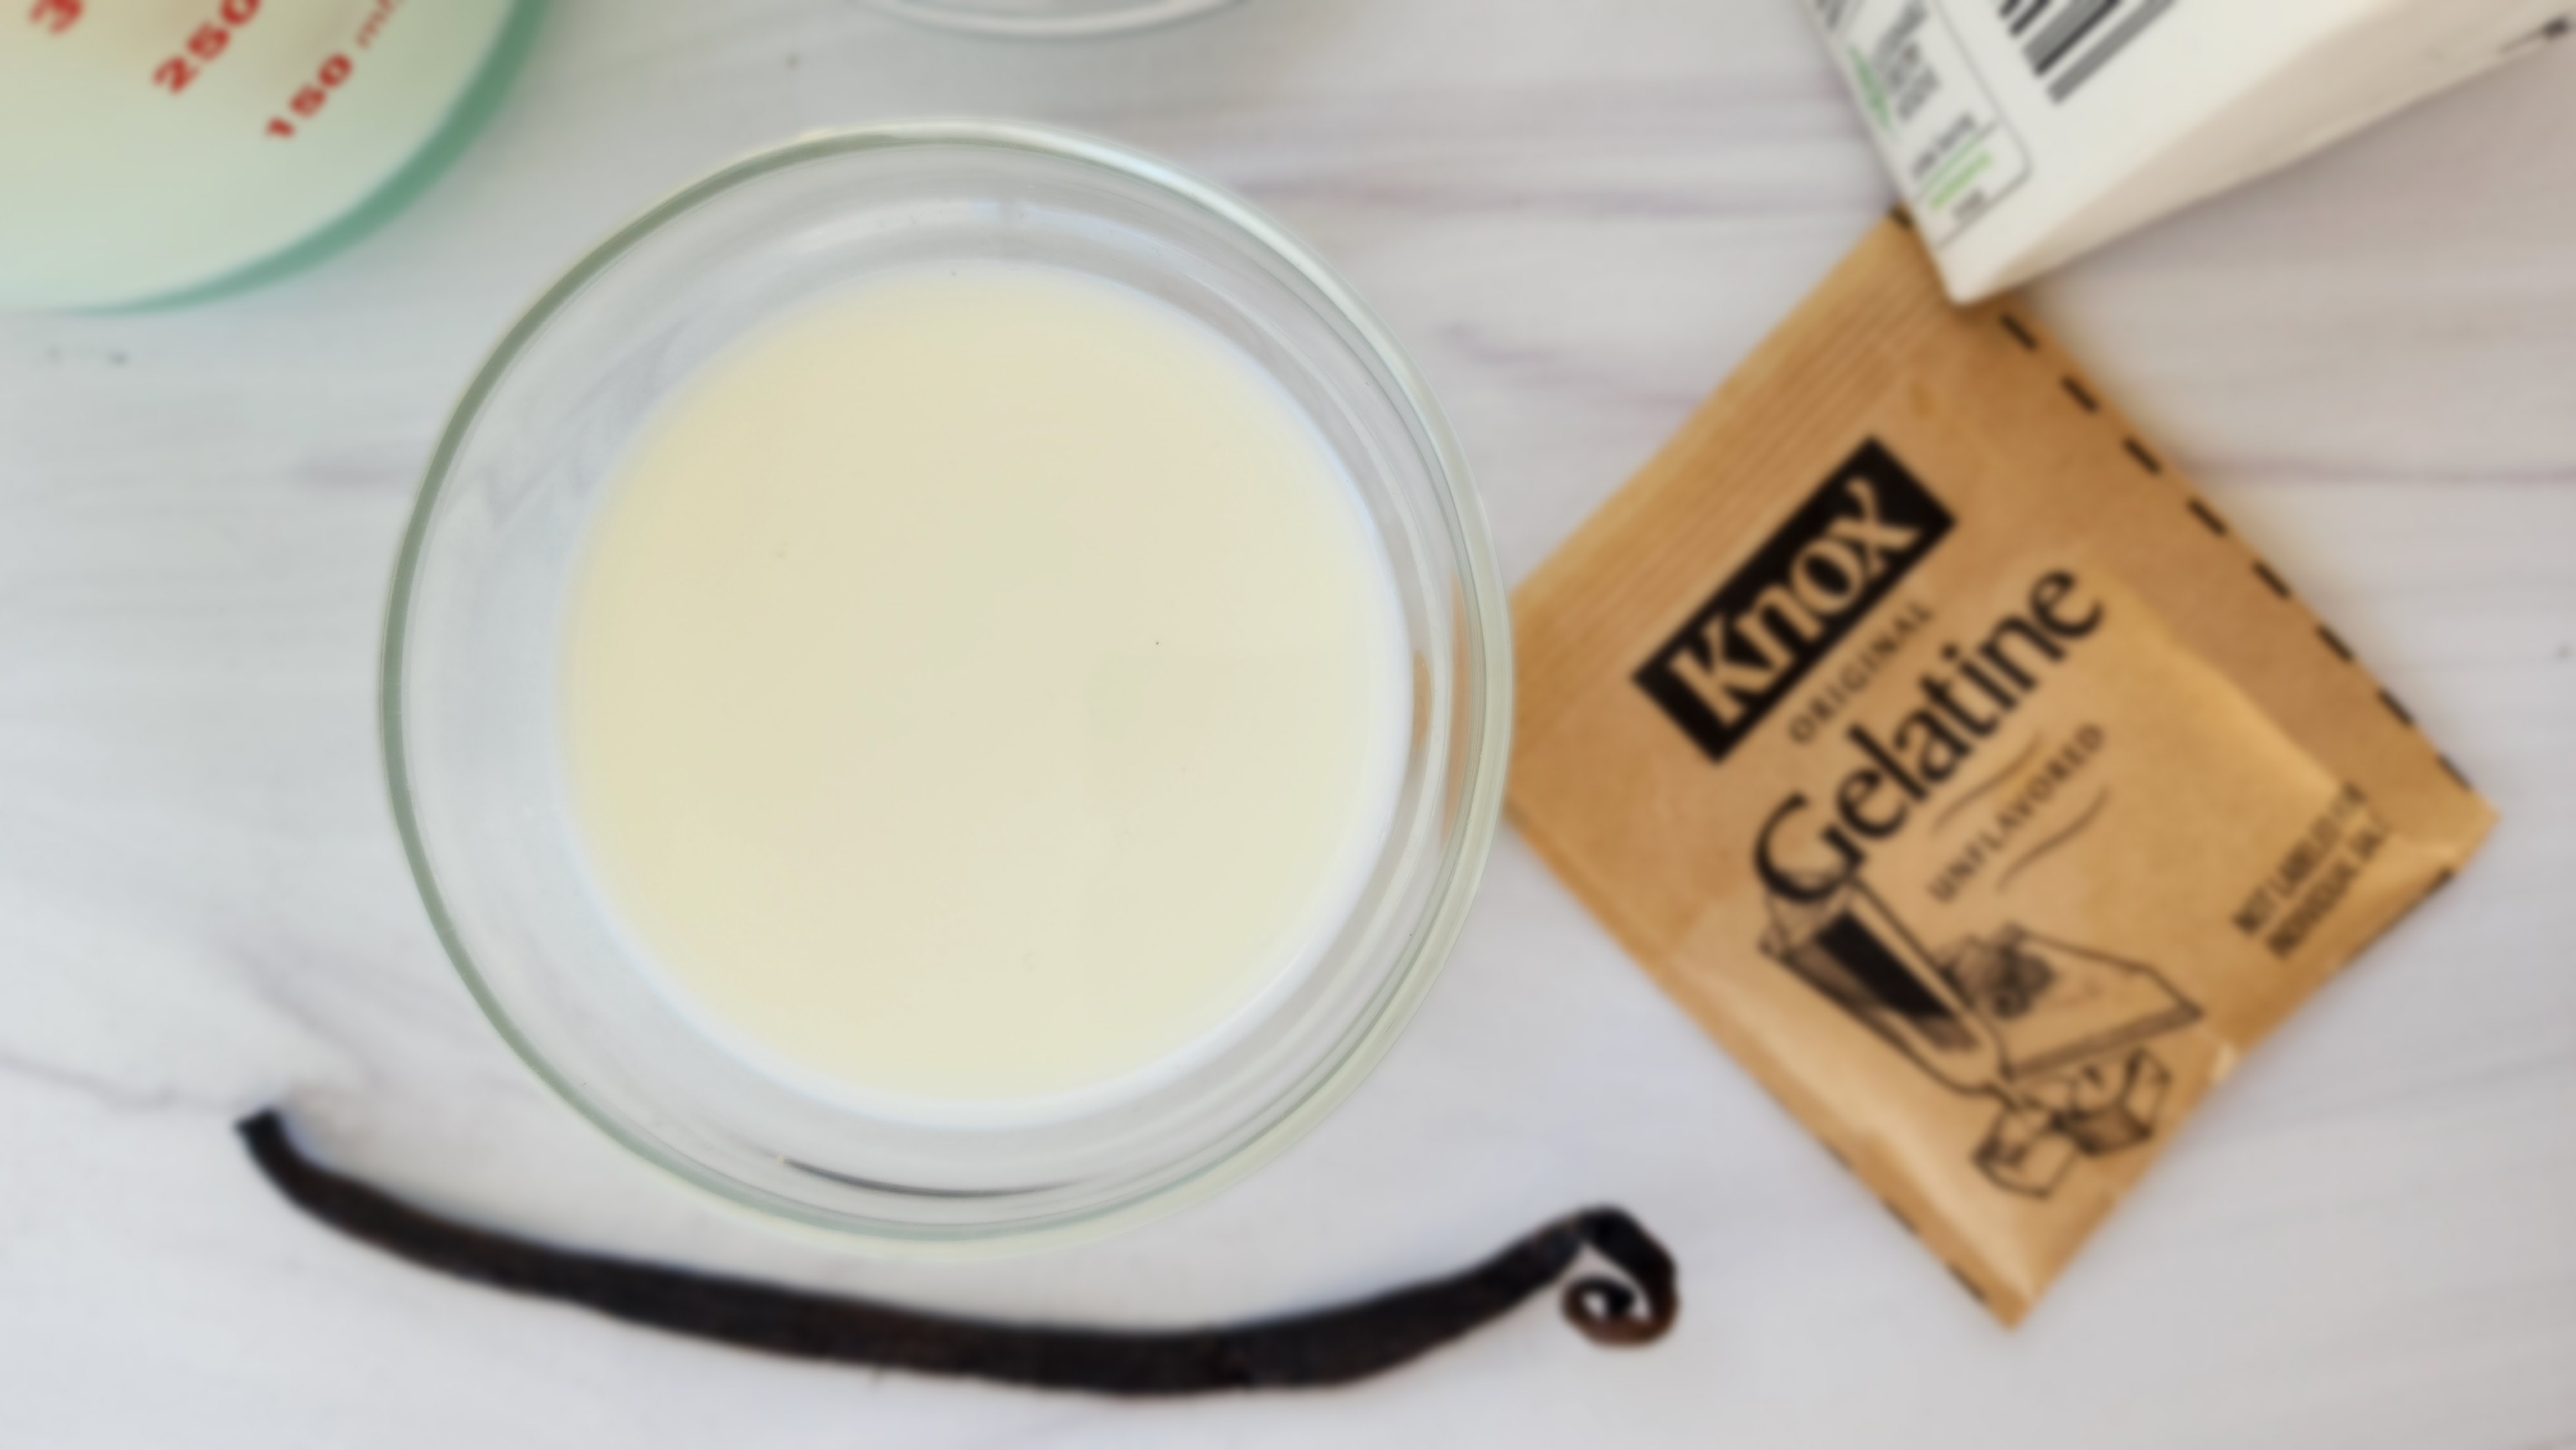
- Unflavored Powdered Gelatin—Use plain, unflavored gelatin. You can find this in the grocery store aisle with the baking supplies. I have not tried this with agar-agar, but it dissolves similarly and could probably be used in place of the gelatin! Use powdered gelatin, not gelatin sheets.
- Vanilla Beans—You can use vanilla extract if you don’t have vanilla beans on hand, as they are more expensive. I like steeping the vanilla bean pod in the cream mixture. Vanilla can steep for up to 24 hours, but beyond that, it won’t impart any more flavor. If you’re using other aromatics, you wouldn’t want to steep for too long, as some can become bitter in taste, e.g., tea or lavender.
How To Make Vanilla Panna Cotta
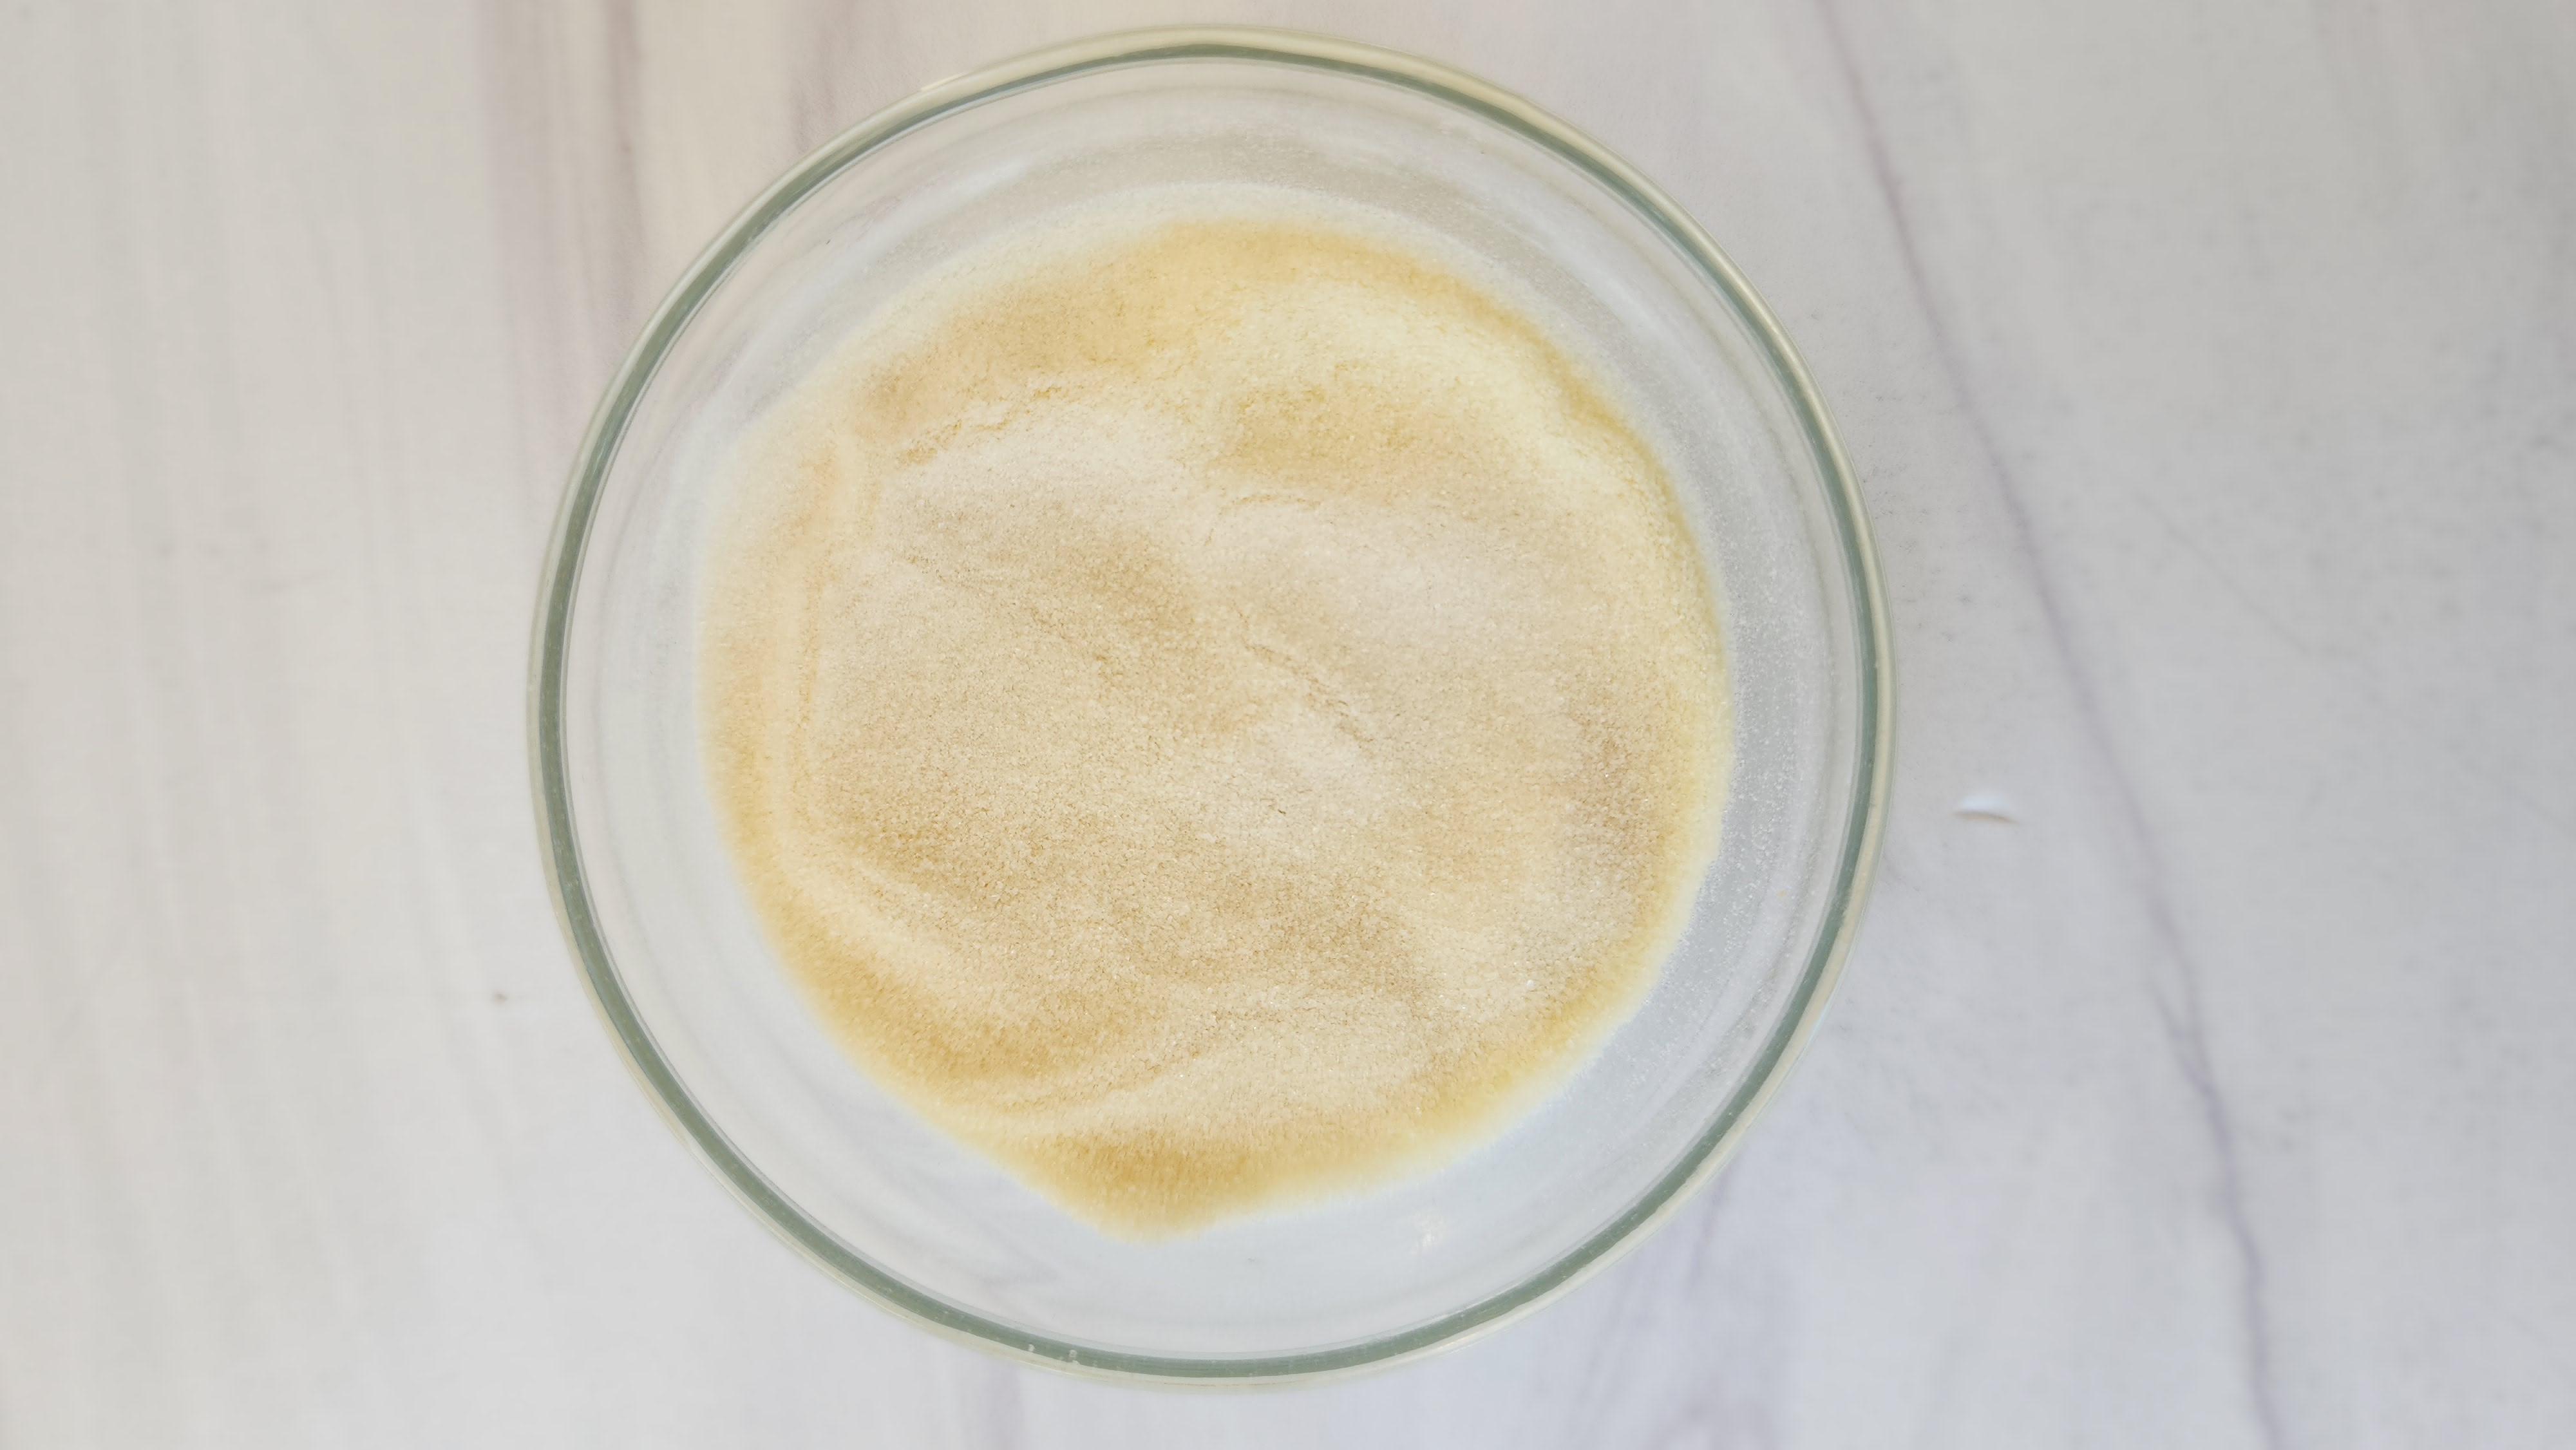
- Bloom the gelatin. Sprinkle the gelatin over cold milk in a small mixing bowl and let sit for a few minutes to gelatinize. The gelatin mixture turns into something that looks like soft, rubbery Jello.
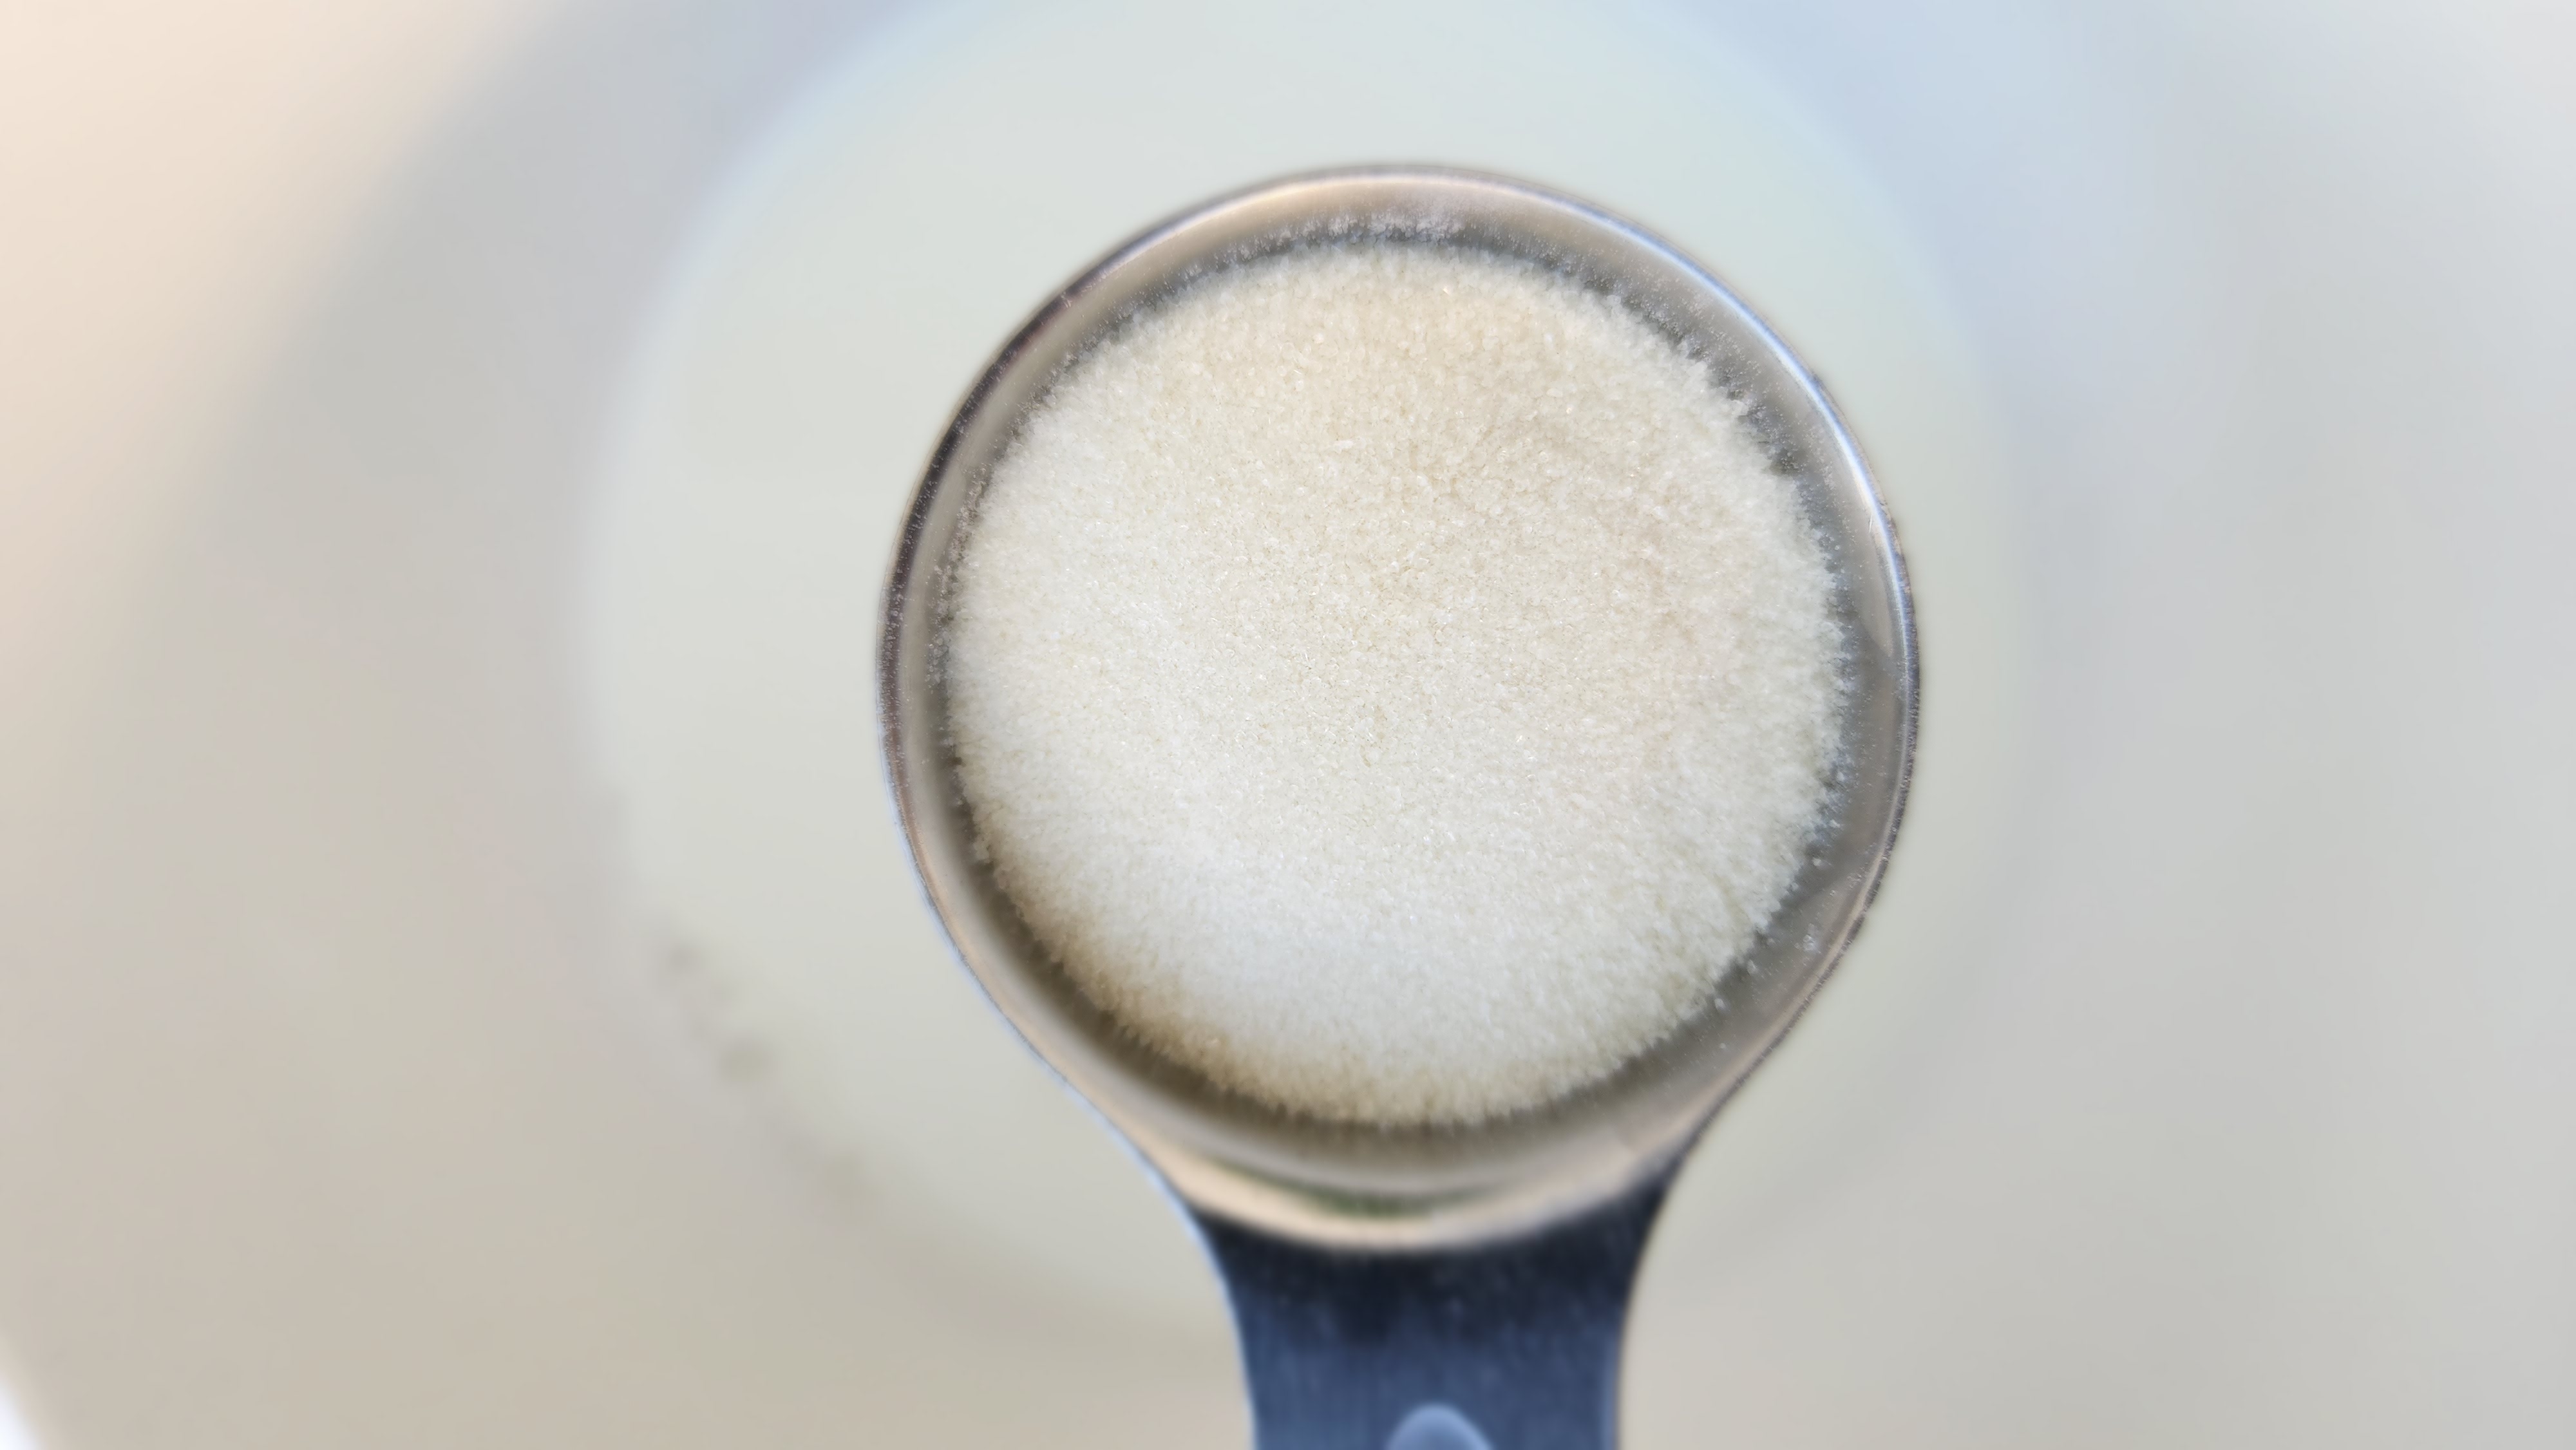
- Make the cream mixture. While the gelatin is setting, heat the whole milk, cream, sugar, and vanilla beans (once scraped from the vanilla pod) in a saucepan until hot. Do not bring this mixture to a boil; simply heat it hot enough to dissolve the sugar.
- Add the gelatin. Turn off the heat and add the gelatin mixture to the hot cream mixture. Immediately whisk until smooth. Make sure the mixture is completely smooth and the gelatin has dissolved. I used a milk frother to ensure all the gelatin was mixed in (as many times as I made this, this was the one step I recommend including). Otherwise, you might be unable to thoroughly dissolve all the gelatin, and no one wants pieces of gelatin in their dessert!). Let the panna cotta cool, occasionally whisking to keep it thoroughly mixed.
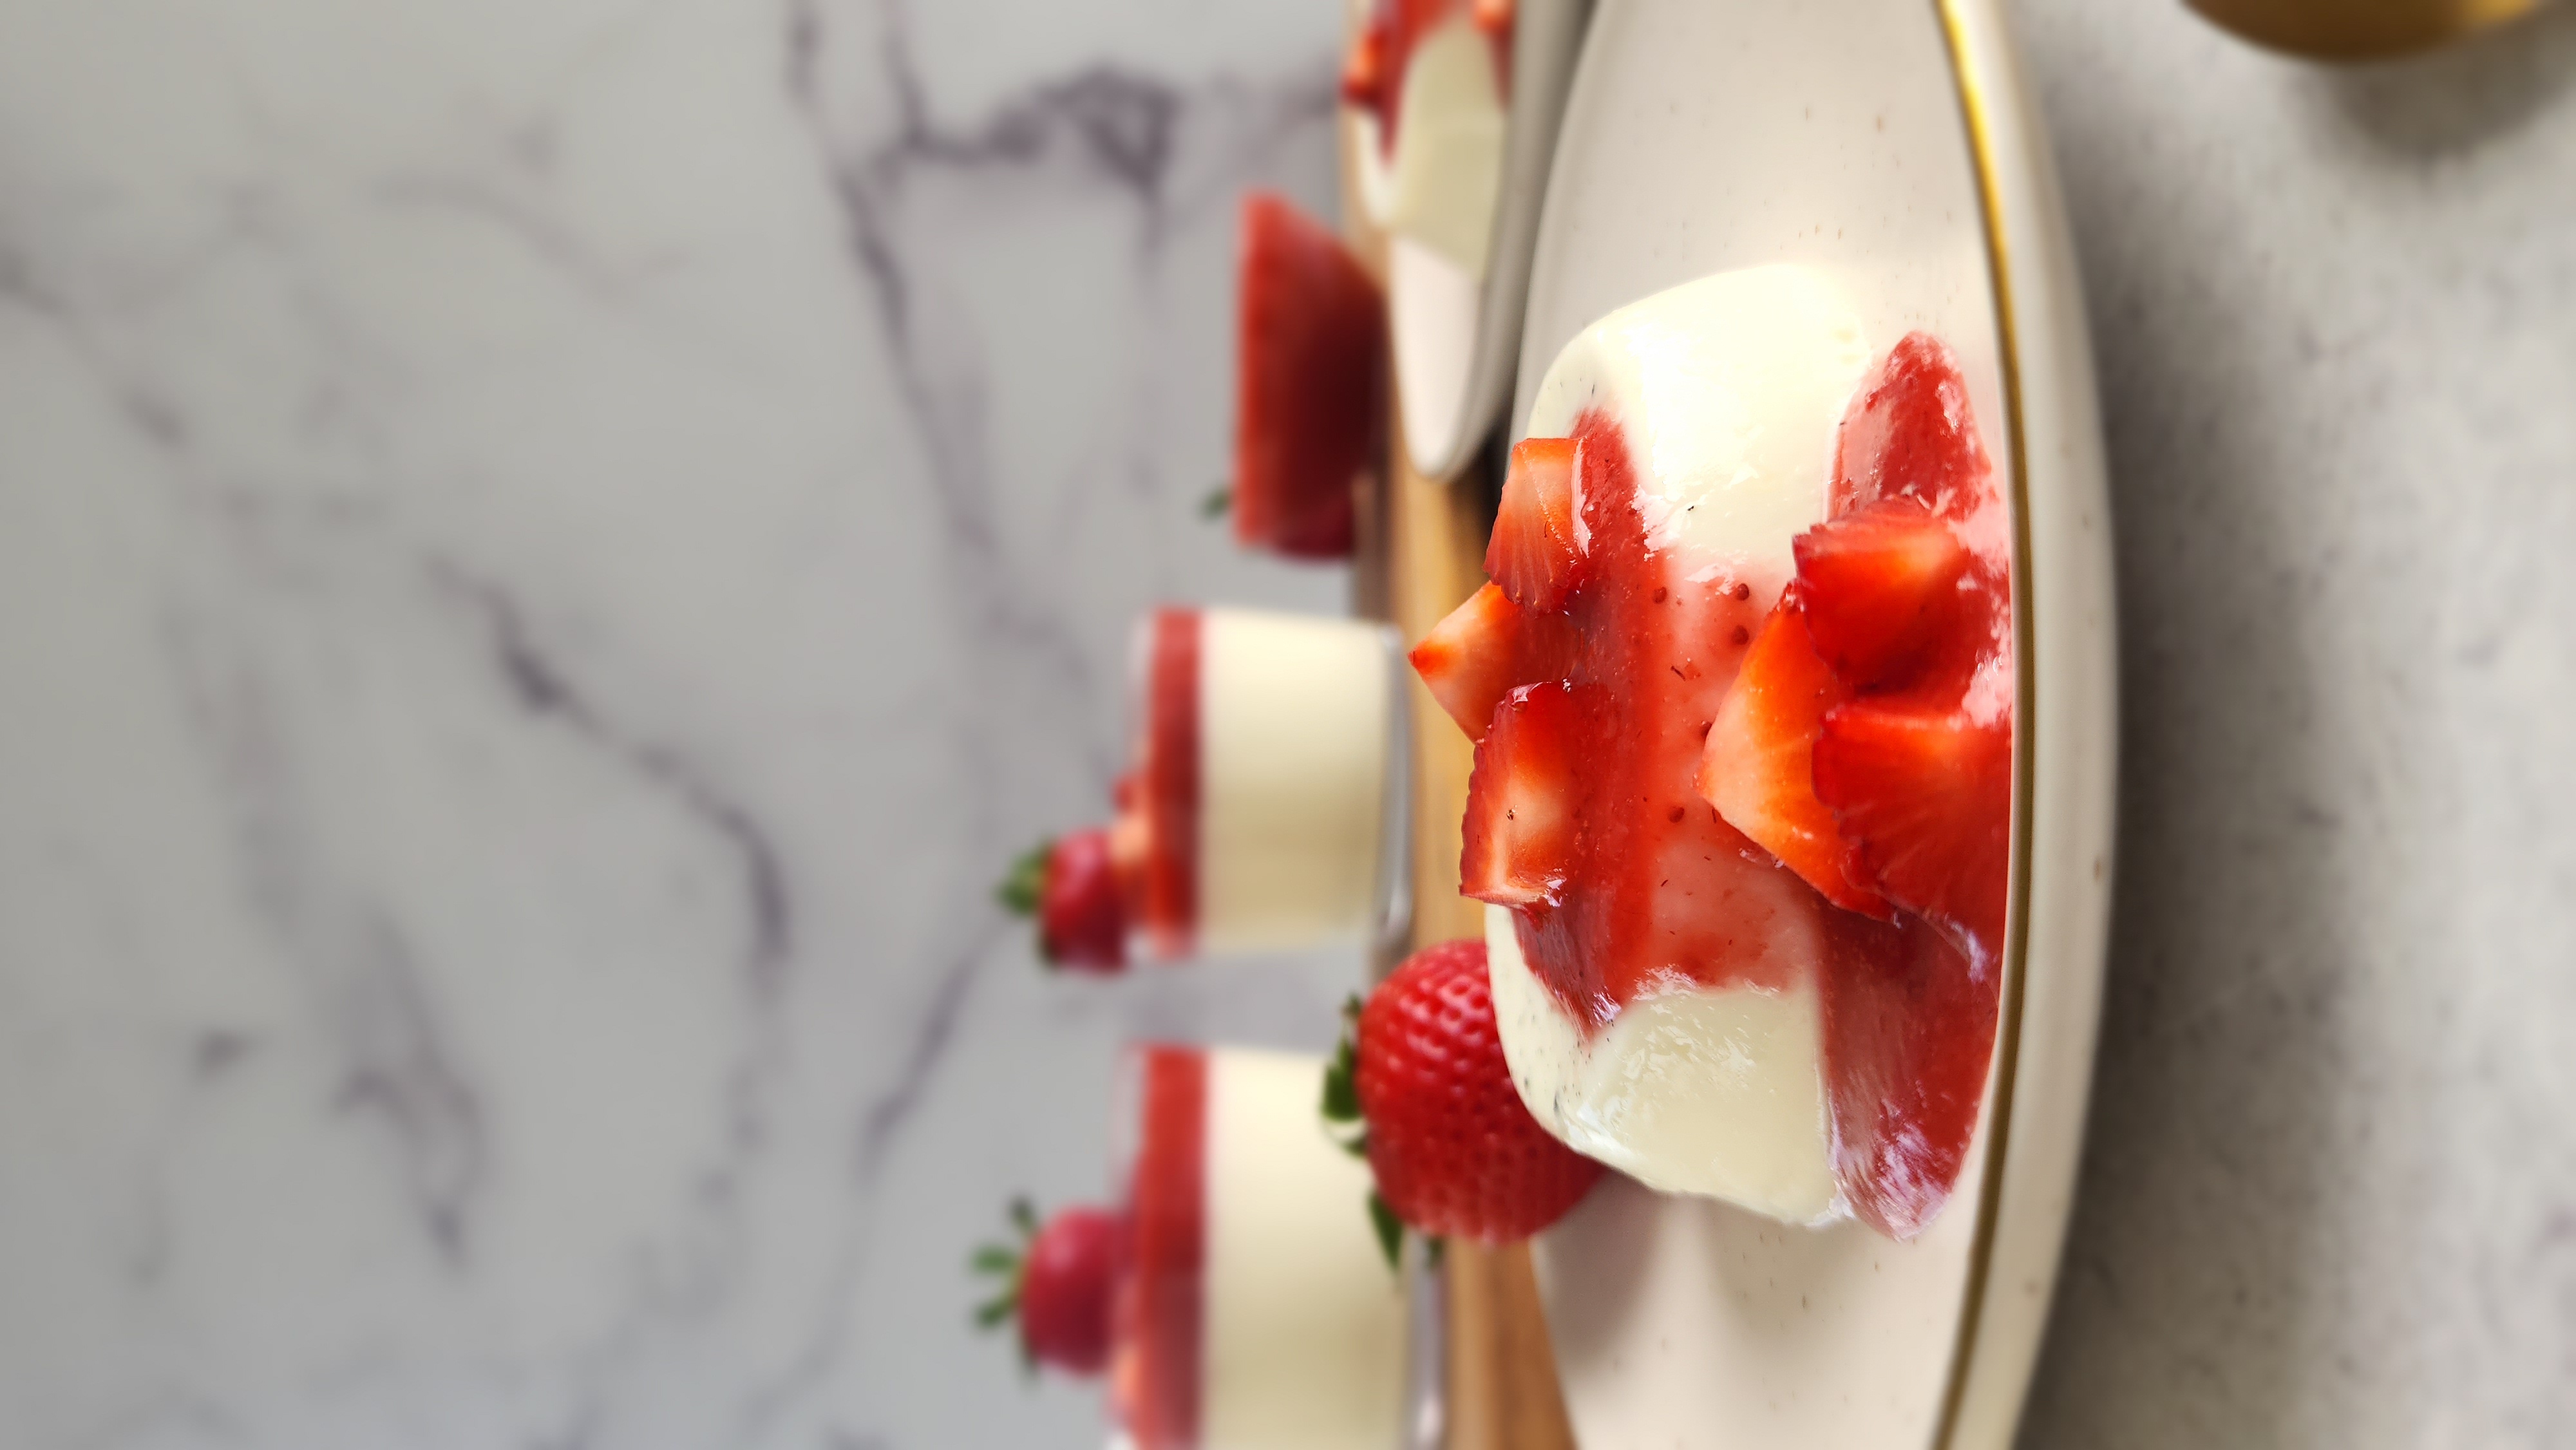
- Pour the panna cotta mixture into individual ramekins (lightly greased if you want to unmold the individual panna cottas later on) and refrigerate to set for at least four hours.
- Serve the panna cotta with garnishes of your choice. The simple strawberry sauce makes it look that much fancier! And coming next week!

Yes!! The only difference is you’ll add the vanilla extract after you’ve heated the cream, milk, and sugar.
Yes!! You could use cinnamon sticks, citrus zest, dried lavender, or rose water. Truthfully, this is why panna cotta is also one of my favorite desserts. You can literally switch up the flavor profile that easily, and now it seems like a completely different dessert!
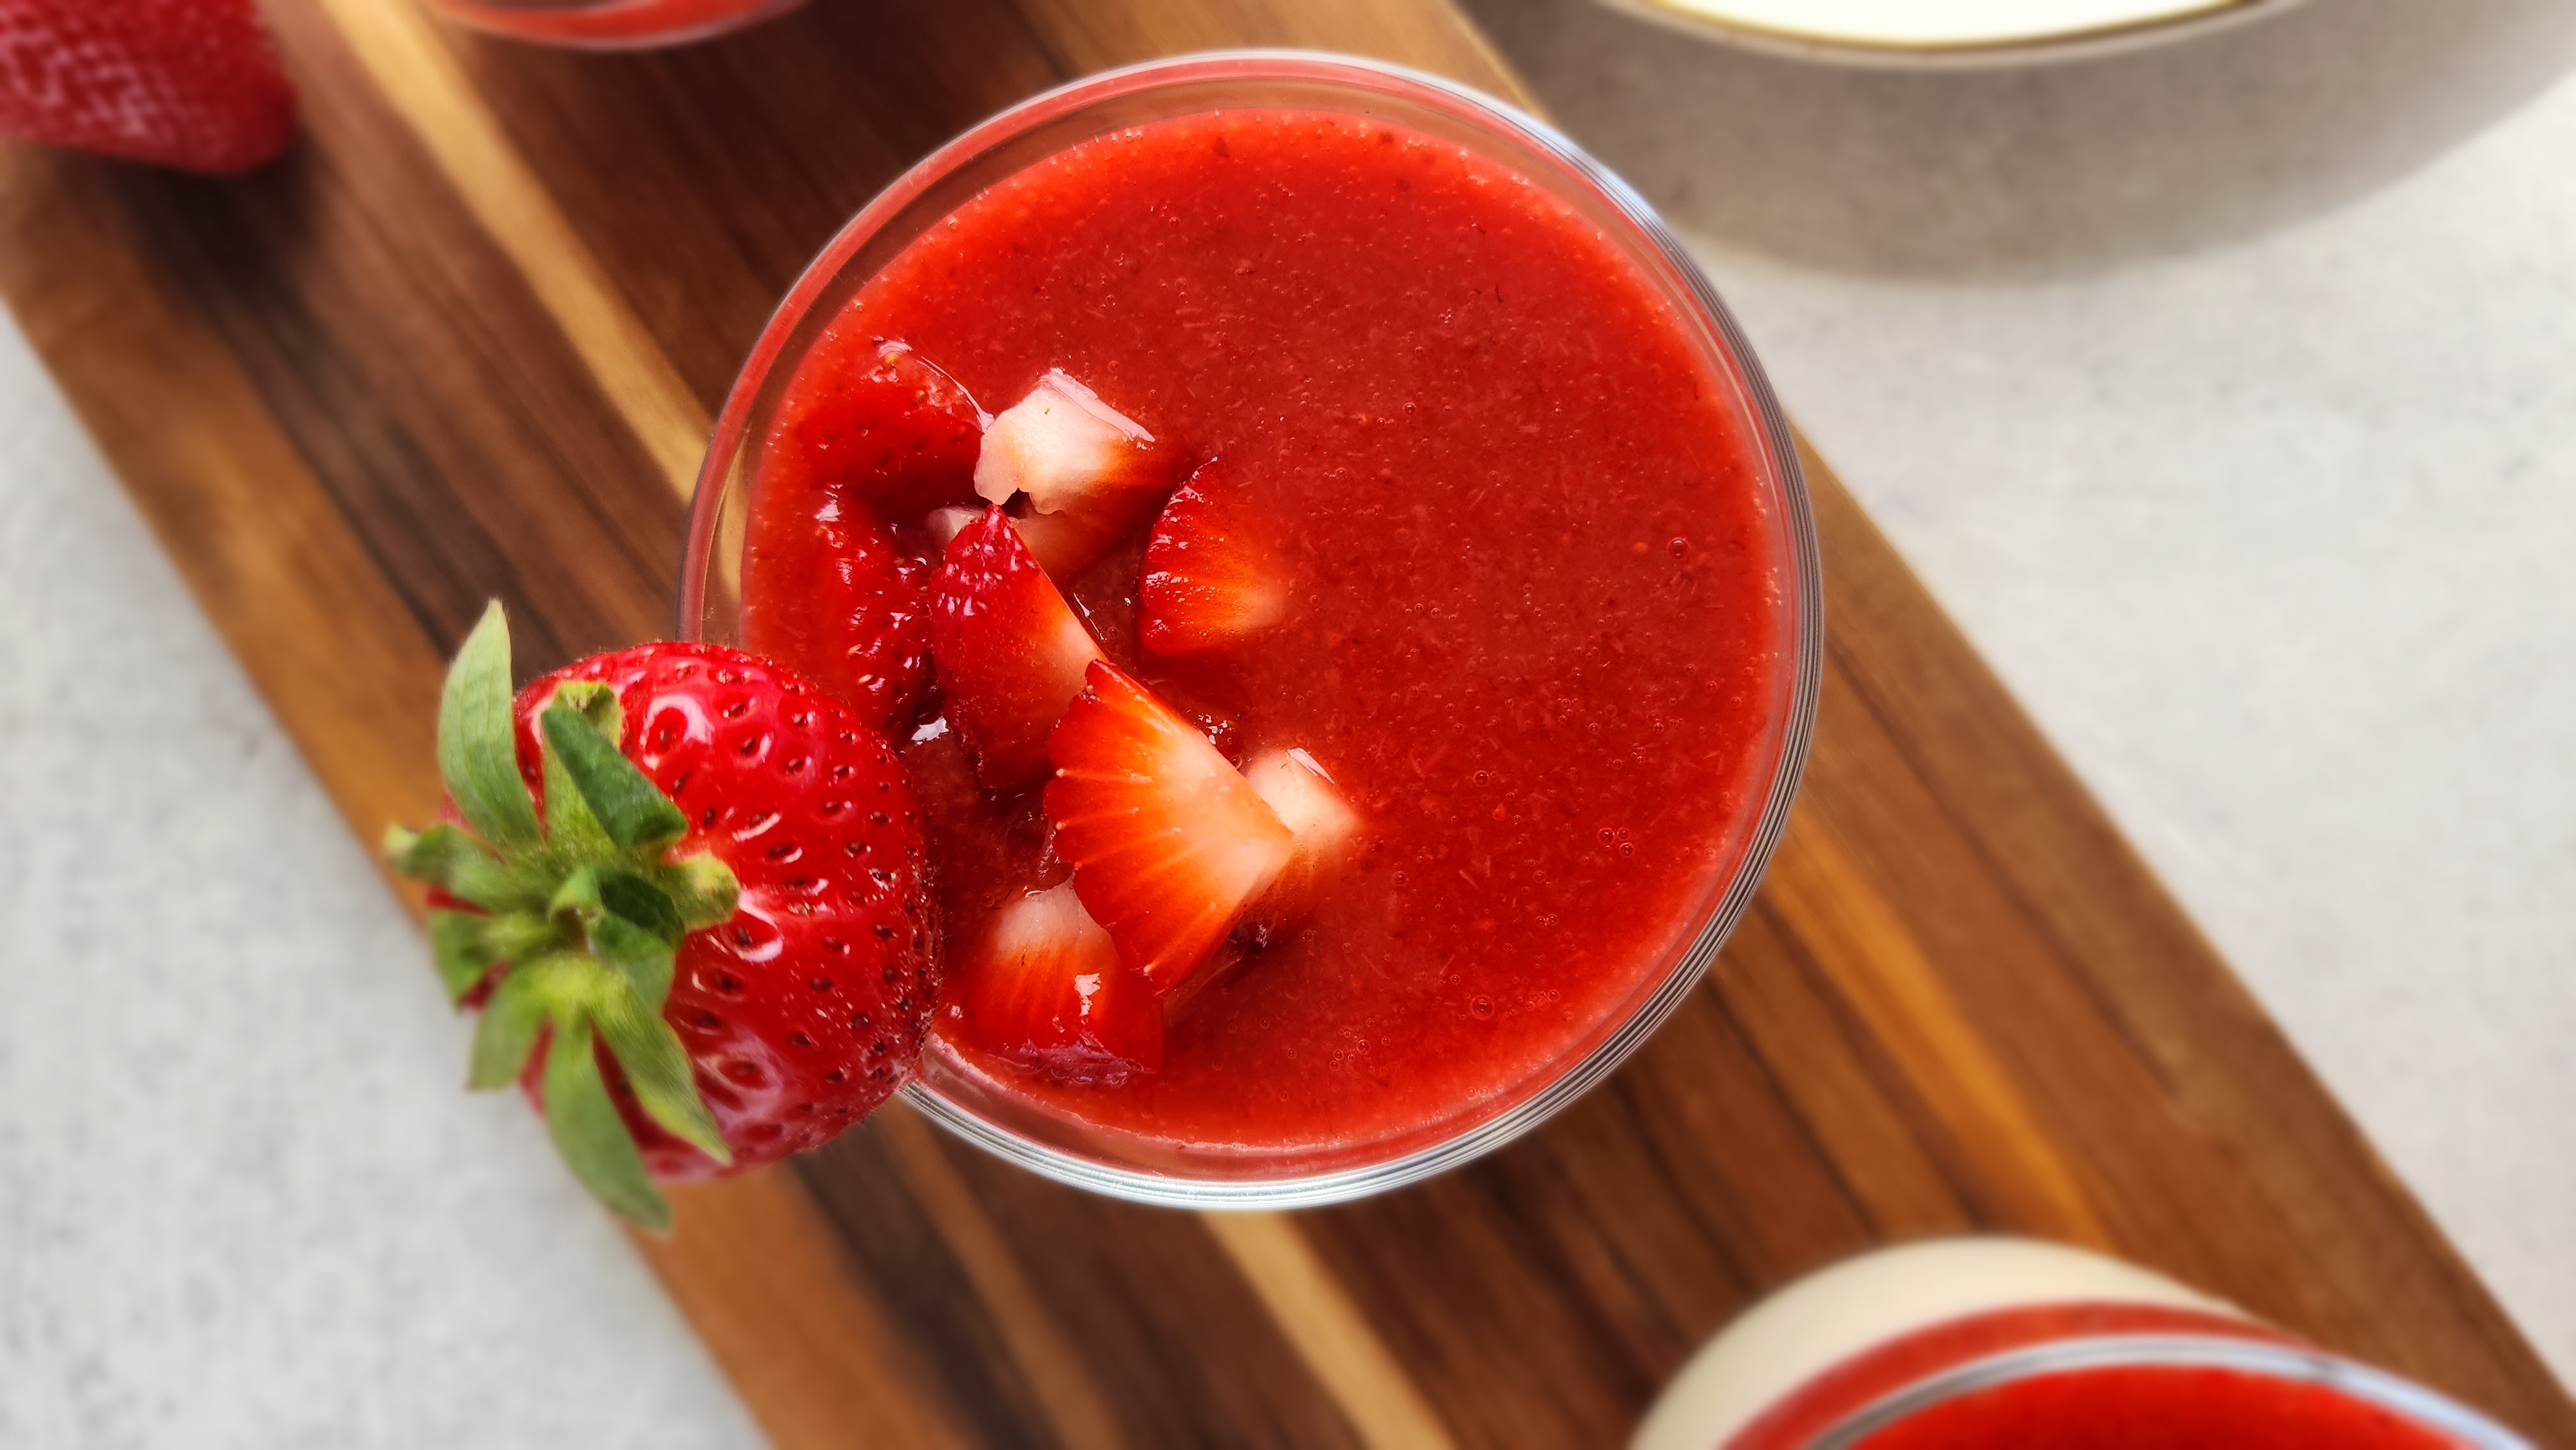
I paired it with my homemade strawberry sauce; however, think of panna cotta as a blank canvas. You could use simply fresh berries, a chocolate ganache, toasted nuts with a caramel sauce, or lemon curd. The sky is the limit for how many different combinations there could be!
The translation is ‘cooking cream, ‘ so imagine a rich, smooth, and velvety texture with a subtle hint of vanilla flavor. The gelatin is added to help it set. However, the panna cotta should not be rubbery in taste, as that would indicate too much gelatin has been added.
The panna cotta will last for up to three days in the fridge. If you are using ramekins, it is important to cover them with a Ziploc bag or something else; otherwise, a film can form on the top of the dessert, and you do not want that.
Other Simple Desserts
PrintVanilla Panna Cotta
This vanilla panna cotta is a classic recipe for authentic Italian panna cotta. If you need a simple and impressive dessert, this recipe will be your go-to! Serve in individual portions, top with a simple strawberry sauce, eat, and enjoy!
- Total Time: 10 minutes
- Yield: 8 1x
Ingredients
- 1 1/2 cups whole milk (1/4 cup will be used to bloom the gelatin)
- 1 1/2 cups heavy whipping cream
- 1/4 cup (50g) granulated sugar
- 1 scant tablespoon powdered gelatin (1 packet)
- 1 vanilla bean, scraped and seeded
- Toppings of choice: strawberry sauce, fresh berries, chocolate ganache, lemon curd
Instructions
- Bloom the gelatin. Sprinkle the gelatin over cold milk in a small mixing bowl and let sit for a few minutes to gelatinize. The gelatin mixture turns into something that looks like soft, rubbery Jello.
- Make the cream mixture. While the gelatin is setting, heat the whole milk, cream, sugar, and vanilla beans in a saucepan until hot. Do not bring this mixture to a boil; simply heat it hot enough to dissolve the sugar.
- Add the gelatin. Turn off the heat and add the gelatin mixture to the hot cream mixture. Immediately whisk until smooth. Make sure the mixture is completely smooth and the gelatin has dissolved. I used a milk frother to ensure all the gelatin was mixed in (as many times as I made this, this was the one step I recommend including). Otherwise, you might be unable to thoroughly dissolve all the gelatin, and no one wants pieces of gelatin in their dessert!). Let the panna cotta cool, occasionally whisking to keep it thoroughly mixed.
- Pour the panna cotta mixture into individual ramekins (lightly greased if you want to unmold the individual panna cottas later on) and refrigerate to set for at least four hours.
- Serve the panna cotta with garnishes of your choice. The simple strawberry sauce makes it look that much fancier!
- Prep Time: 5
- Cook Time: 5
- Category: Desserts

1 thought on “Vanilla Panna Cotta”
That looks phenomenal!! Can’t wait to try!