I’ve heard it said before, “I can’t cook. How do you expect me to eat healthy?” If I had a nickel for every time a patient had told me this, well I’d probably be a millionaire. Okay, maybe not, but you get what I’m saying. It’s a common problem. I completely get it. Cooking can seem overwhelming and intimidating in the beginning. But I am here to tell you that anyone can cook. All it takes is a little time, patience, and practice. There will be mess-ups (we all have them, even I do to this day). But as you begin to practice, you’ll see that with a little quick assembly of items, you’ll be on your way to eating healthy, great-tasting food!
There was research done to show that cooking at home improves people’s health. Said summary of study can be read here. But then more recently they looked again at this cooking at home to see if in fact it really did lead to a cause and effect of improving health. You can read this study here. Their conclusion was that while it did lead to overall improved dietary quality and lower adiposity, i.e. obesity. The study went on to say though that in order to identify if cooking at home really did have causal effects on diet and health more studies would need to be conducted. Okay, so there went the proof that I so proudly boasted to my patients now blown out of the water. Or did it? I included these studies here because this is nutrition. It’s a science and we always want the proof with research. But I can tell you that by seeing patients one-on-one for many years, people’s health improved when they simply began to eat healthier, one change at a time, whatever that looked like for each individual. And for some that meant simply cutting back on the frequency of meals that they were eating out.
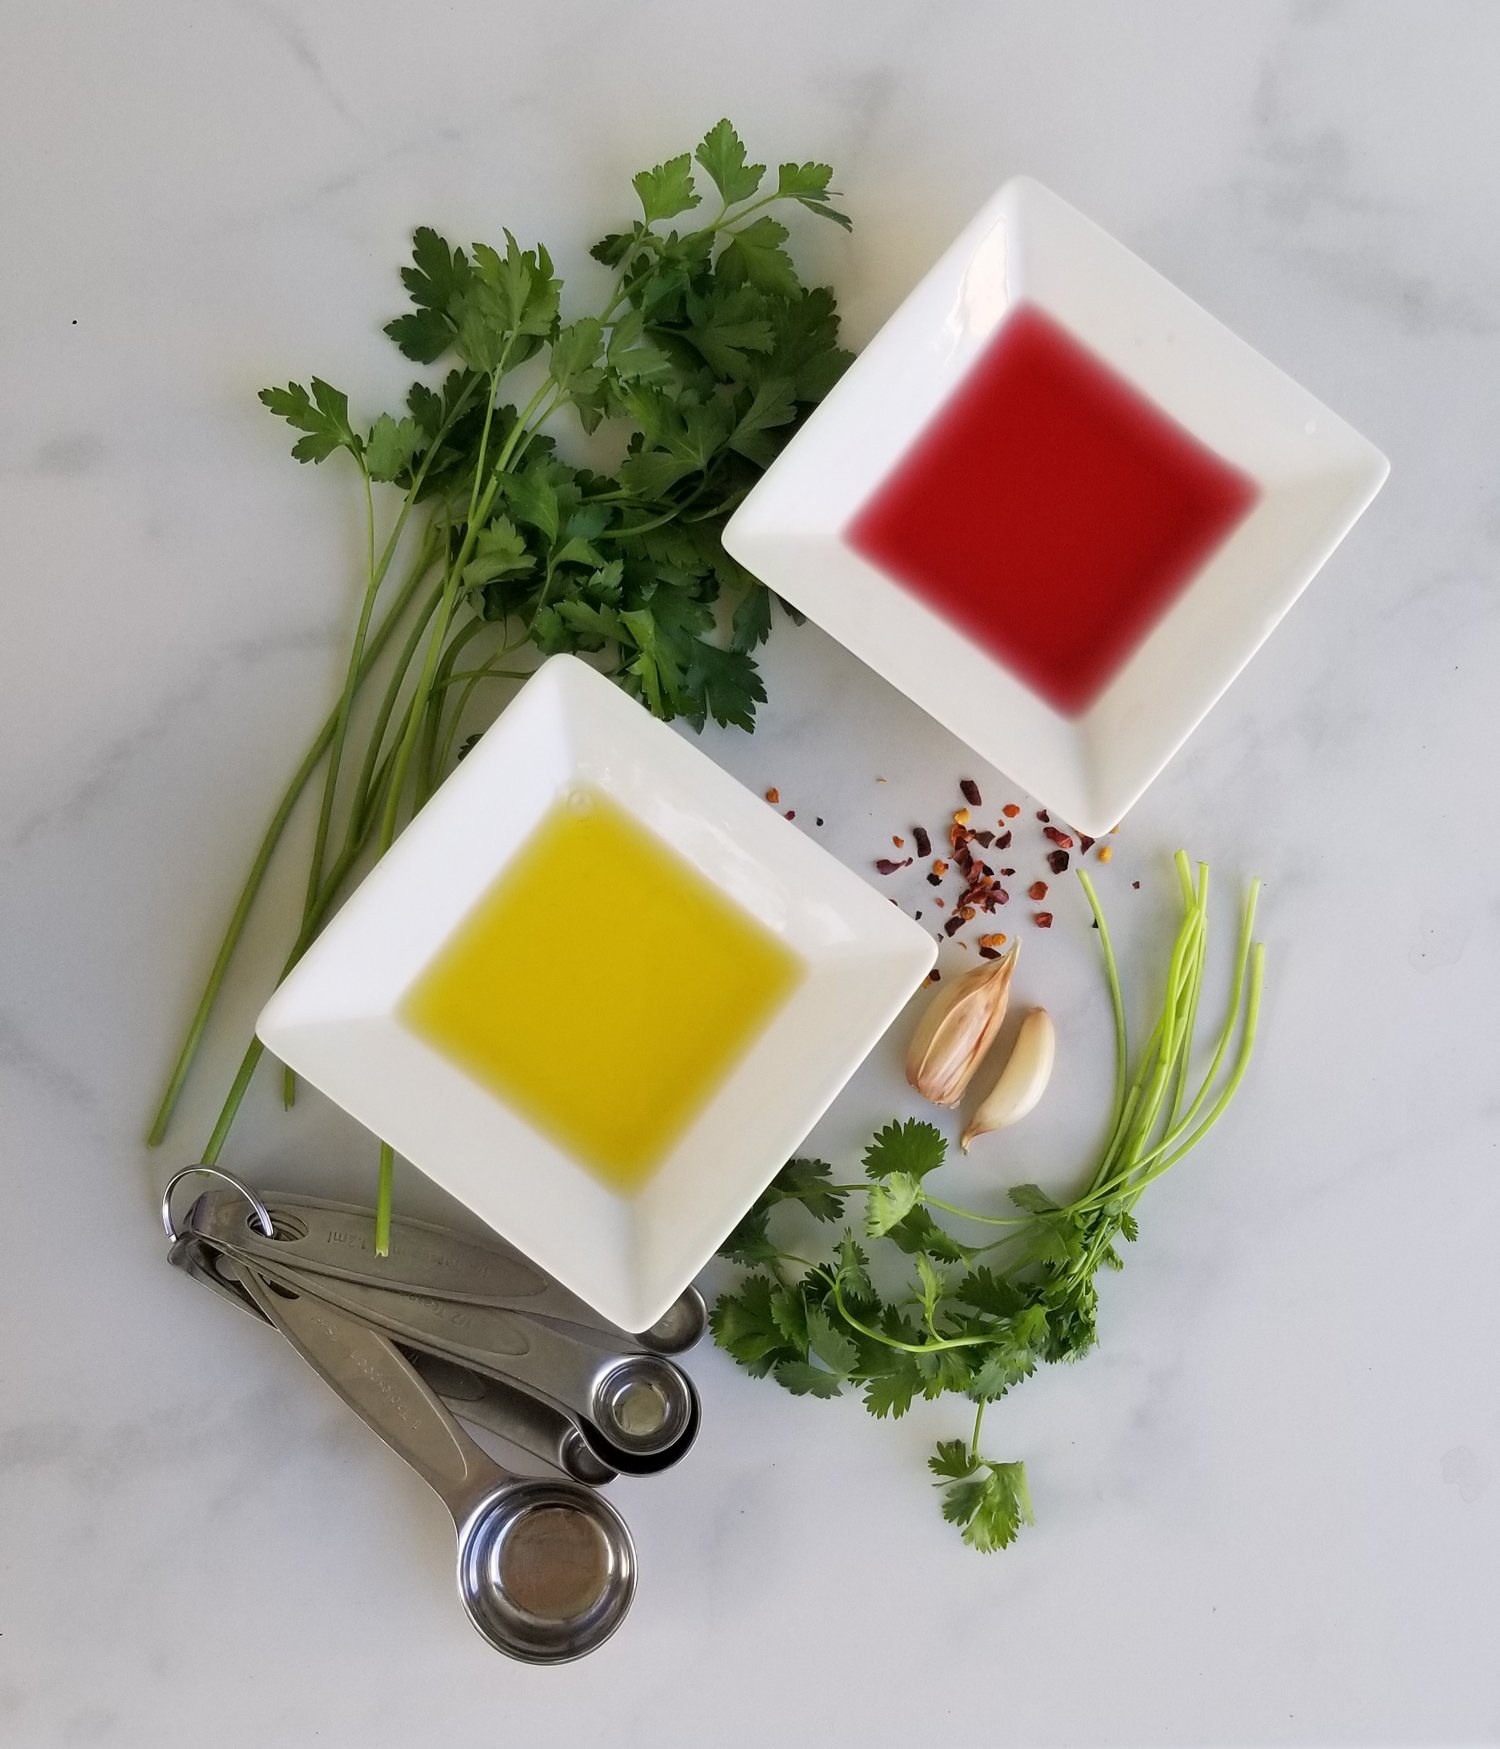
And part of that conclusion goes back to the original reason for my post – people didn’t think they can cook. There were other reasons as well, i.e. time, time, and no time – I mean isn’t that the truth?? But the biggest complaint I would get is people would just want me to tell them what to eat. They didn’t want to have to think about it. Creating menus back in my college days was the bane of my existence. While I did love creating general menus, making a menu for someone in particular is not so glamorous. How am I supposed to know what each person is going to eat/have time to make? And the whole point of a menu is to make sure that they are nutritionally sound. If you have someone that isn’t willing to vary his vegetables up, then Houston we have a problem. It all goes back to what I like to think is the most important part of my job. Giving patients the tools in order to be able to fly on their own. I teach you and you put it into motion. Am I right? Unless you want to hire me as a personal dietitian and chef (for a nice sum of money) then we can talk. Until then, let me educate away.
So this is what I thought I would do. I’ll take you through a few steps of how to make a simple wrap with a few step-by-step pictures. I definitely want to do videos in the future, but until then, this will be a start/new feature I think that people have been asking for and also need. How’s that sound? Are you ready? Here we go!
As I’ve said before, my keepers may not always be your keepers, but that’s the beauty of cooking. Finding what you like in flavor and bringing it to life. So, here we go.
Kale and Mushroom Wrap. The hardest part of this recipe is prepping the kale. No, seriously. In total this recipe took me about 30 minutes to prepare including all of the chopping and cooking. I doubled this recipe today in order to use the whole bag of kale and also to have enough (that kale does shrink down like spinach does to almost nothing) for a few wraps this week.
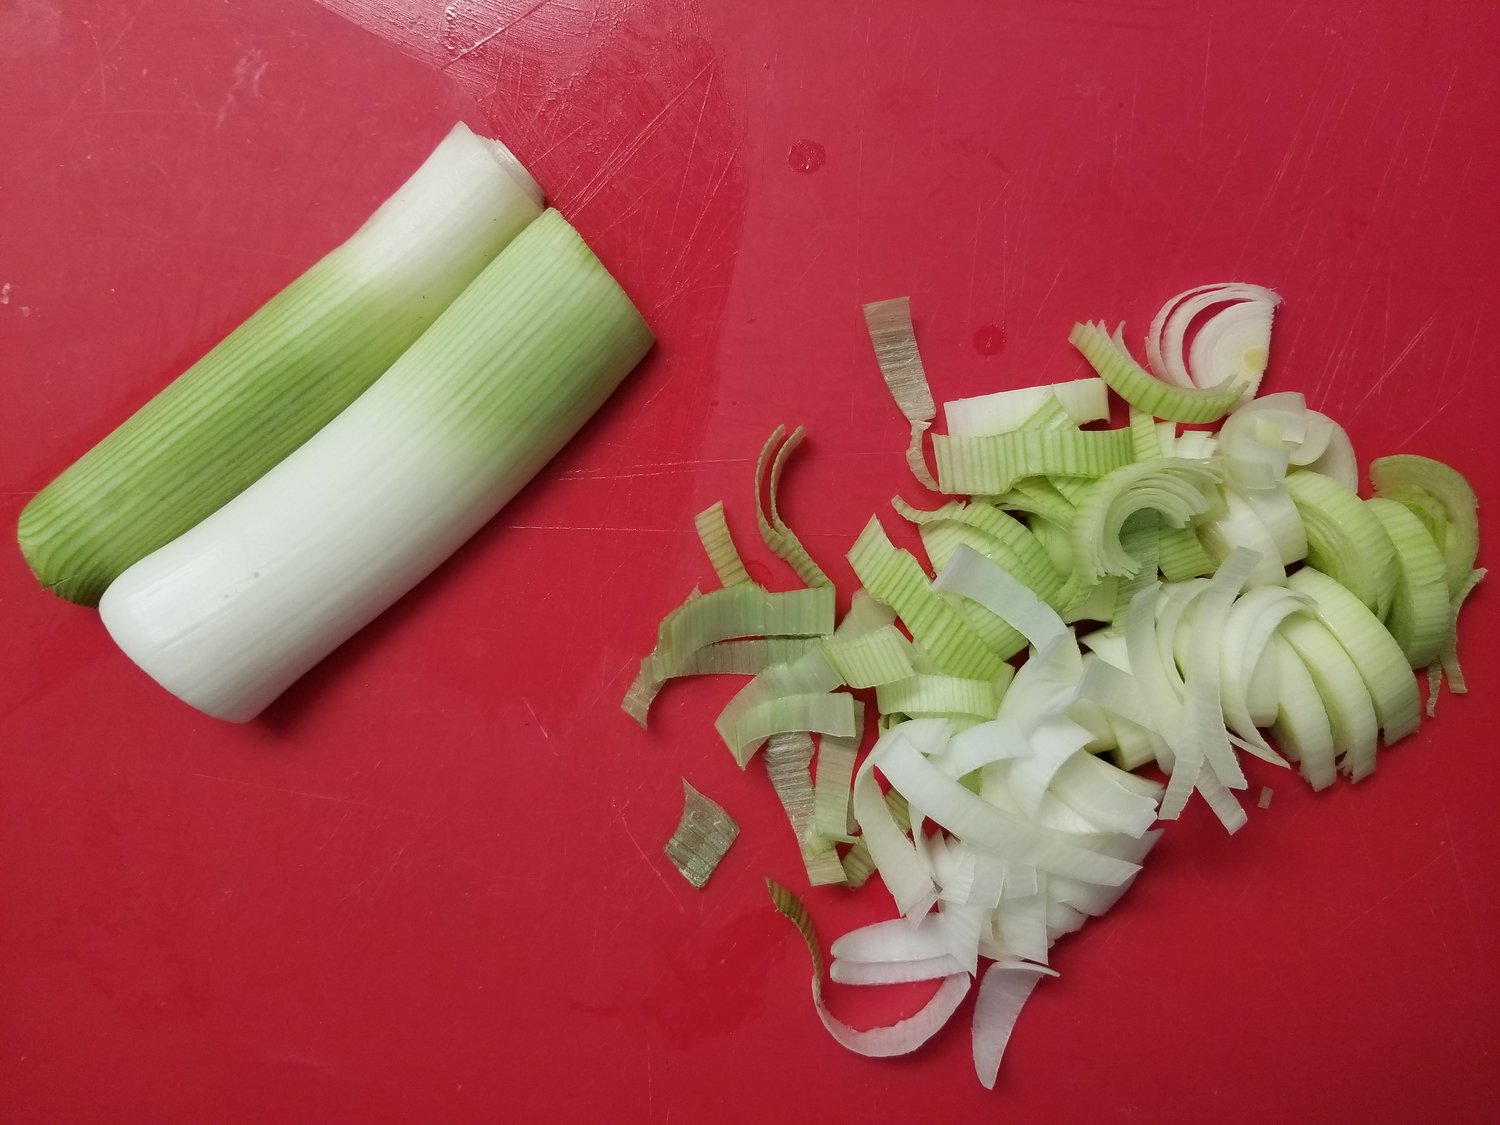
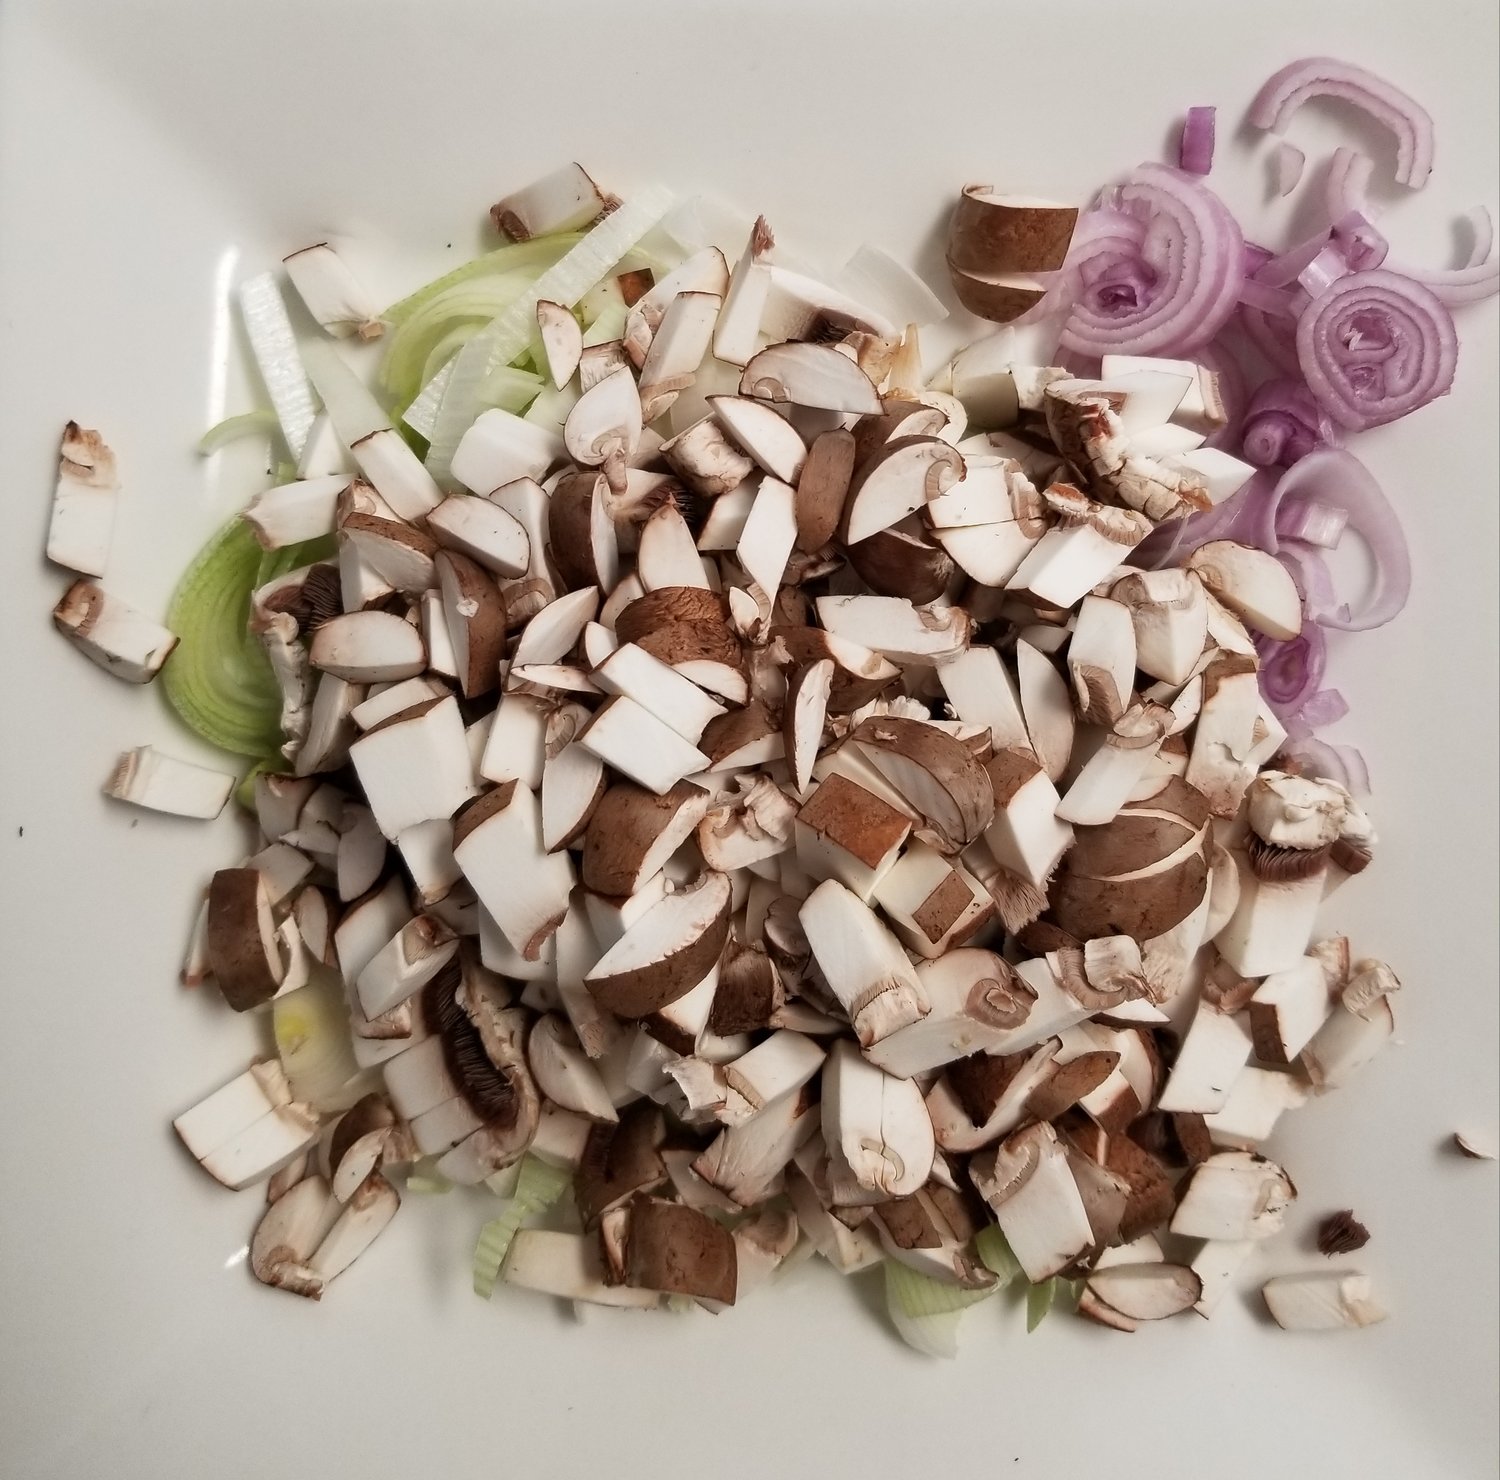
Step 1 – Thinly slice your leek. If you’re not sure what a leek is, it has a more mild flavor than an onion. But you can definitely use an onion if you prefer. Remember I am making double and this is actually two leeks (I just forgot to take a picture of the whole leek). Cut off the green leaves of the leek. Slice in half so you can slice them in these round moons.
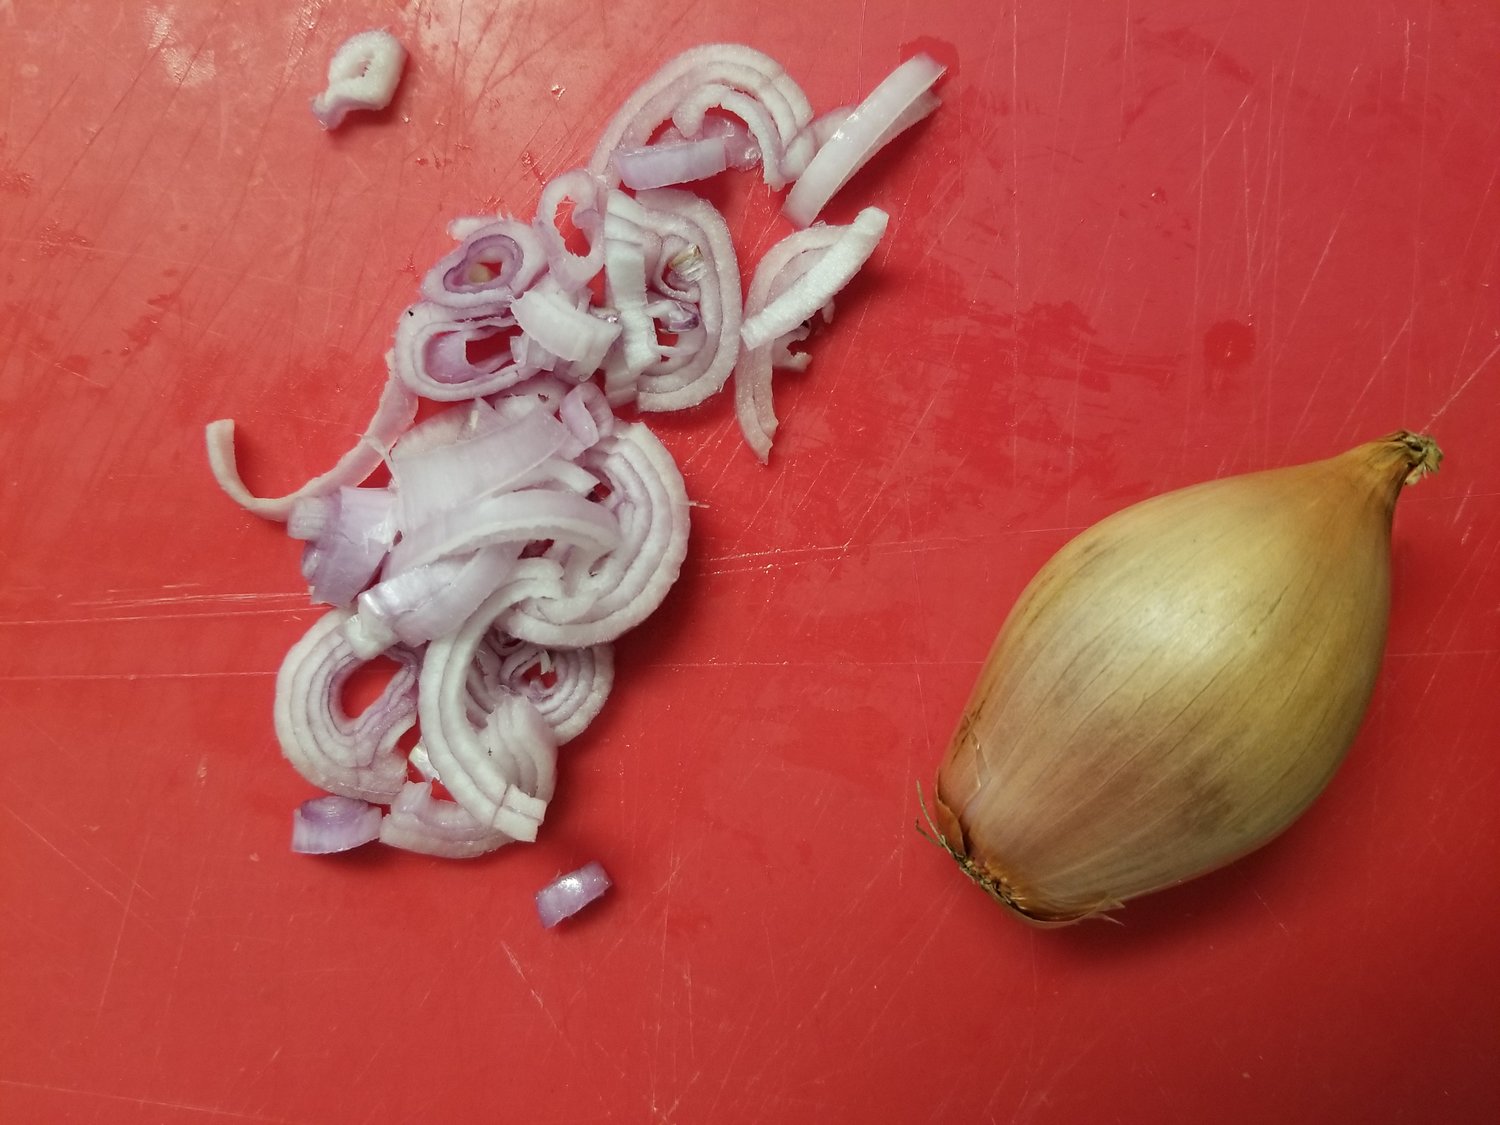
Step 2 – Thinly slice a shallot. Shallots are also a part of the onion family. Less abrasive in flavor, but again you can simply use an onion in place of the leek and shallot if you like. I think that the leek and shallot do provide a little more flavor than just onions. But you do you.
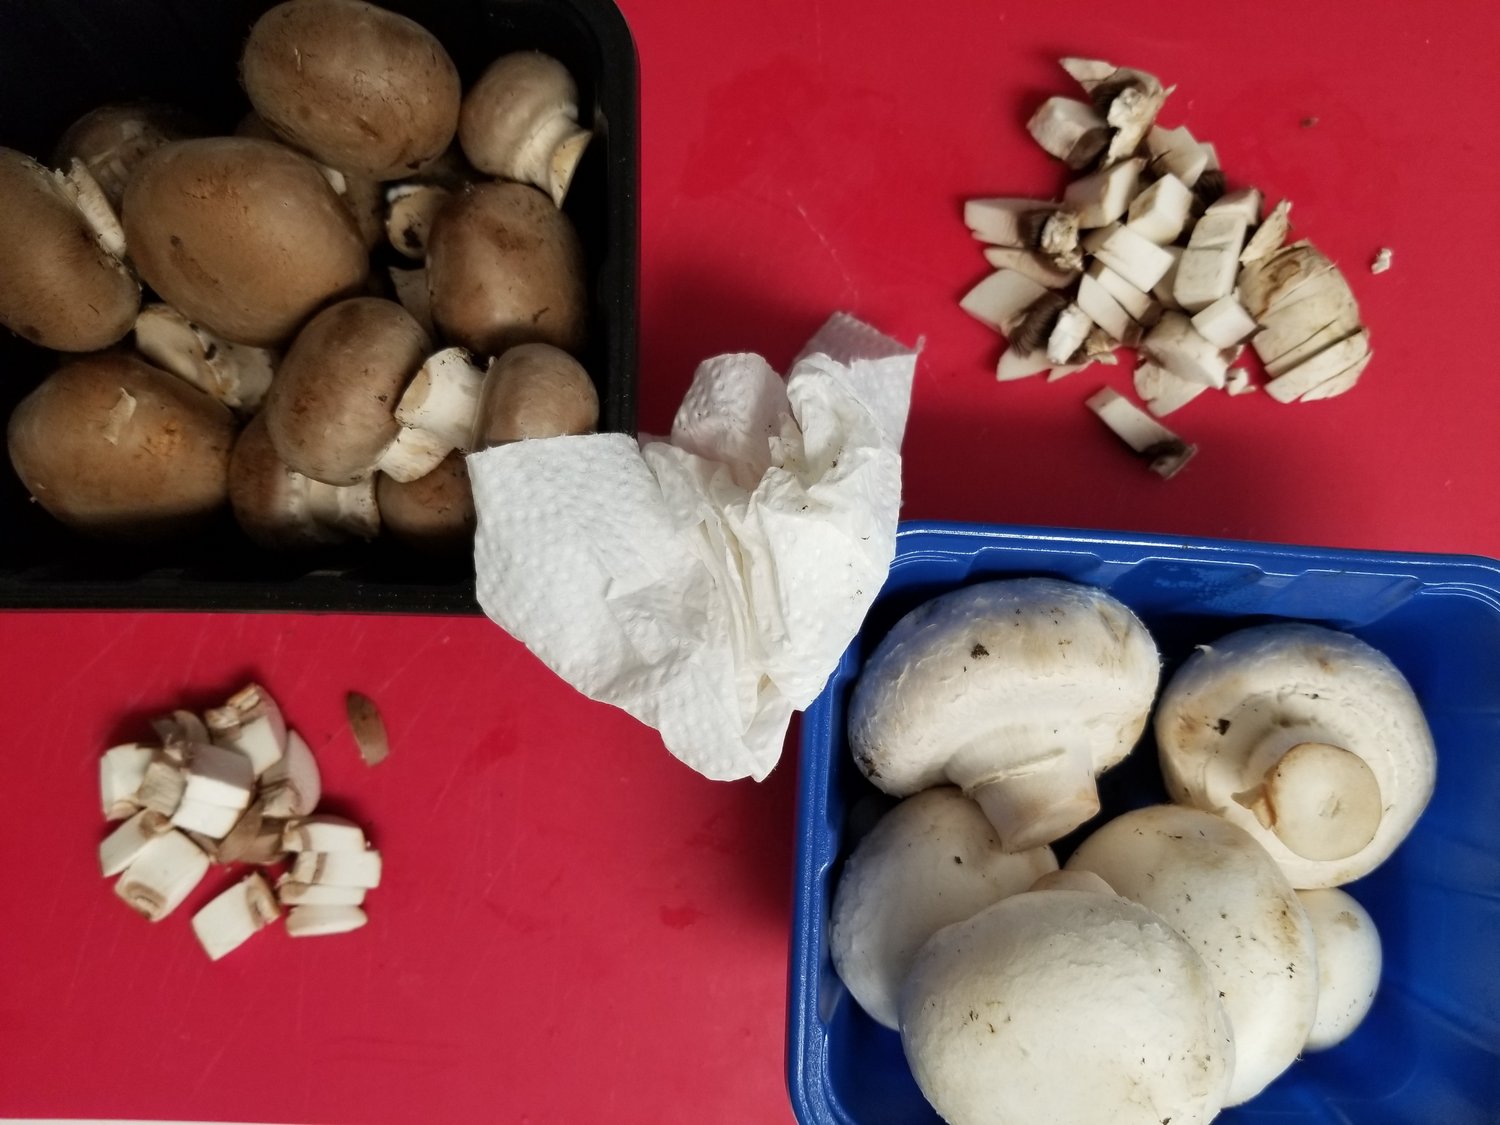
Step 3 – I wanted all baby bella mushrooms but alas they weren’t on sale. I opted to get one of each as I was going to be making double. I use a damp paper towel to clean the mushrooms. If you use too much water to clean them they do absorb the water. Paper towel for cleaning it is. Then I diced them into tiny pieces. My preference. You can always just slice them as well. 8 oz of mushrooms total.
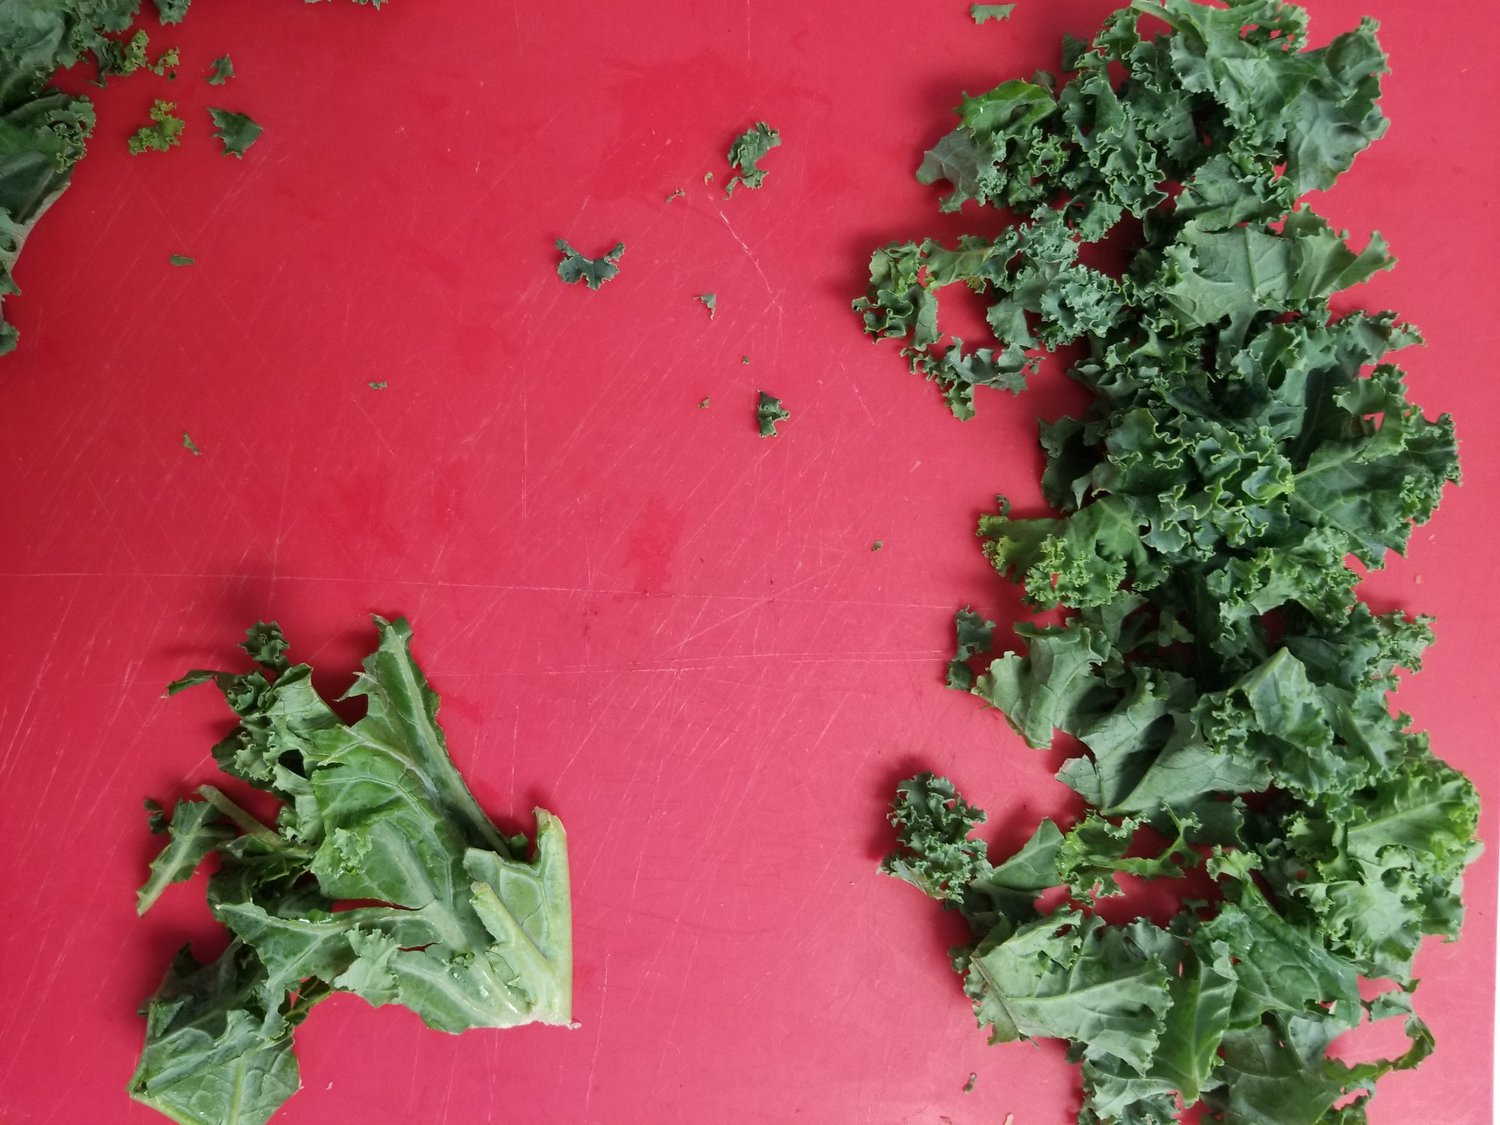
Step 4 – I bought a bag of curly kale this time. If I buy lacinato kale then I use the whole bunch. But this bag of kale is 16 oz. and it is a lot of kale. This recipe only needs about 8 oz. of kale. I sift through the kale and pick out the hard rib pieces (over on the left side there) and leave only the curly part. This is what I told you is the time consuming part. But to me it’s worth it.
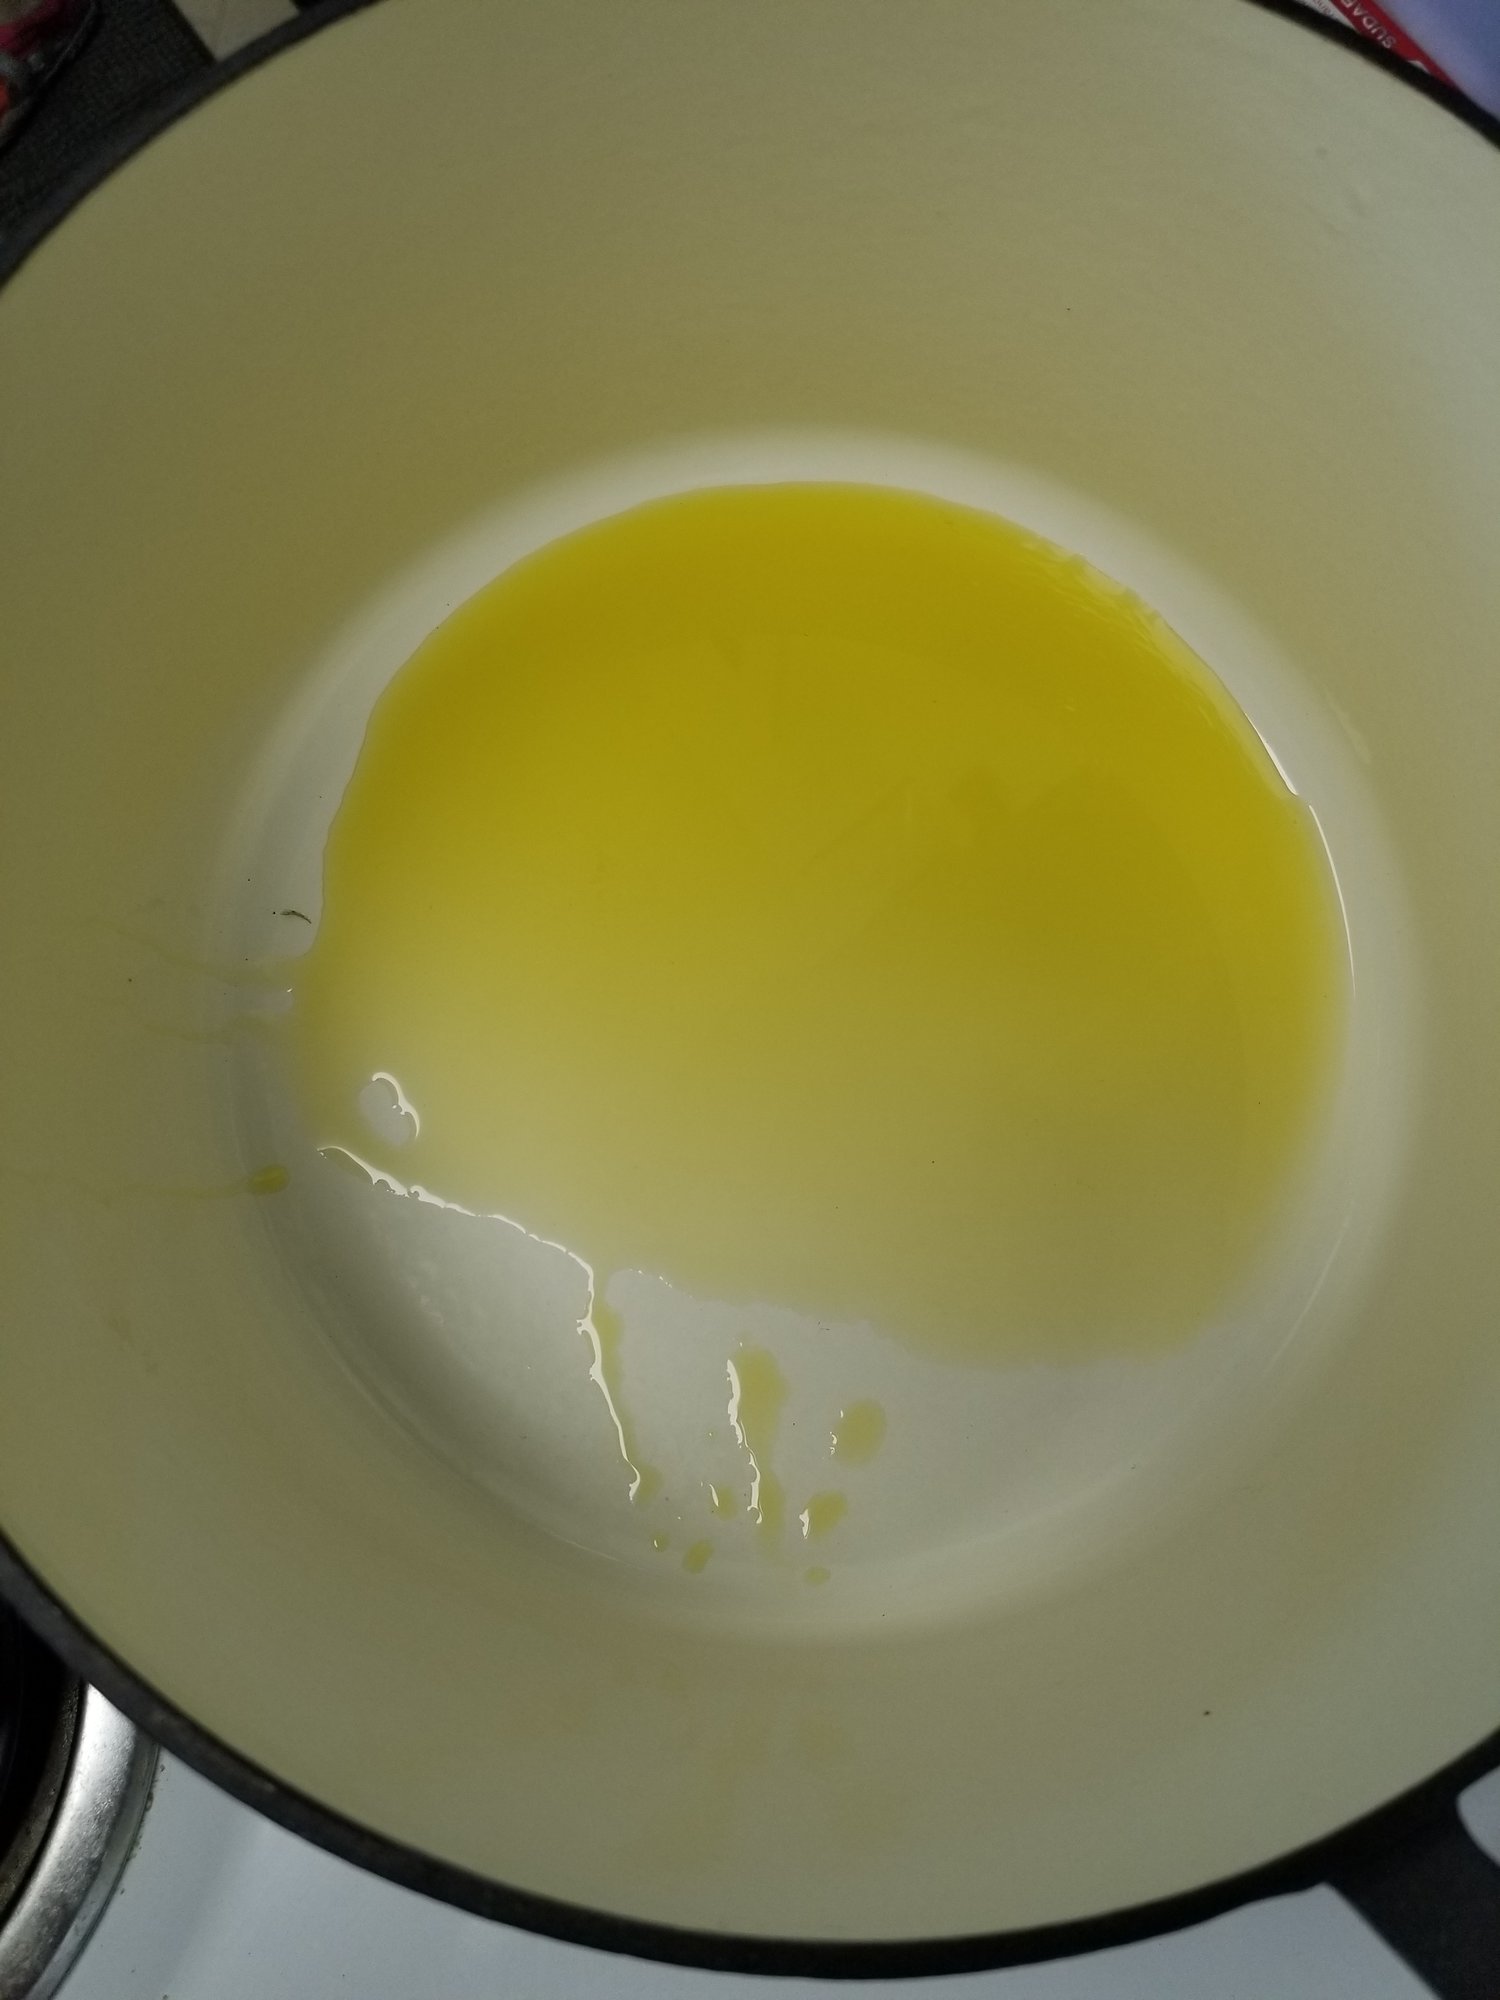
Step 5 – I used my dutch oven pan here instead of a non-stick skillet. This had a white bottom and it actually helped with pictures, but you can definitely use a non-stick pan, but you still need the olive oil. Heat over medium-heat for a minute or two.
Step 6 – Add the shallot, leek, mushrooms, and a dash of black pepper to the pan. I typically never use salt in my recipes. Occasionally I will, but never the amount called for in a recipe. I find it too salty. You can add some here if you like, but I’m used to less sodium in my food. Less sodium doesn’t mean less flavor. This kale/mushroom mixture will be placed in a wrap. Typically bread has a lot of sodium and it can all add up. I think the mixture has enough flavor all on it’s own.
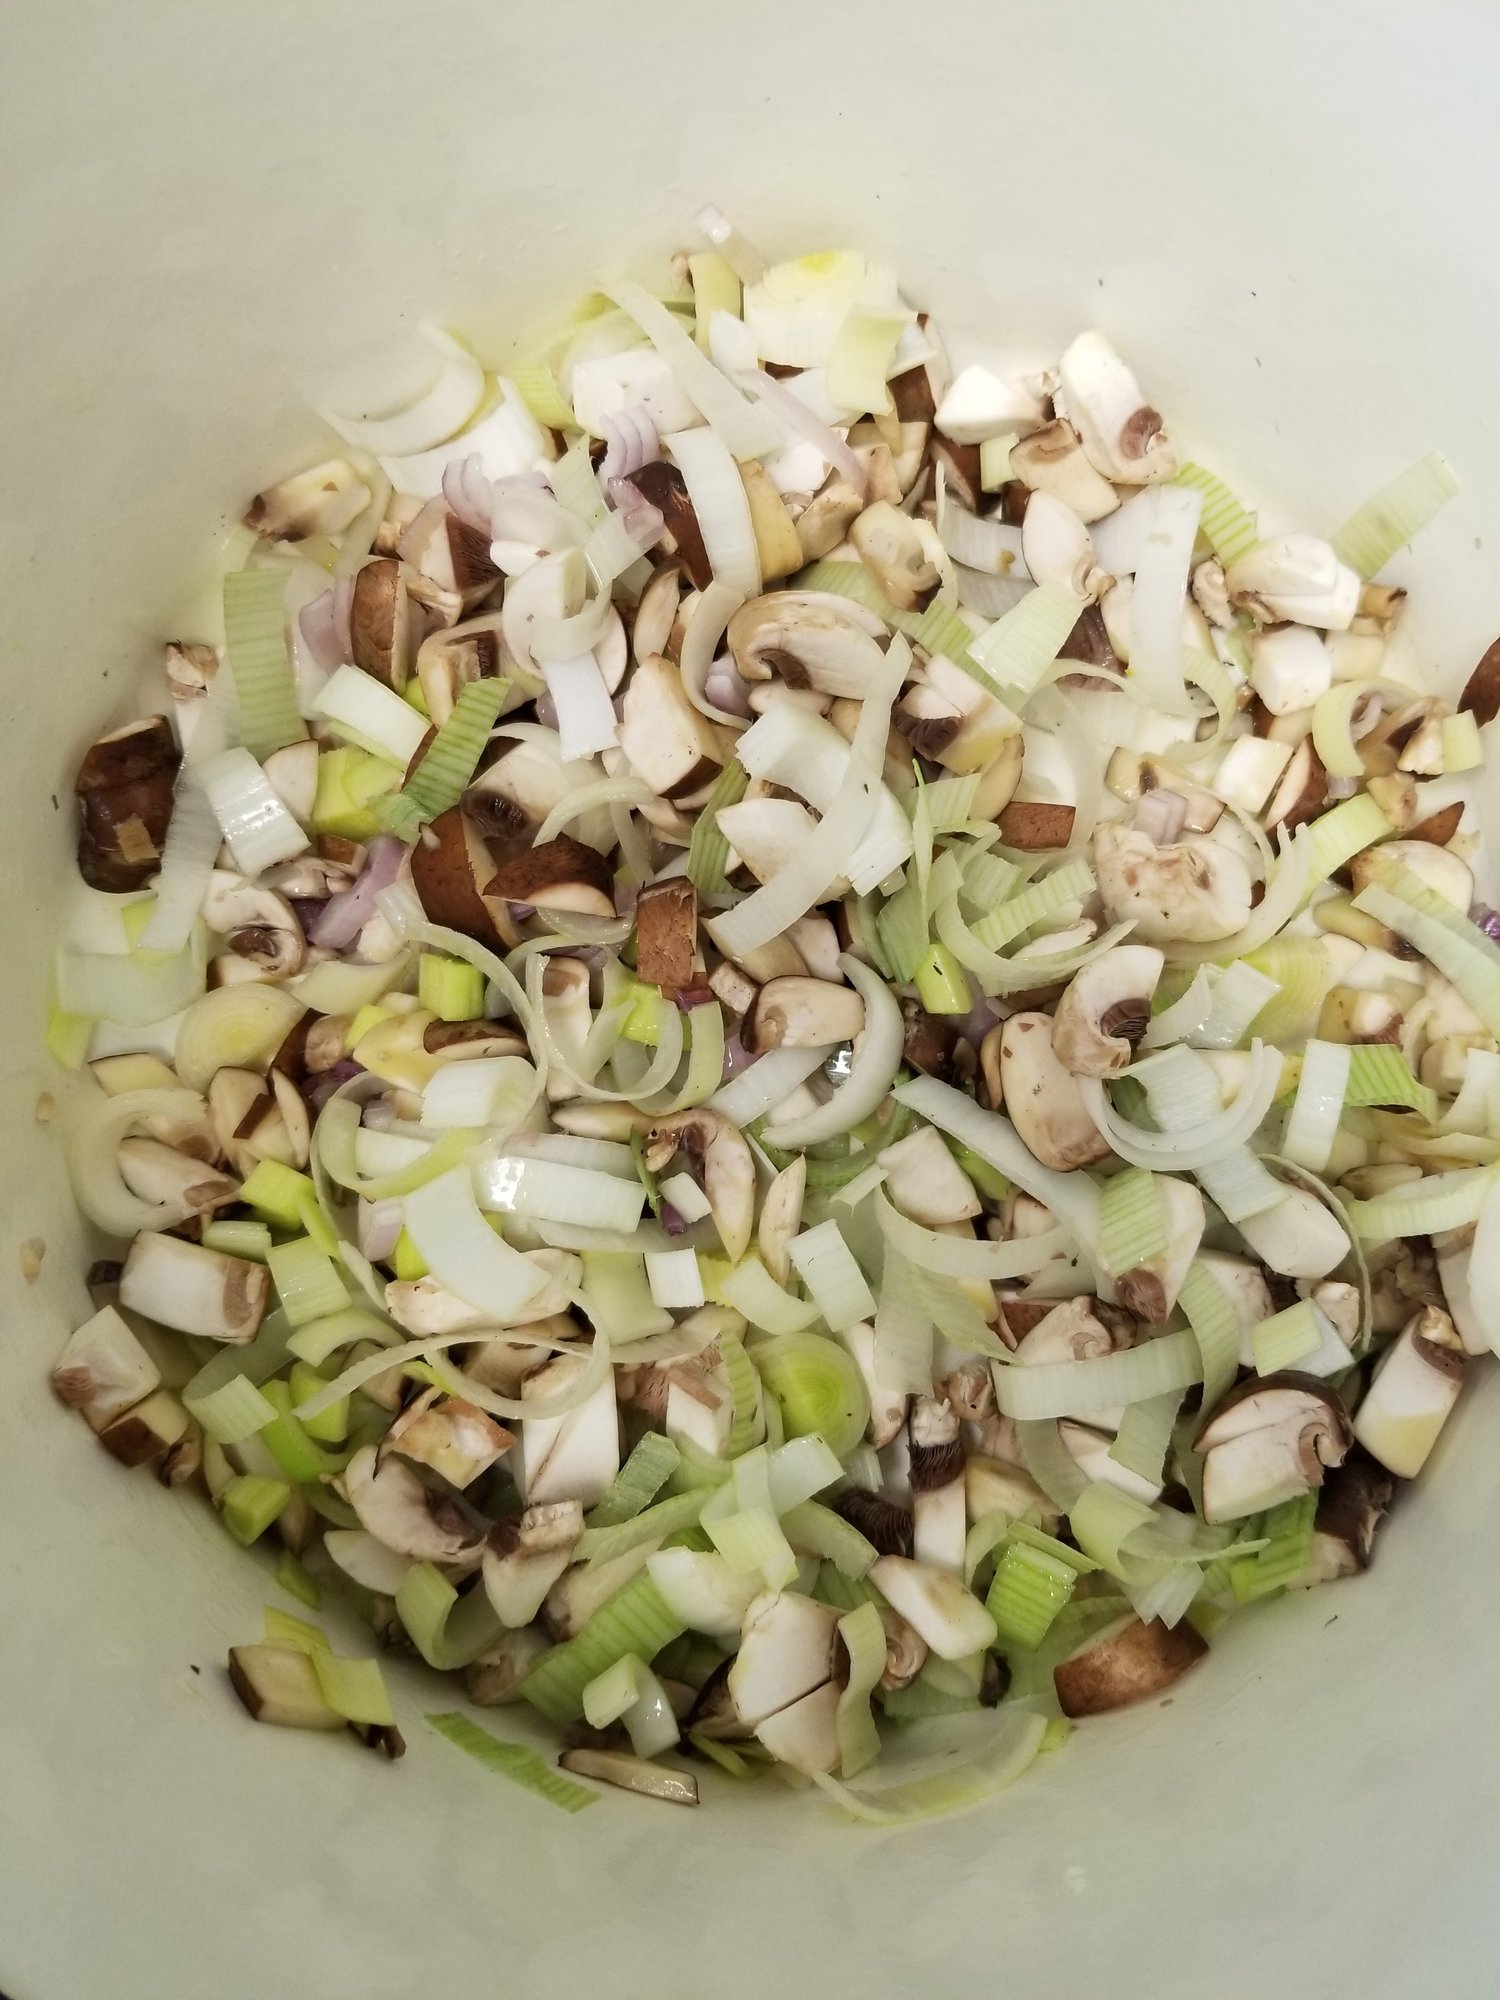
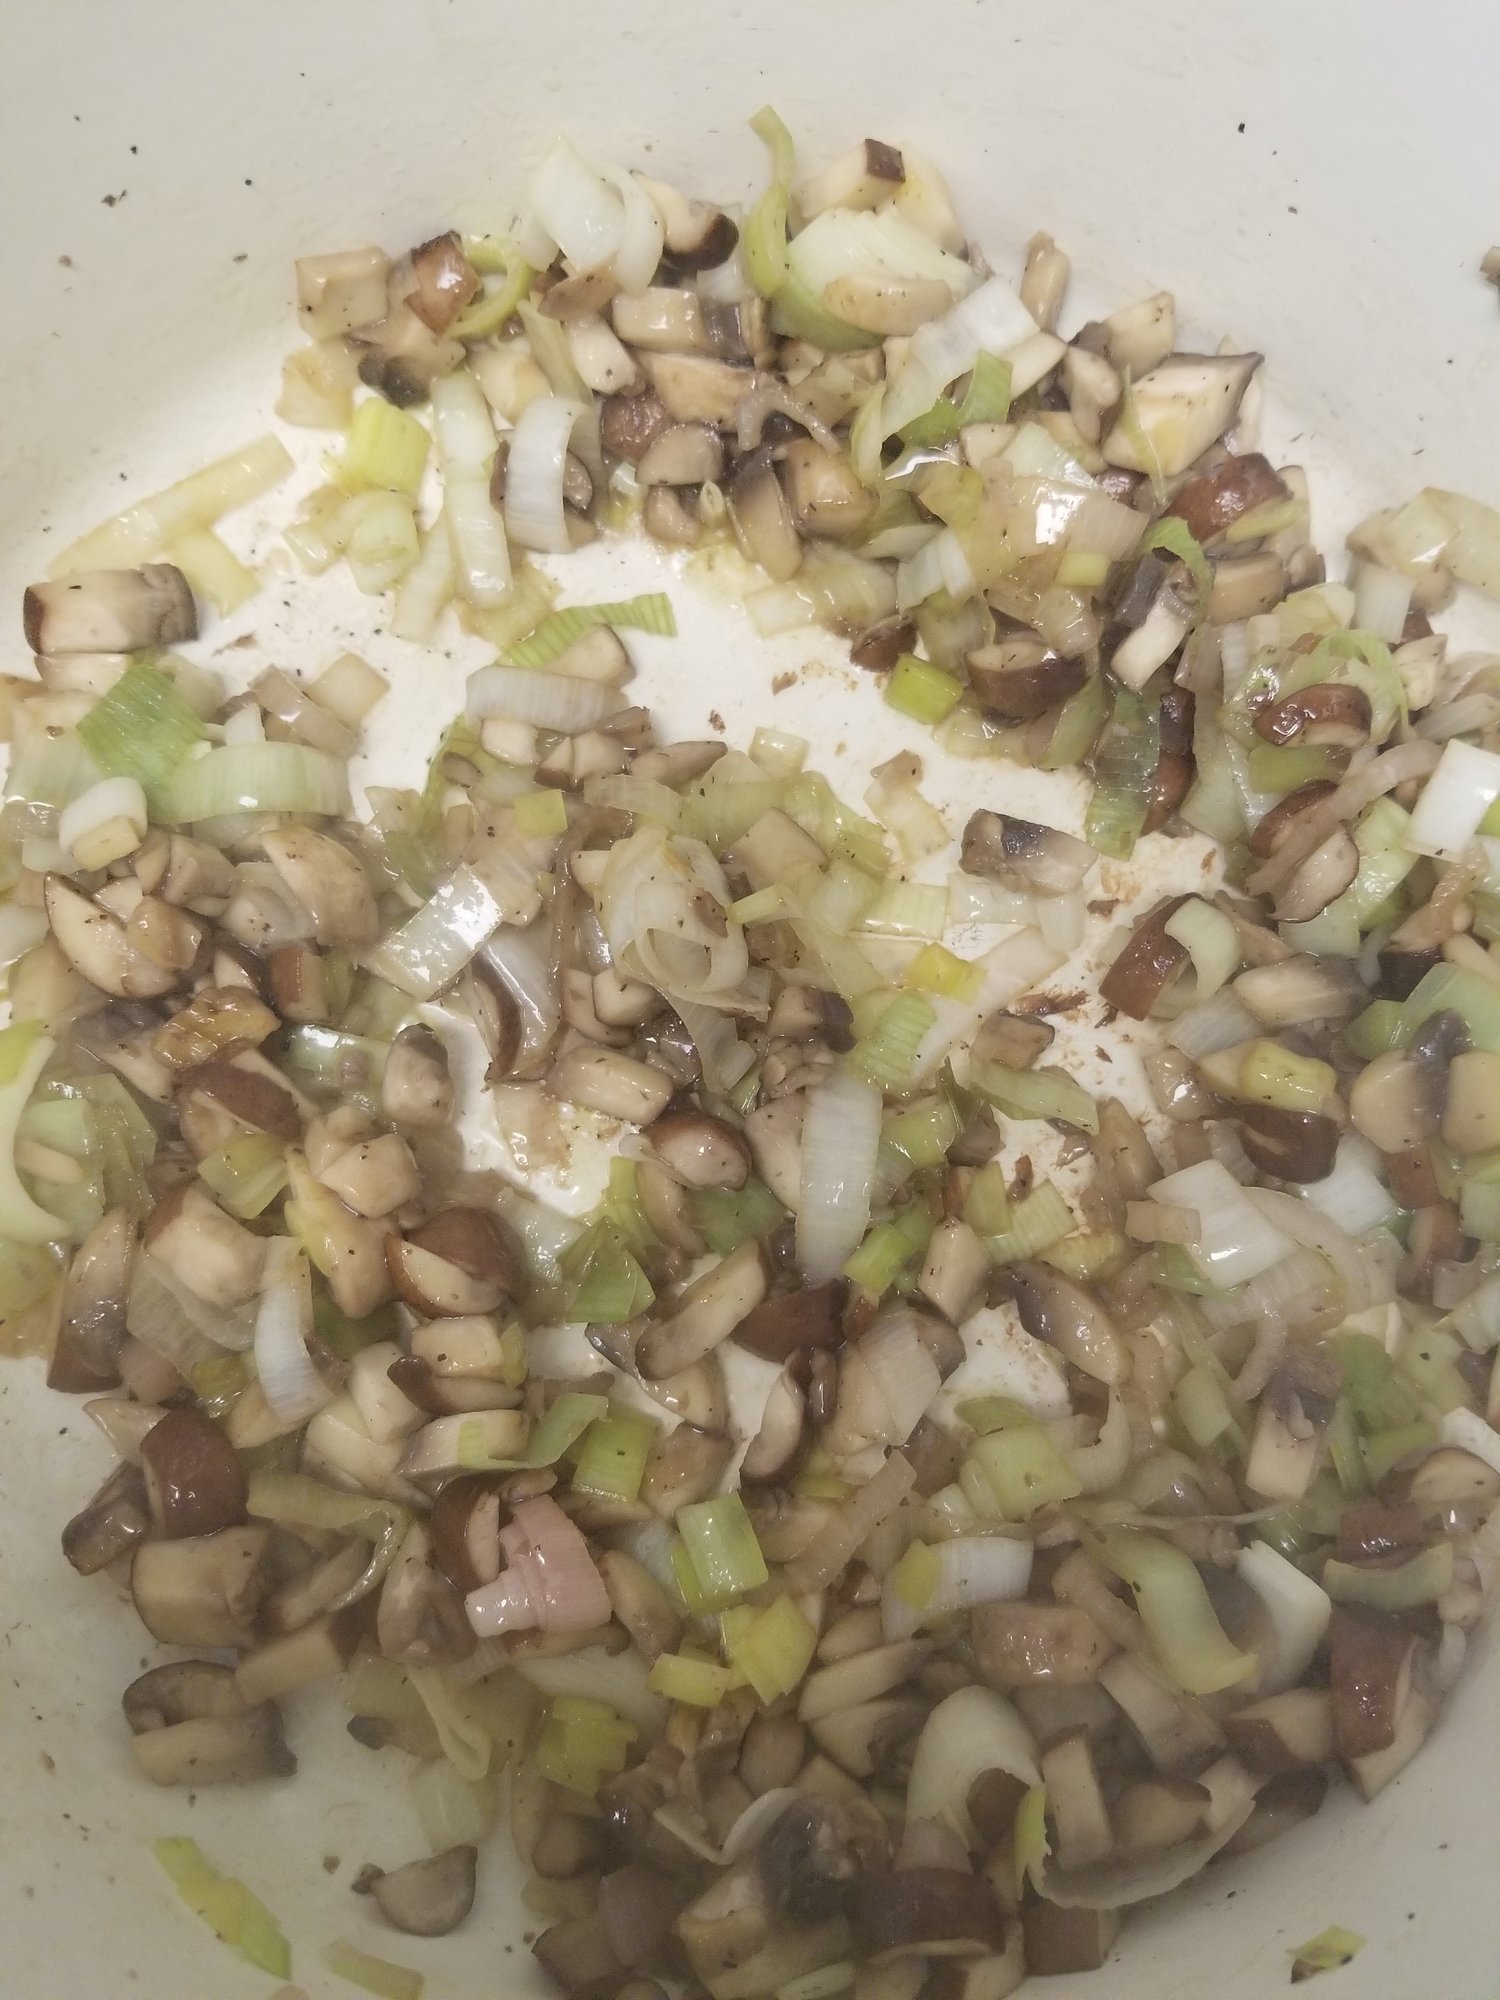
Step 7 – Cook the shallots, leek, and mushrooms, stirring frequently, until the vegetables are soft, about 8 minutes. The first picture is when it began to cook. The second picture although steamy from the heat is after it has cooked for 8 minutes.
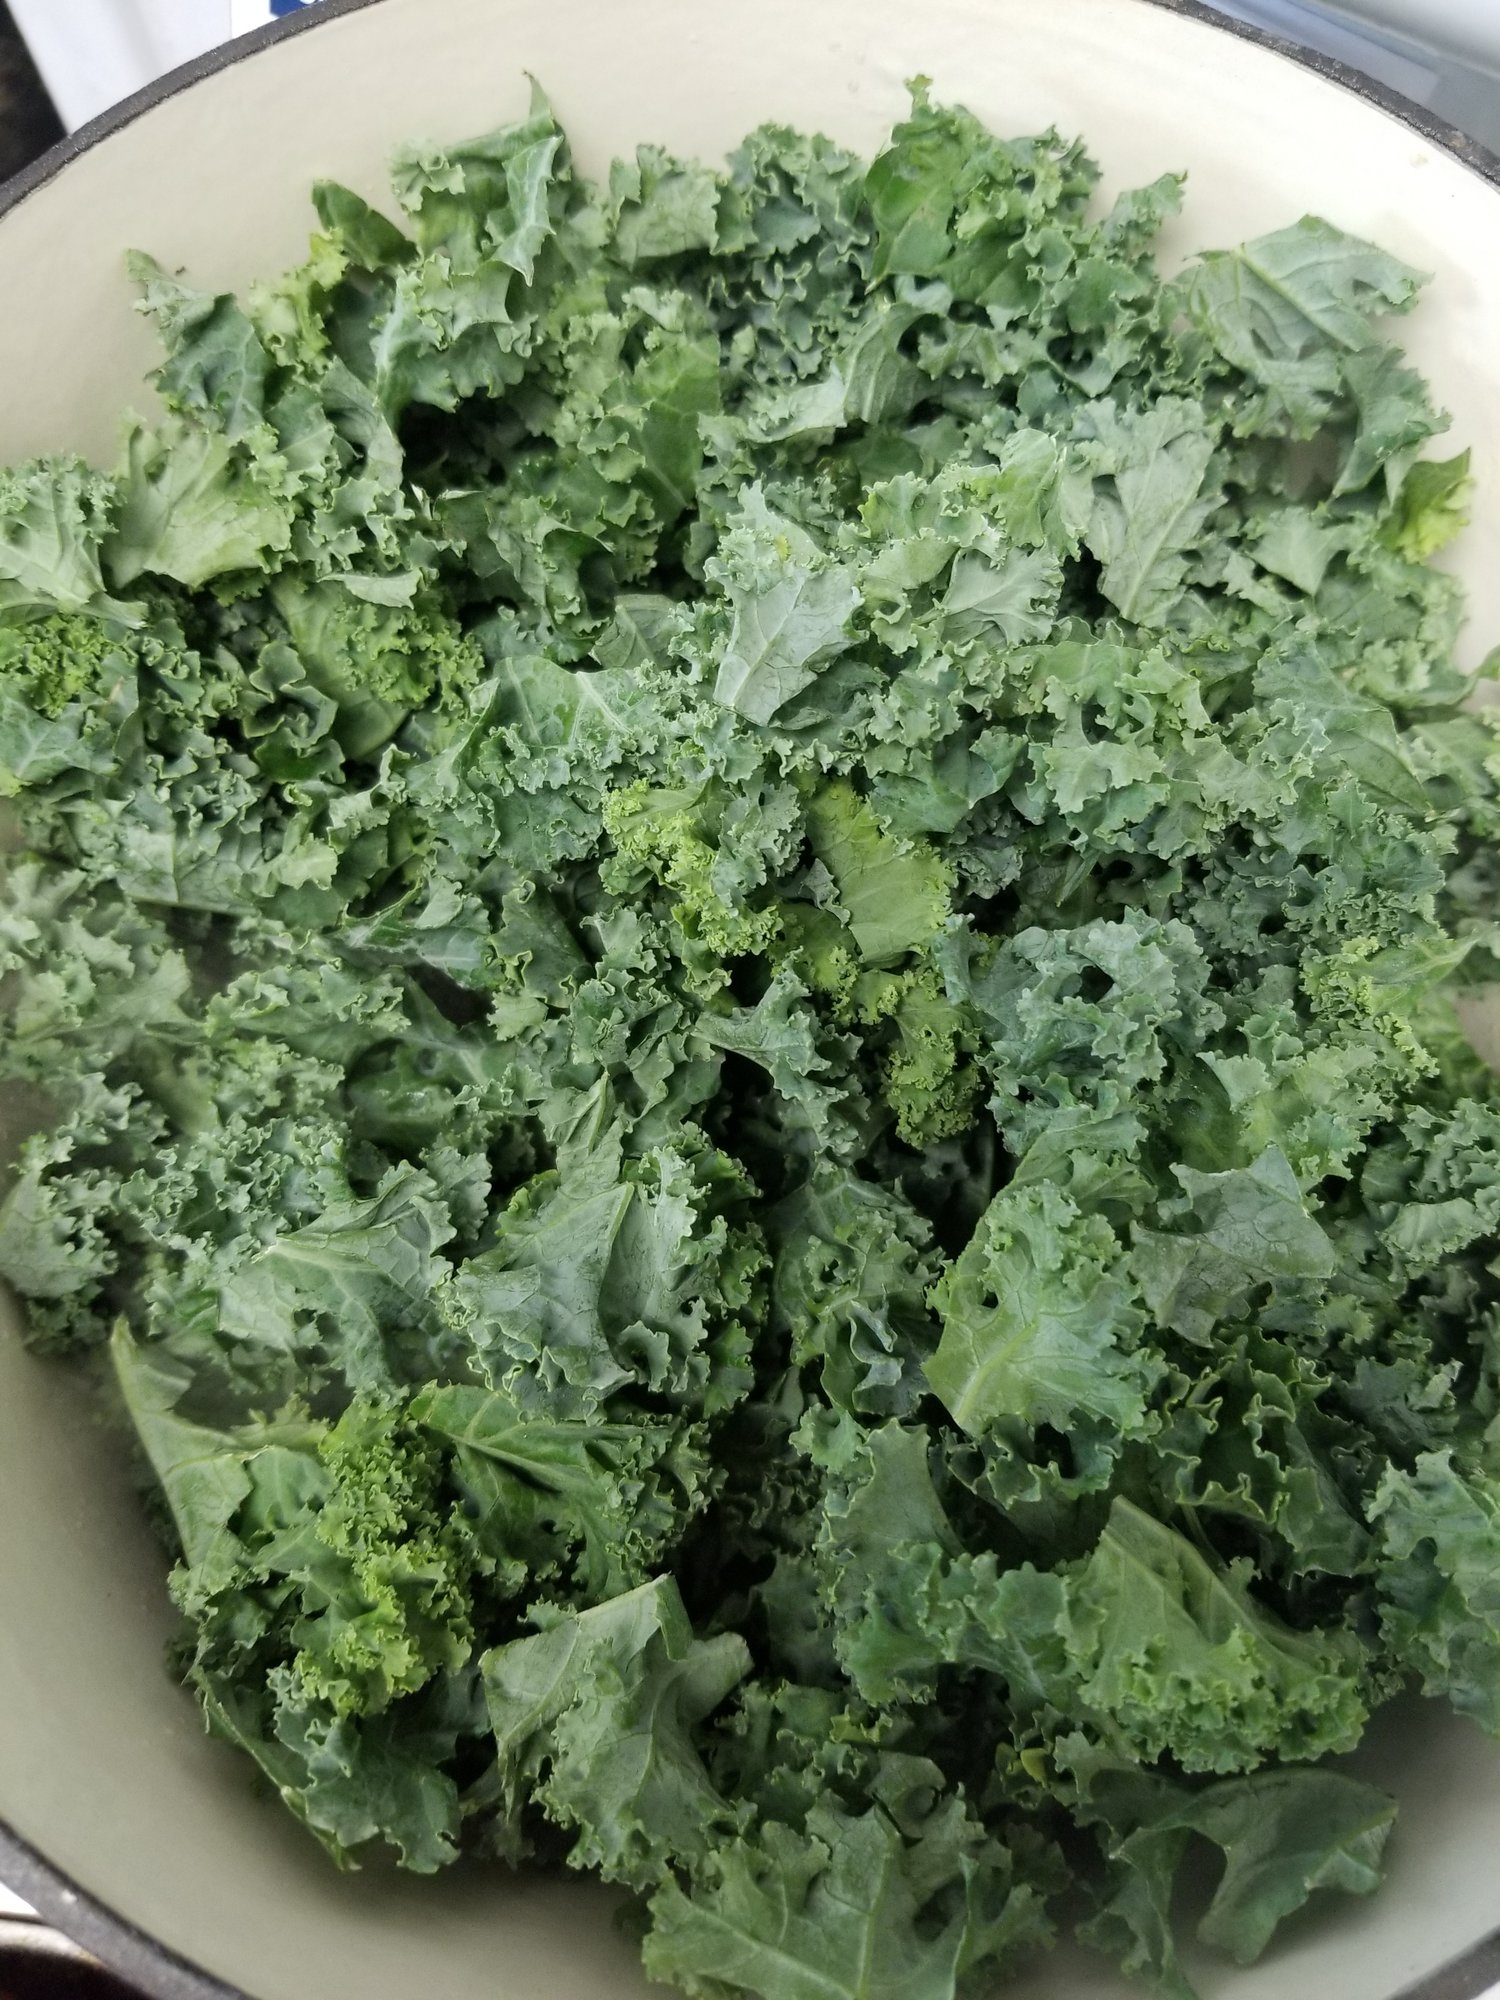
Step 8 – Add the kale and cook until wilted, about 8 minutes. Looks like a lot, but it will shrink aka cook down. Totally a technical cooking term. Ha!
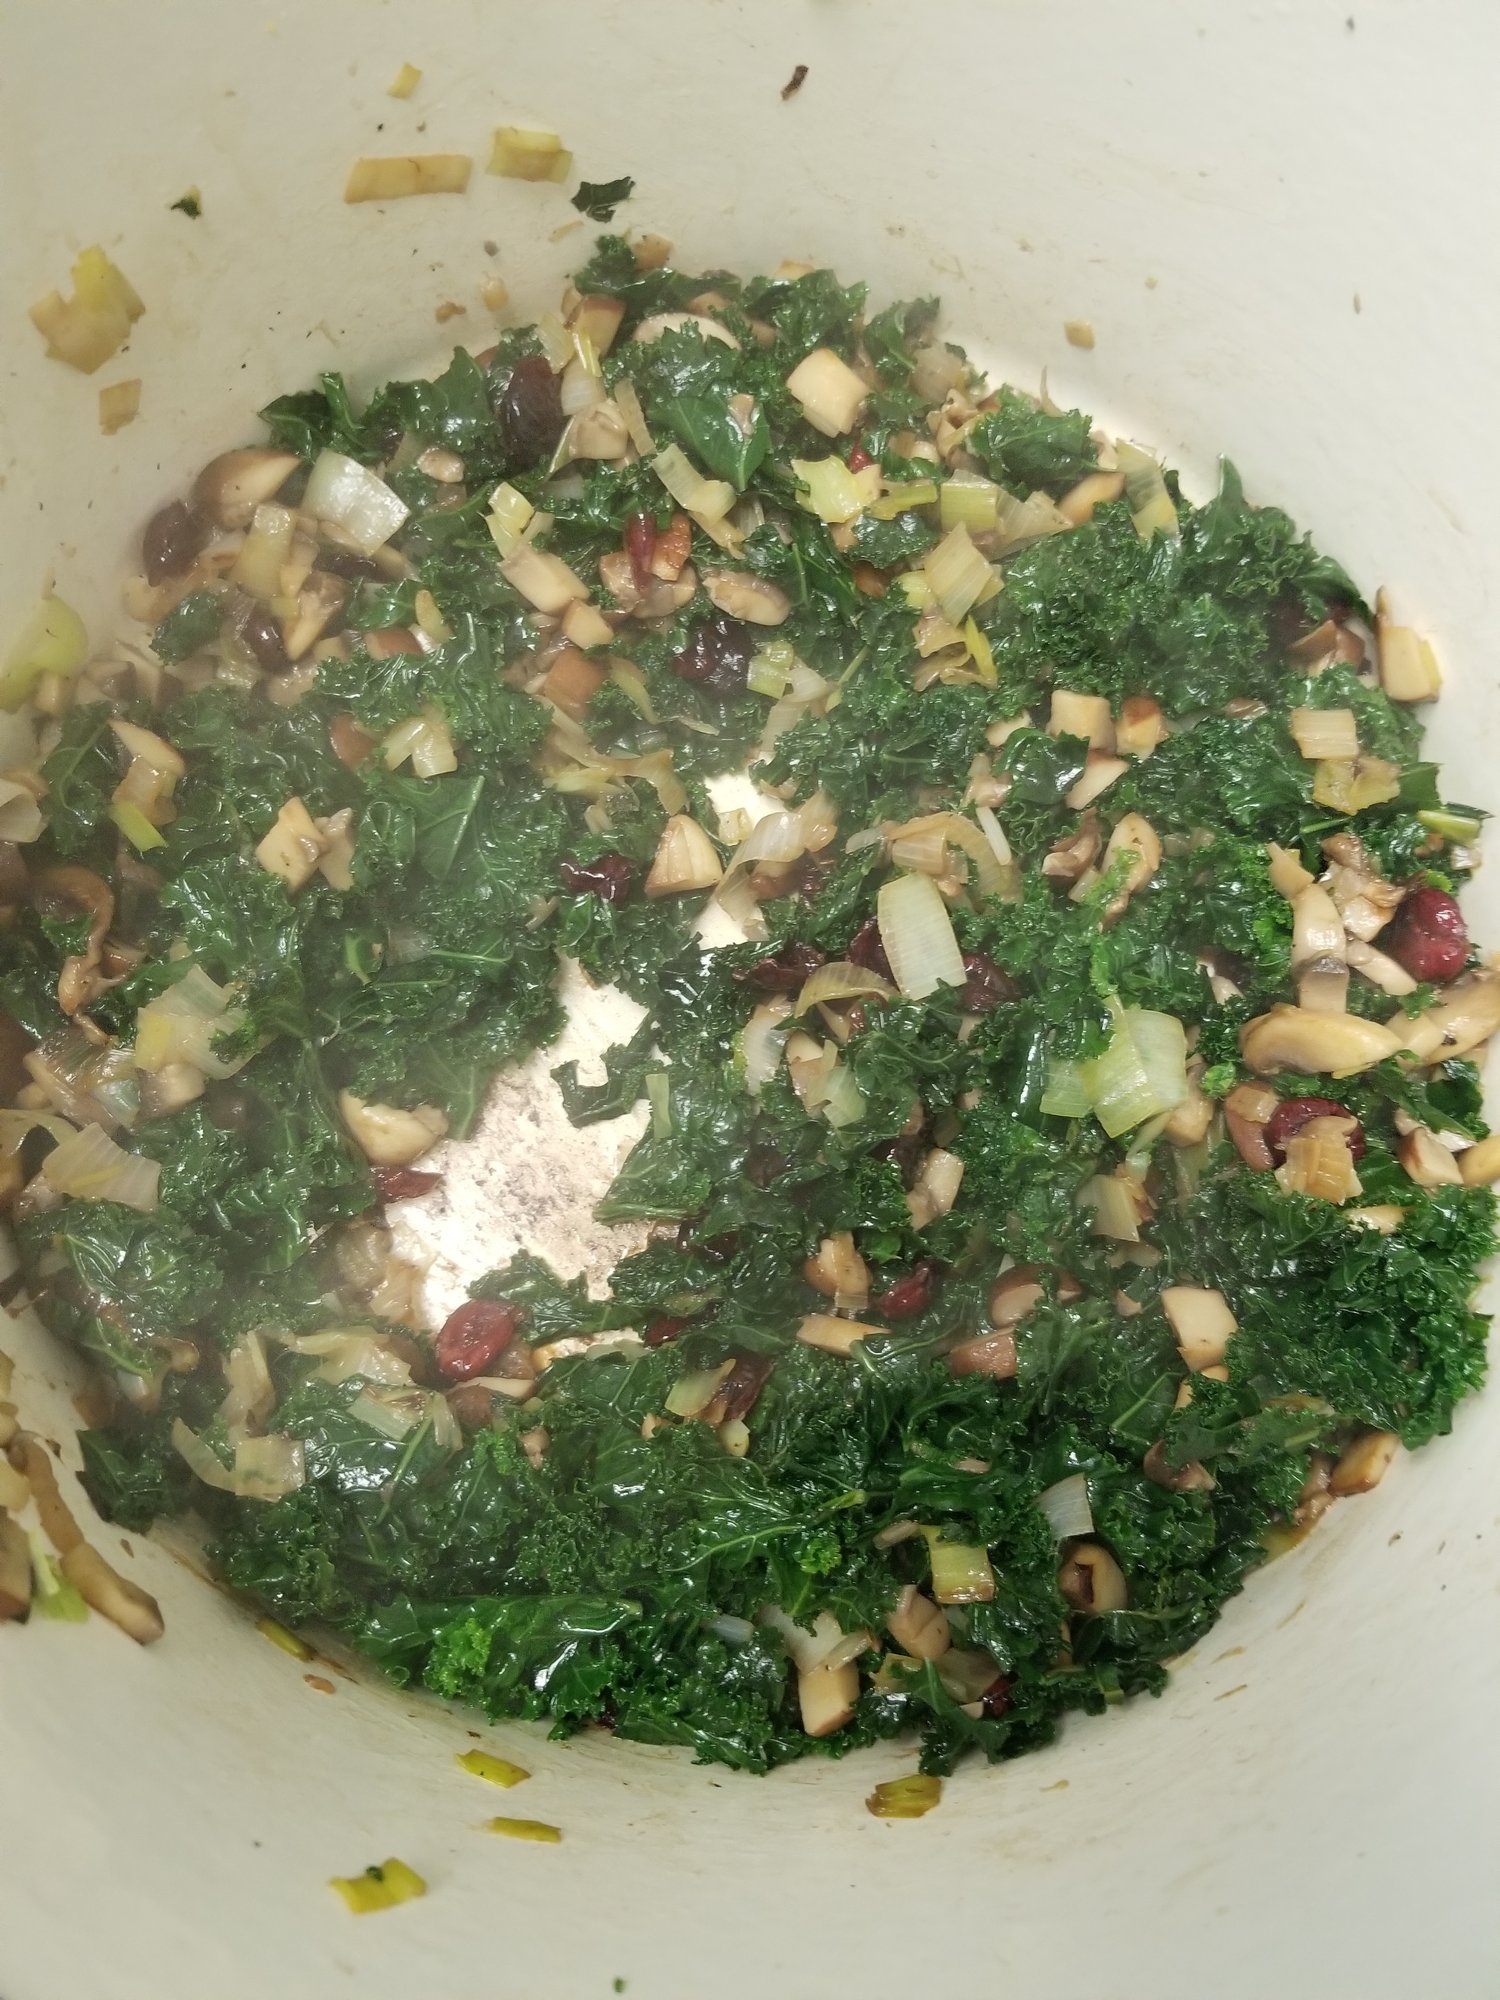
Step 9 – Once the kale has cooked down, add in 1/4 cup of chicken broth (or vegetable broth). Sprinkle with a few dried cranberries. I used the dried cranberries here, but almost never used dried fruit. I thought about it after, but I should have just used fresh cherries (and not cooked them) and then added them into the wrap. Didn’t think about it quick enough. For next time. The broth will come to a boil and you’ll scrape the brown bits that cling to the bottom of the pan with a wooden spoon. If you thought you were burning the leek and shallot mixture, that was really just another way to add more flavor to the dish.
Step 10 – Remove the pan from the heat and stir in 2 oz of goat cheese. Divide the filling among your wrap. I ate mine like an open-faced sandwich. So even though the picture shows my filling in the center of the wrap, I ended up spreading the mixture all over the wrap and eating it with a fork and knife. Sorry, didn’t take a shot of the final final. I was too hungry.
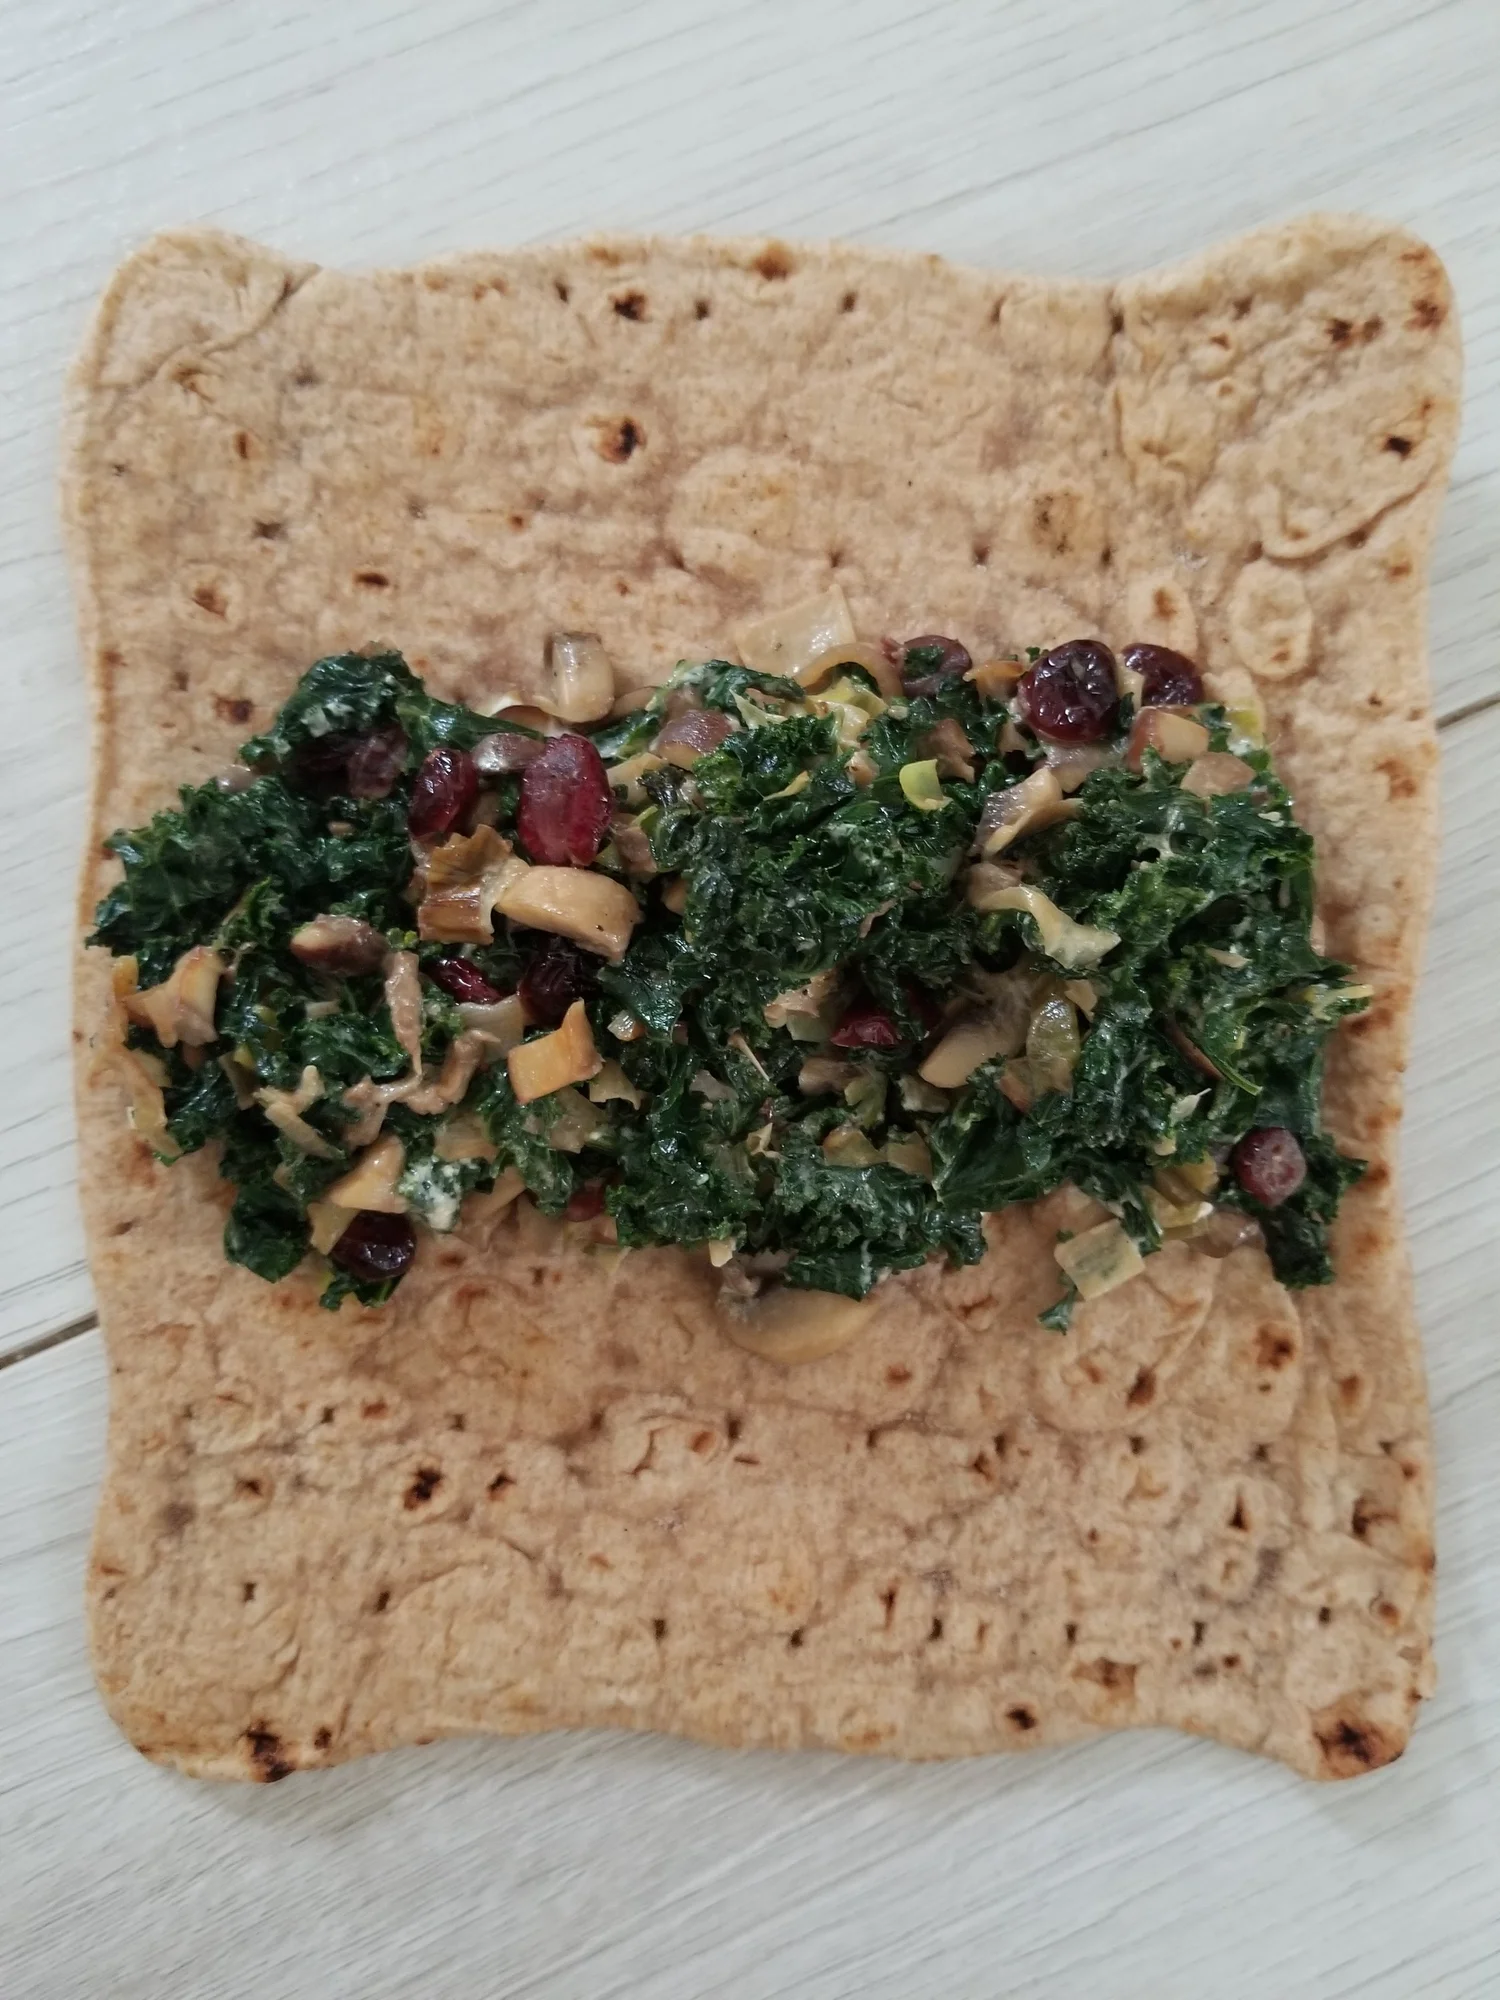
And that my friends is how to cook a kale/mushroom wrap. Voilá. I didn’t do an exact cost analysis for this recipe, but I did use the whole bag of kale as I mentioned earlier in order to avoid food waste. I could have used the leftover kale for a salad during the week, but I opted to have more filling for the wraps. In quickly doing a rough estimate for the cost, each wrap would cost $4, making enough for 4 wraps and still having one flatbread leftover. And yes, I know the time it took me to go to the store, cut/prep all the veggies, etc. were not included in this “cost”, but I will tell you this. I had a $10 salad the other day that definitely wasn’t worth $10. (I ate out for social interaction once again, but hear me when I say I will NOT pay $10 for a salad ever again in my life that I could make for a fraction of the cost. Nope. Not gonna do it…well, maybe if it’s for recipe inspiration, then maybe).
The morale of the story is that Yes, You CAN cook. Start with simple recipes that make you feel like a rock star. Use Instacart to deliver your groceries if that will help cut down on time you don’t have to go to the store. What might even be better are some of those meal delivery services that bring the ingredients with a recipe to your house. Yes, you have to cook them, but they’re giving you tried and true recipes that people have already taste tested. Not to mention they’re giving you recipes that you can use over and over. Bonus. I know we don’t have a recent study for proof to tell you that if you cook at home you’ll improve your overall health status. But I’m here to tell you that you will. Not to mention in the long run you’ll end up saving yourself money – eating out is expensive and doctor visits/medicines are expensive. Invest in yourself now! And as I said earlier, I’m not here to tell you that you have to cook every meal at home. Remember, baby steps. Maybe it’s simply cutting back on the frequency of your meals eaten out. And just remember, you CAN cook.
